
2021 Mod Mini Quilted Wall Hanging Tutorial
Team NZP is celebrating the exciting launch of the fifth annual Great Wisconsin Quilt Show Modern Mini Quilt Challenge – presented by PBS Wisconsin and Nancy Zieman Productions – with our NEW! Mod Mini Quilted Wall Hanging Tutorial inspired by this year’s Modern Mini Quilt Challenge Badge! Make two complete mod minis with six fat quarters and a little Wonder-Under and Fusible Fleece – today at the Nancy Zieman Productions Blog!
Enter the #ModernMiniQuiltChallenge
The Great Wisconsin Quilt Show – presented by PBS Wisconsin and Nancy Zieman Productions – is excited to announce the fifth-annual Modern Mini Quilt Challenge, taking place throughout the month of May on social media! You’re invited to join the challenge by stitching one 24-inch square (or smaller) modern mini quilt in fabrics featuring a modern color palette and design.
Brainstorm, design, and plan. Then, stitch! Enter The Great Wisconsin Quilt Show 2021 Modern Mini Quilt Challenge by emailing one high-resolution quilt image to [email protected].
2021 Great Wisconsin Quilt Show Modern Mini Quilt Challenge Complete Entry Rules:
Sew a mini modern quilt to showcase your quilting talents. Submit your entry by emailing a high-resolution image of your quilt to [email protected] by 5 p.m. CST on Friday, May 21, 2021.
- Mini Quilts must be no more than 24-inches square, and may be pieced, appliquéd, mixed or other.
- Mini Quilts must be made from fabrics in a modern color palette and design.
- Mini Quilts must be quilted through 3 layers by hand, by machine or both.
- You may enter ONE modern mini quilt that is completed within the last year.
- Entries must be sent to [email protected]; participants are encouraged to share progress and quilt photos on social media using hashtag #ModernMiniQuiltChallenge.
- Submitted entries will be shared on The Great Wisconsin Quilt Show’s Facebook page throughout the month of May.
- Winners selected by panel of judges, to be announced May 27, 2021.
- Open to U.S. Residents only.
- Judging takes place May 24-26, 2021.
Grab The Great Wisconsin Quilt Show Modern Mini Quilt Challenge badge and let your friends know about this fun quilt challenge! Visit facebook.com/QuiltShow for details.
View the listing of nearly $3,000 in prize packages from our generous sponsors at quiltshow.com/modernminiquiltchallenge.com.

View the Gallery of Quilts
Photos will be hosted by PBS Wisconsin on the public Quilt Show Facebook Page in the 2021 Quilt Show Modern Mini Quilt Challenge album. You may comment and ask questions directly on the photo. Of course, you can always share photos within Facebook, too. You do NOT need to have a Facebook account to enter the challenge. By emailing your photo to the address above, you’re acknowledging and consenting to having the image shared in public online social media venues. Subscribe or “LIKE” the Quilt Show Facebook page to see all the new mini quilt images as they are added. View entries in the photo album here.
NEW! 2021 Mod Mini Quilted Wall Hanging Tutorial
by Team NZP
With just six fat quarters and a little Wonder-Under and Fusible Fleece, make two complete mod mini quilts – in about the same time it takes to make one quilt! Stitch our NEW! 2120 Mod Mini Quilt duo and hang one your wall and gift one to a friend–or a sister 🙂
2021 Mod Mini Quilted Wall Hanging Tutorial
Approximate finished size: 15-1/2″ x 15-1/2″
2021 Mod Mini Quilted Wall Hanging Supplies Listing
NEW! Exclusive 2021 Mod Mini Wall Hanging Project Pack by Team NZP
Rotary Cutting Ruler, Rotary Cutter and Mat
12-1/2″ x 12-1/2″ Square Rotary Cutter Ruler
Clover’s Heart Shaped Straight Pins and/or Clover’s Heart Shaped Magnetic Pin Caddy
Clover’s I Sew For Fun Fabric Marking Pen
Clover’s Fine White Marking Pen
Clover’s 1-4″ Fusible Web Tape
Clover’s Straight Tailor’s Awl Stiletto
Clover’s Ultimate Quilt ‘n Stitch Presser Foot
Sulky 12 wt. Cotton Blendables Thread- Westport Petites Collection
Clover’s 7-3/4″ Bordeaux Shears
Clover’s 5-1/8″ Bordeaux Shears
June Tailor’s Eze-View Pressing Cloth
June Tailor’s Non-Stick Teflon Pressing Sheet
June Tailor’s Quilt Basting Spray
Schmetz Chrome Quilting Needles Size 90
Iron
Find the NEW! Exclusive Modern Mini Shades & Shadows Quilted Wall Hanging Bundle Box by Team NZP at ShopNZP.com

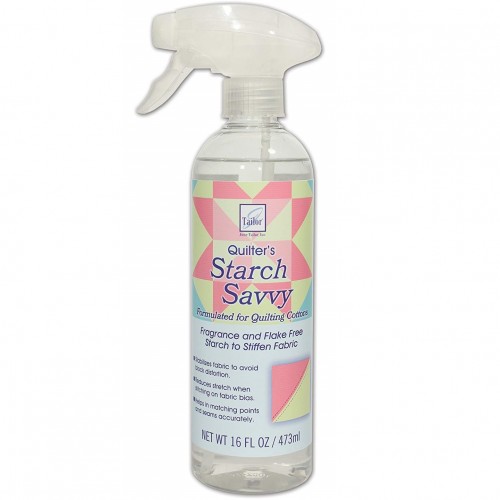
Prepare your fabrics! Pre-shrink fabrics by steaming and pressing. Then, stabilize fabrics for the sewing process by pressing and starching fabrics with Quilter’s Starch Savvy.
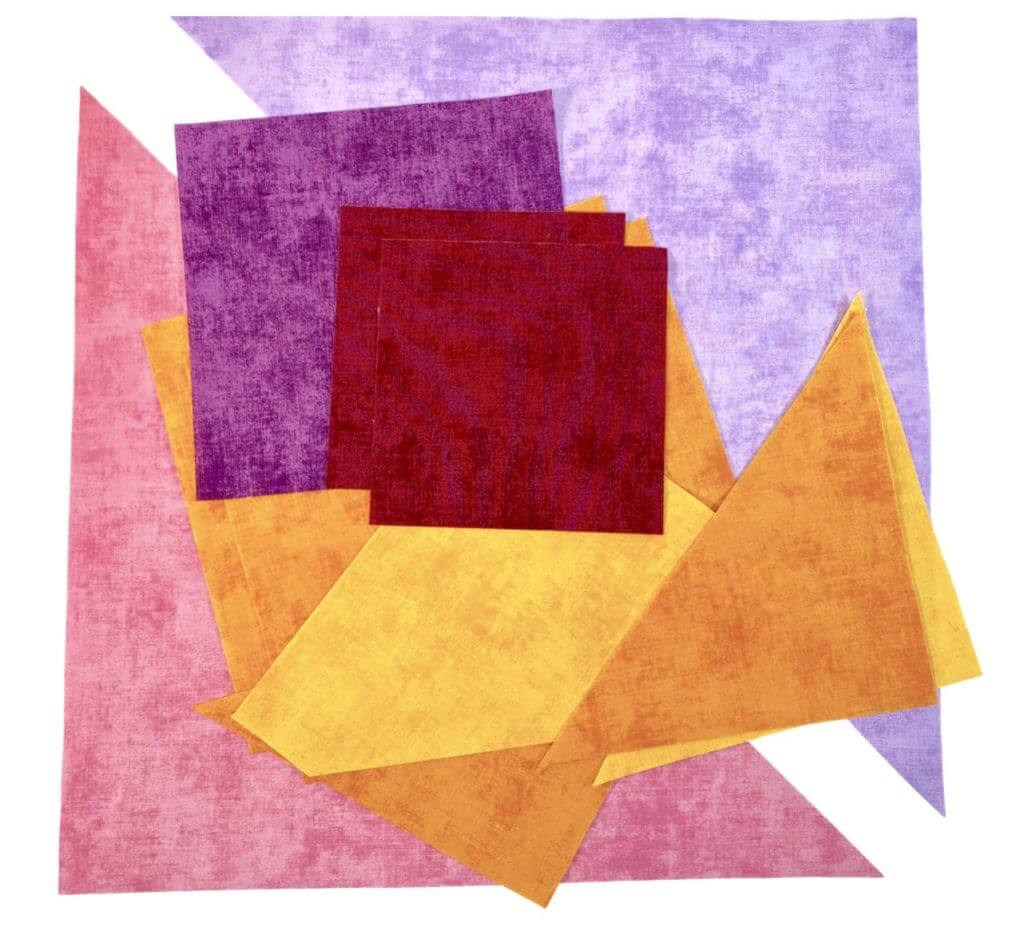
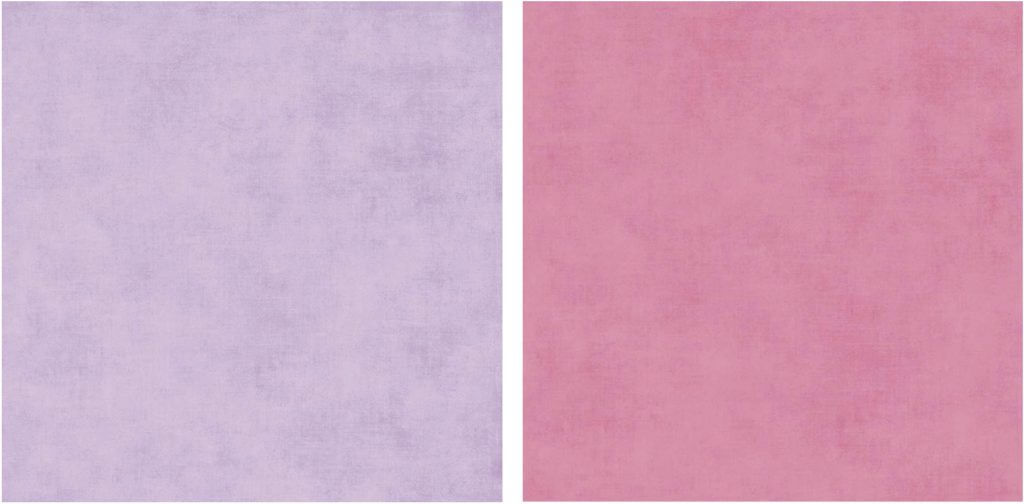
For the 2021 Mod Mini Quilted Wall Hanging we’re using six fat quarter fabrics, Lavender Cotton Shades; Bubblegum Cotton Shades; Cheddar Cotton Shades; Burgundy Cotton Shades; Grape Cotton Shades; Amber Cotton Shades by Riley Blake Designs, Pellon Fusible Fleece and Pellon Wonder-Under Fusible Web and Sulky 12 wt. Cotton Blendables Thread – Westport Petites Collection.
Cut Fabric and Supplies for 2021 Mod Mini Quilted Wall Hanging
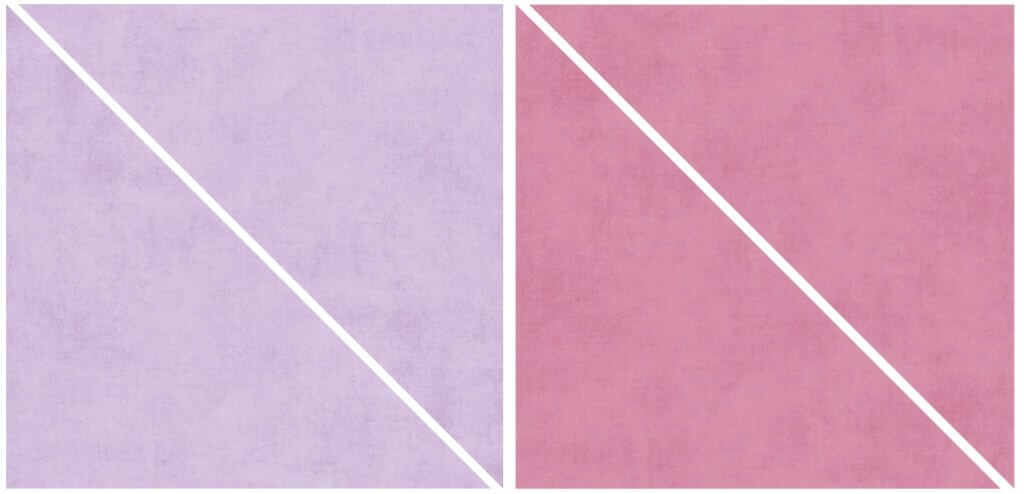
- Cut one 16″ square each, from Lavender Cotton Shades and Bubblegum Cotton Shades.
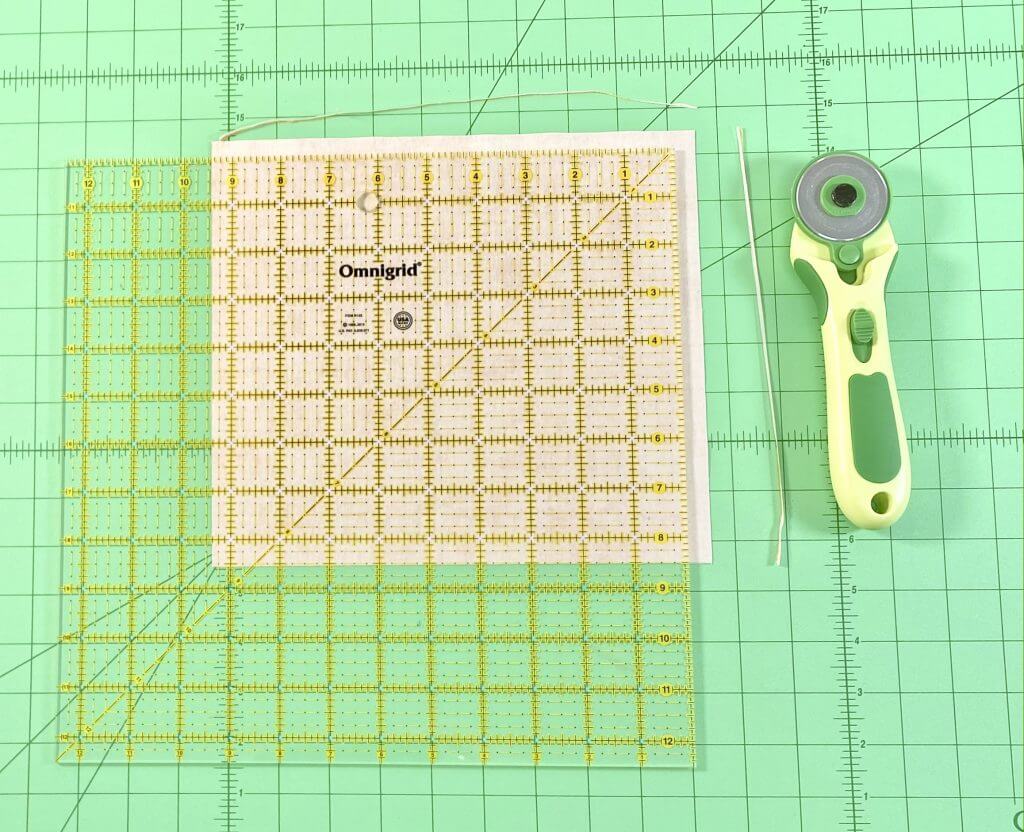
- Using a Rotary Cutter, Ruler and, mat, cut 16″ Lavender Cotton Shades and Bubblegum Cotton Shades squares diagonally in half as shown – for pieced background squares.
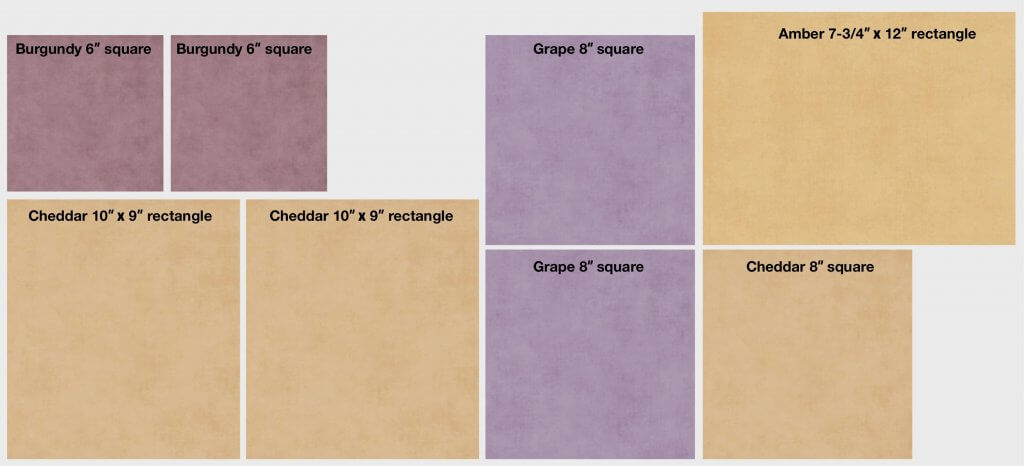
- Cut two 9″ x 10″ rectangles from Cheddar Cotton Shades.
- Cut one 8″ square from Cheddar Cotton Shades.
- Cut two 6″ squares from Burgundy Cotton Shades.
- Cut two 8″ squares from Grape Cotton Shades.
- Cut one 7-3/4″ x 12″ rectangle from Amber Cotton Shades.
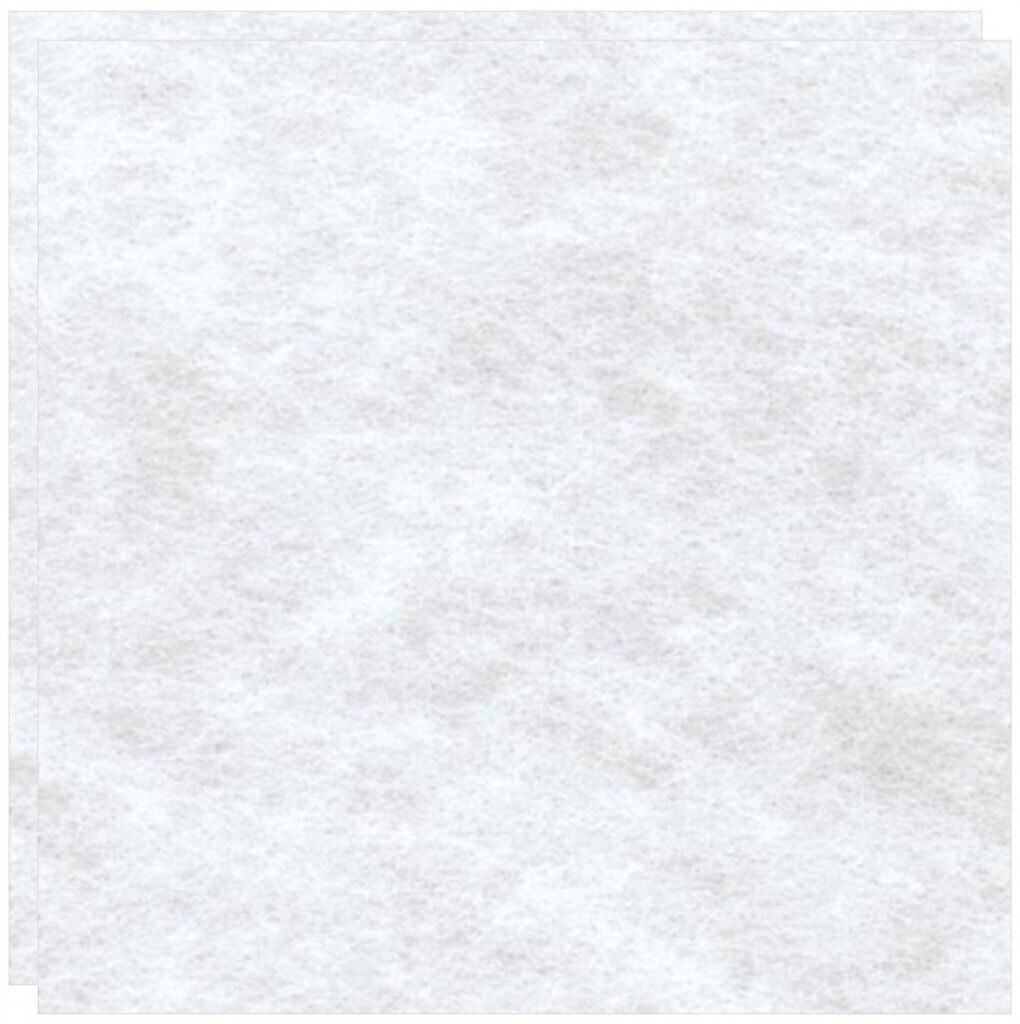
- Cut two 18″ squares from White Confetti Cotton backing fabric.
- Cut two 18″ squares from Pellon Fusible Fleece.
- Arrange fabric rectangles and squares on 1-1/8 yd. Pellon Wonder-Under as shown.
- Using rotary cutter ruler and mat, cut out corresponding rectangles and squares from Pellon Wonder-Under.
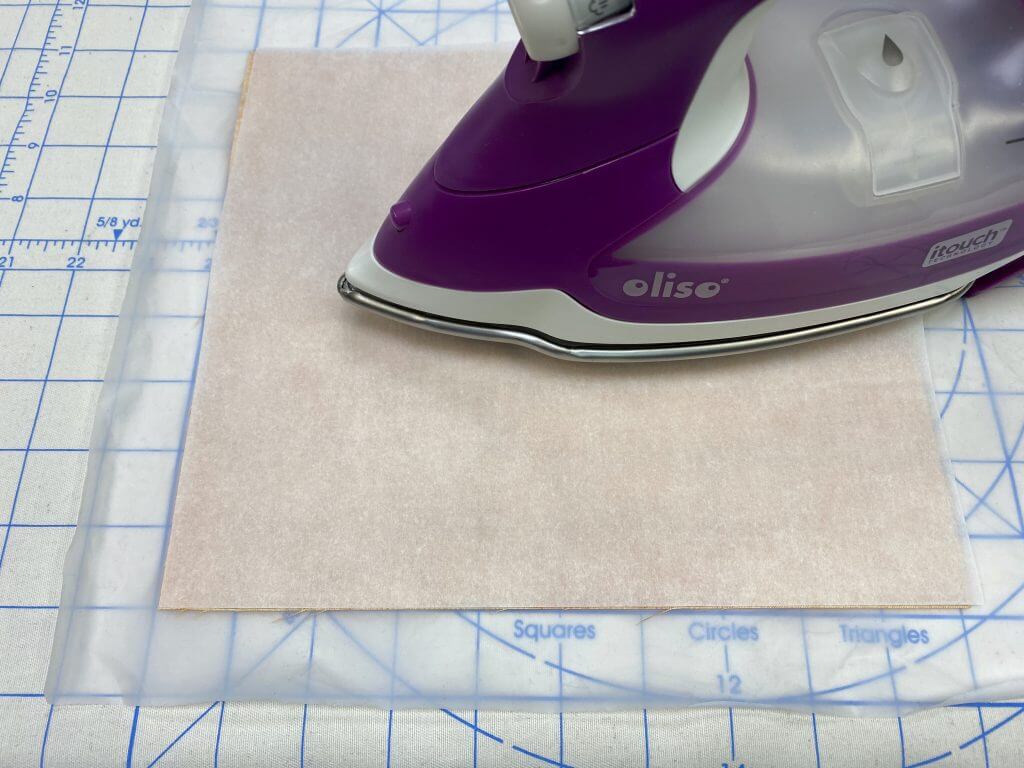
- Place Non-Stick Teflon Pressing Sheet on ironing board.
- Following manufacturer’s instructions, press Pellon Wonder-Under Interfacing to wrong side of rectangles and squares. Note: Do not use steam.
- Optional: Using 12-1/2″ Rotary Cutting Ruler and Rotary Cutter, trim away 1/16″ around all edges of Cheddar Cotton Shades; Burgundy Cotton Shades; and Amber Cotton Shades rectangles and squares.
- Place 8″ square of Cheddar Cotton Shades, right side up on cutting mat.
- Using a Rotary Cutter, Ruler and, mat, cut 8″ Cheddar Cotton Shades square in half diagonally as shown.
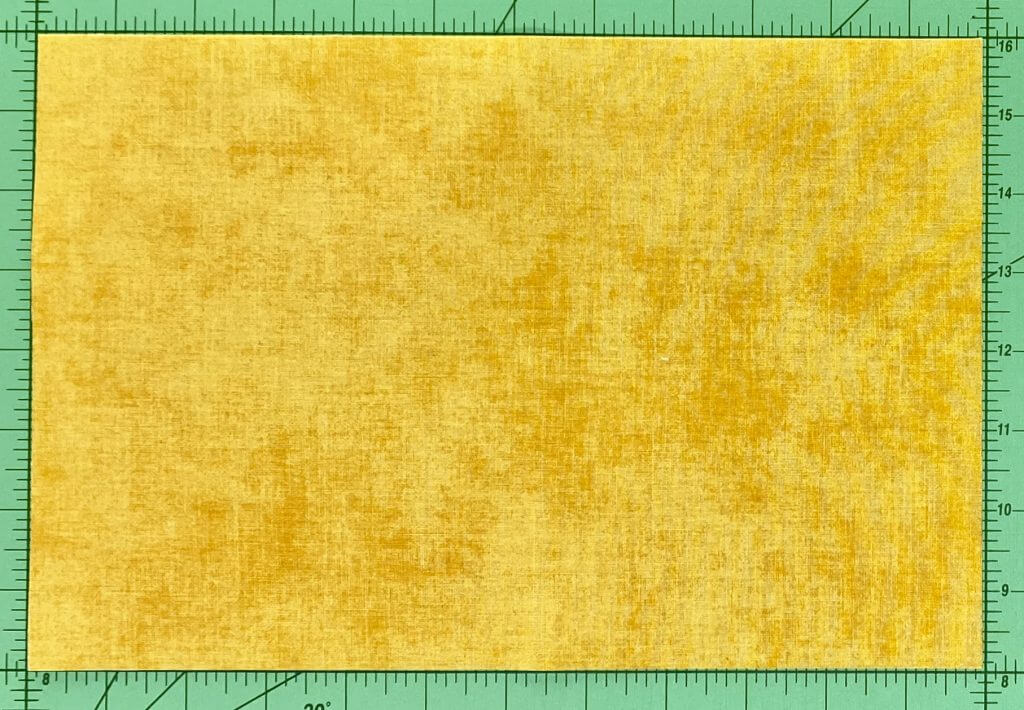
- Place 7-3/4″ x 12″ rectangle of Amber Cotton Shades, right side up on cutting mat.
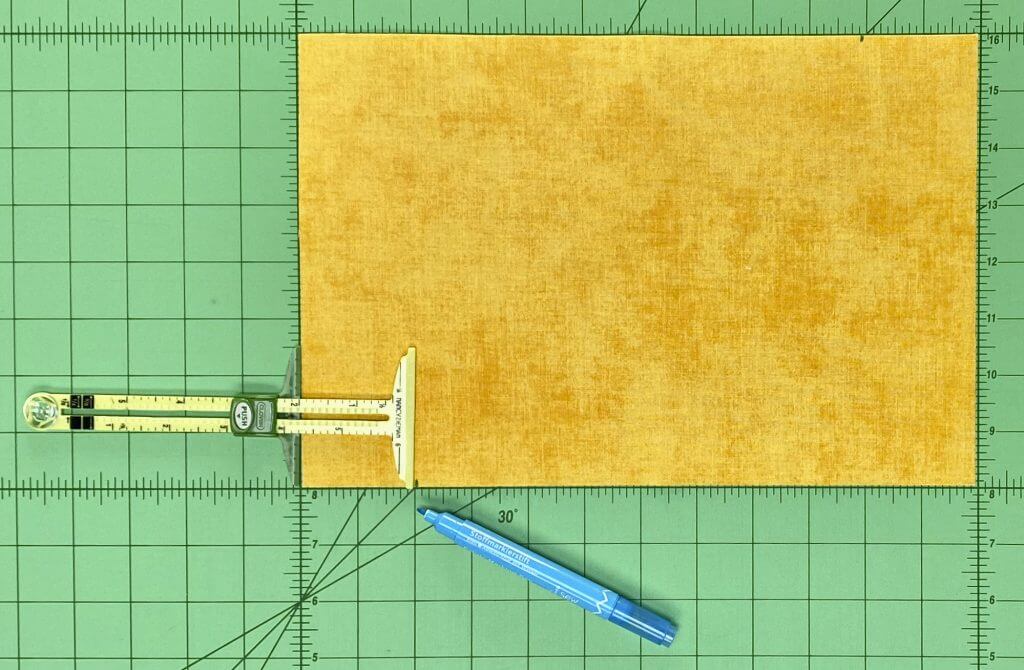
- Using Clover’s 5-in-1 Sliding Gauge and Fabric Marking Pen, place a mark 2″ in from upper right corner and a second mark 2″ in from lower left corner as shown.
![]()
Optional: Using fabric marking pen and ruler, place a cutting line between upper and lower markings.
- Using a Rotary Cutter, Ruler and, mat cut from lower marking to upper marking as shown.
- Place Grape Cotton Shades 8′ squares wrong side up on cutting mat.
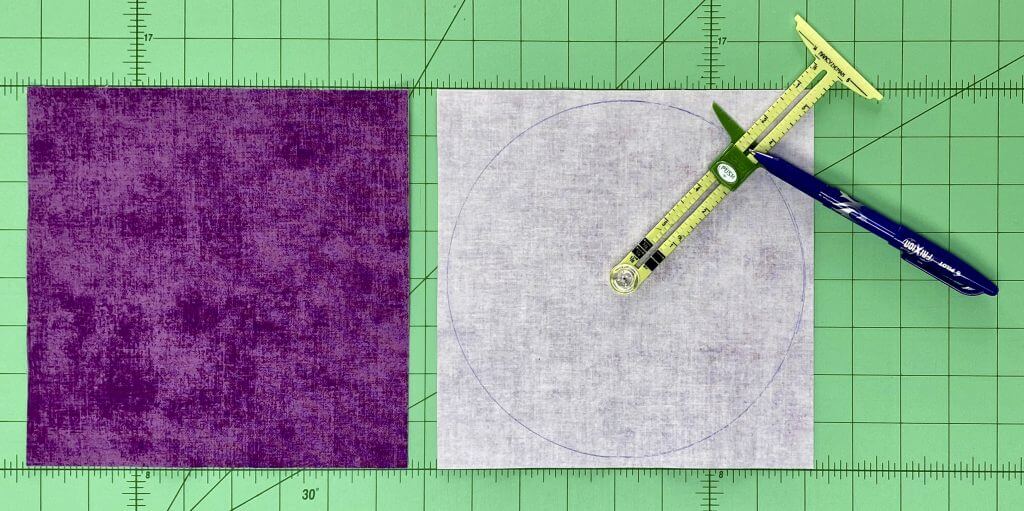
- Set Clover’s 5-in-1 Sliding Gauge at 3-3/4″.
- Using Clover’s 5-in-1 Sliding Gauge and Erasable Gel Pen trace 7-3/4″ circles on Pellon Wonder-Under paper backing as shown.
- Using a Rotary Cutter, Ruler and, mat or scissors, cut out two 7-3/4″ Grape Cotton Shades circles.
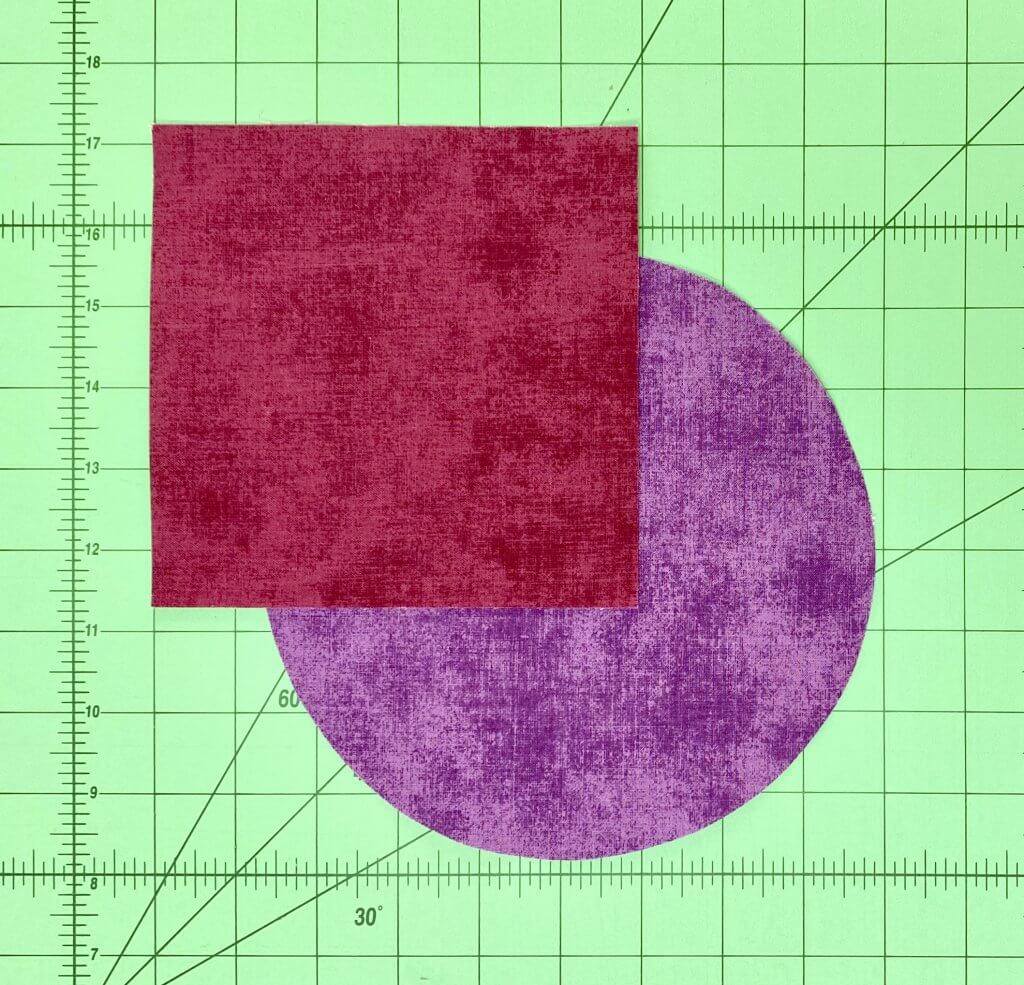
- Place one 6″ Burgundy Cotton Shades square over one 7-3/4″ Grape Cotton Shades circle right sides up. Align circles to squares at 1-1/4″ below top edge and 1-1/4″ inside left edge.
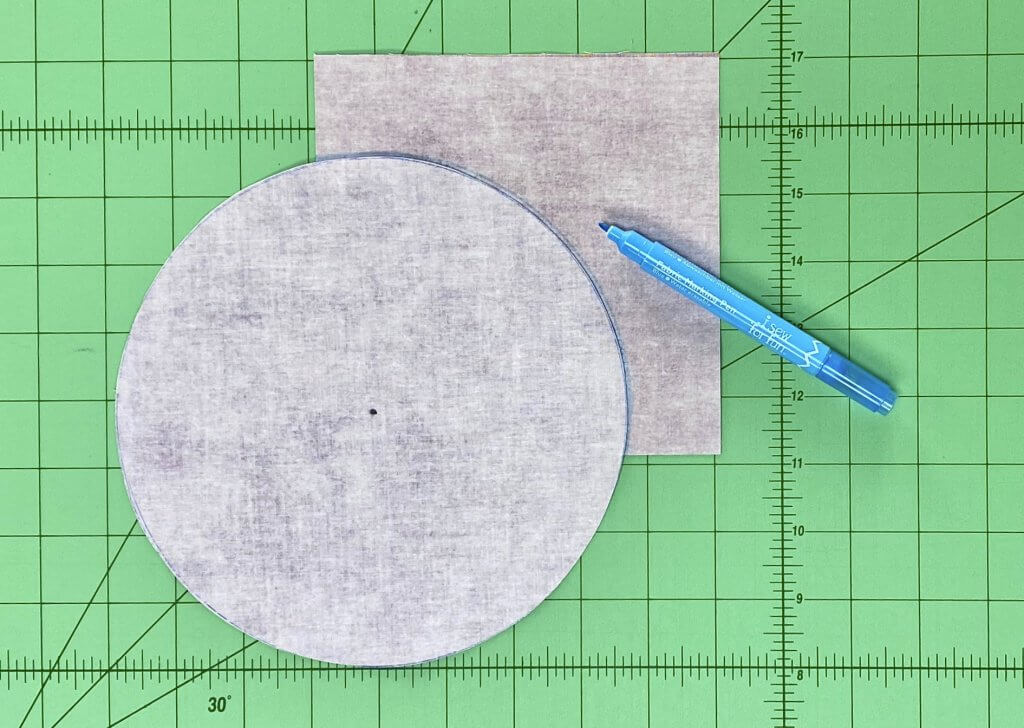
- Carefully turn over fabric shapes and place wrong side up on table.
- Using a Fabric Marking Pen trace curve of circle onto square as shown.
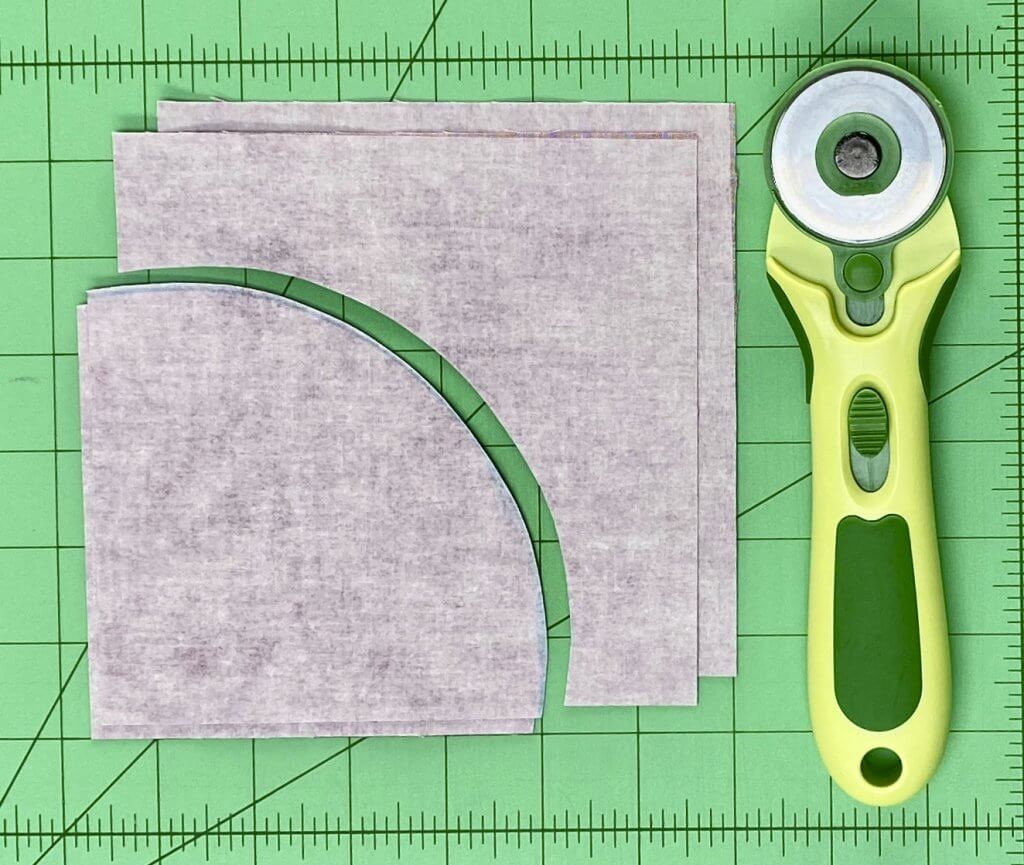
- Using a Rotary Cutter and mat, or scissors, cut 6″ Burgundy Cotton Shades squares along curved lines.
Assemble for 2021 Mod Mini Quilted Wall Hanging
- Remove paper backing from ALL shapes.
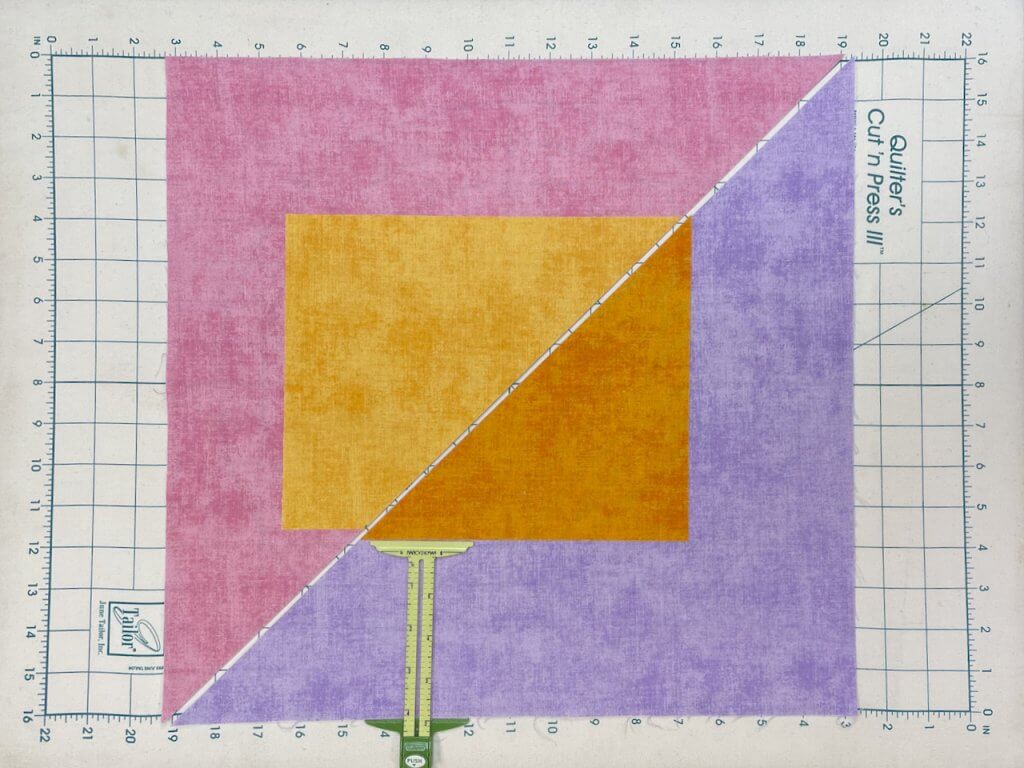
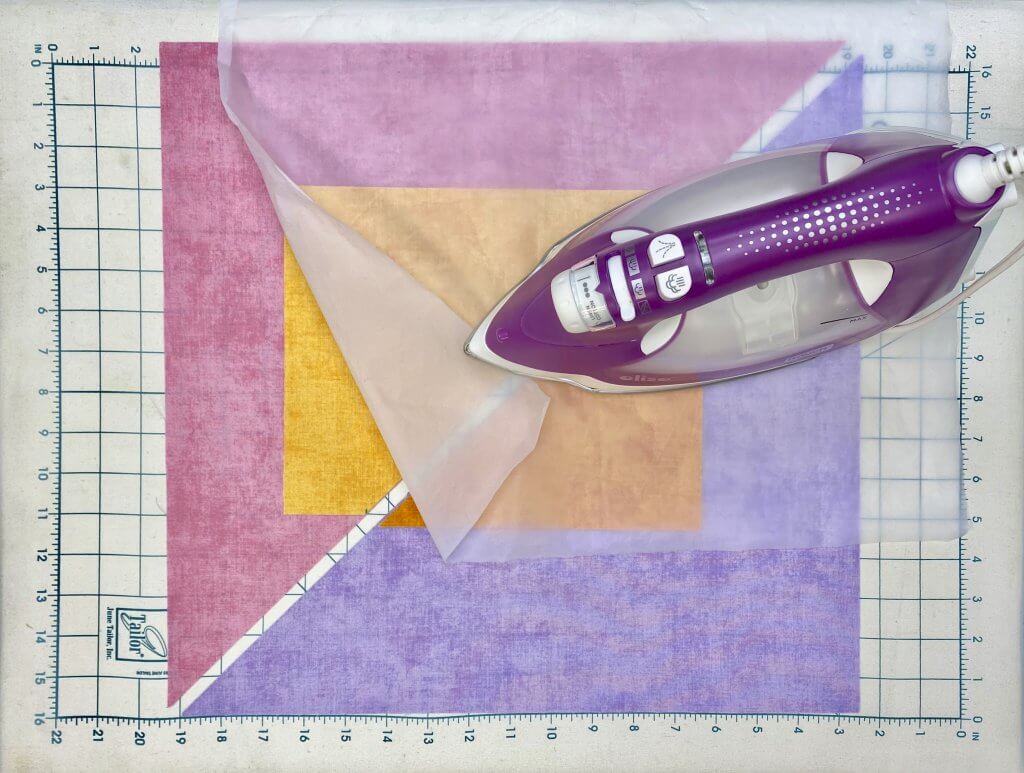
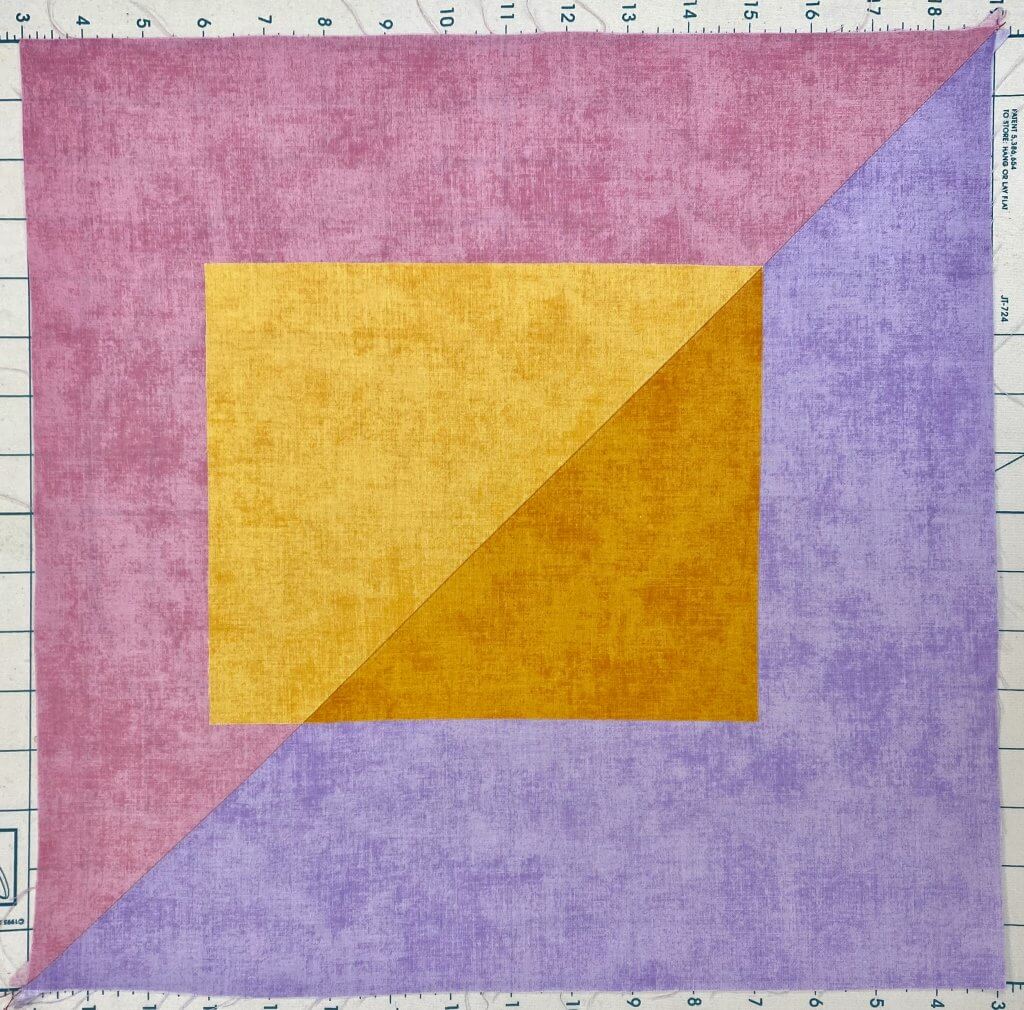
- Place Lavender Cotton Shades and Bubblegum Cotton Shades background triangles on pressing surface as shown.
- Using Clover’s 5-in-1 Sliding Gauge, align one Amber triangle along diagonal cut edge, at 4-1/4″ inside Lavender background lower edge as shown.
- Using Clover’s 5-in-1 Sliding Gauge, align one Cheddar triangle along diagonal cut edge, at 4-1/2″ inside Bubblegum background lower edge as shown.
- Using a Non-Stick Teflon Pressing Sheet and iron, press shapes to background triangles.
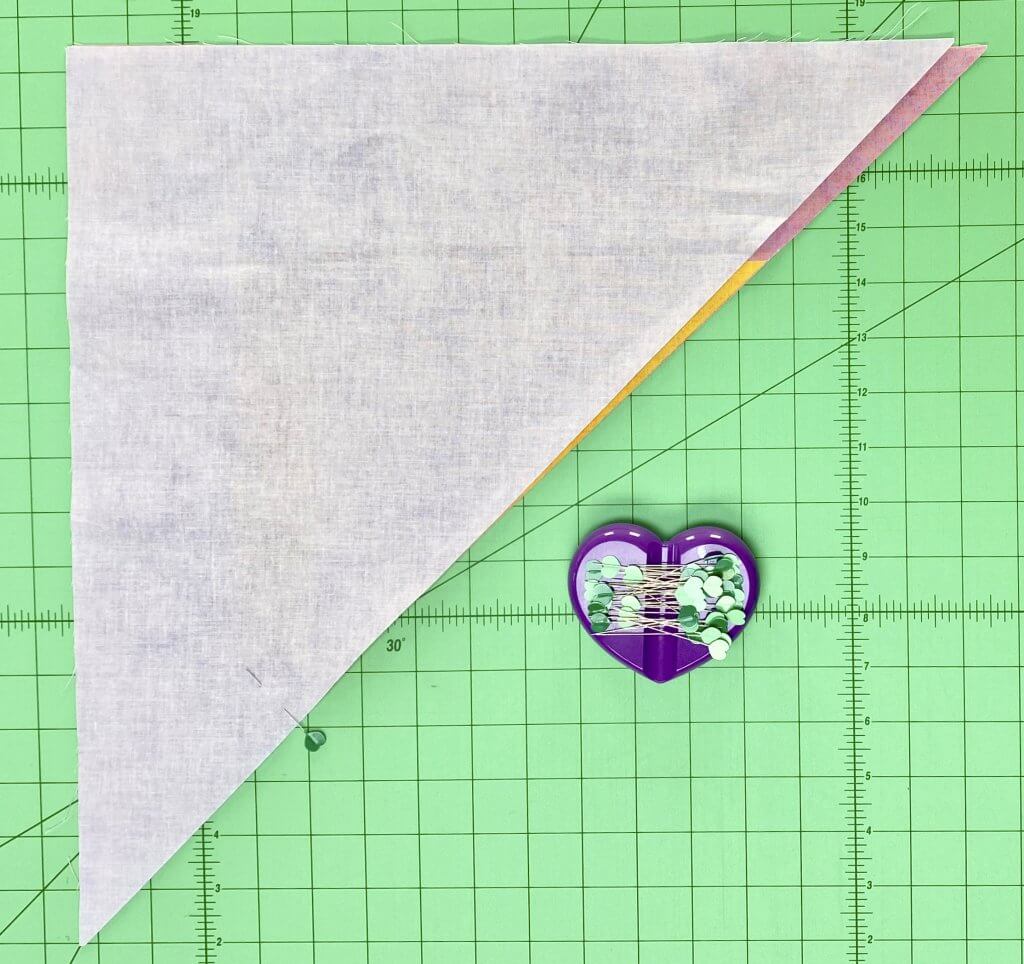
- Place background triangles right sides together. Pin along diagonal cut edges.
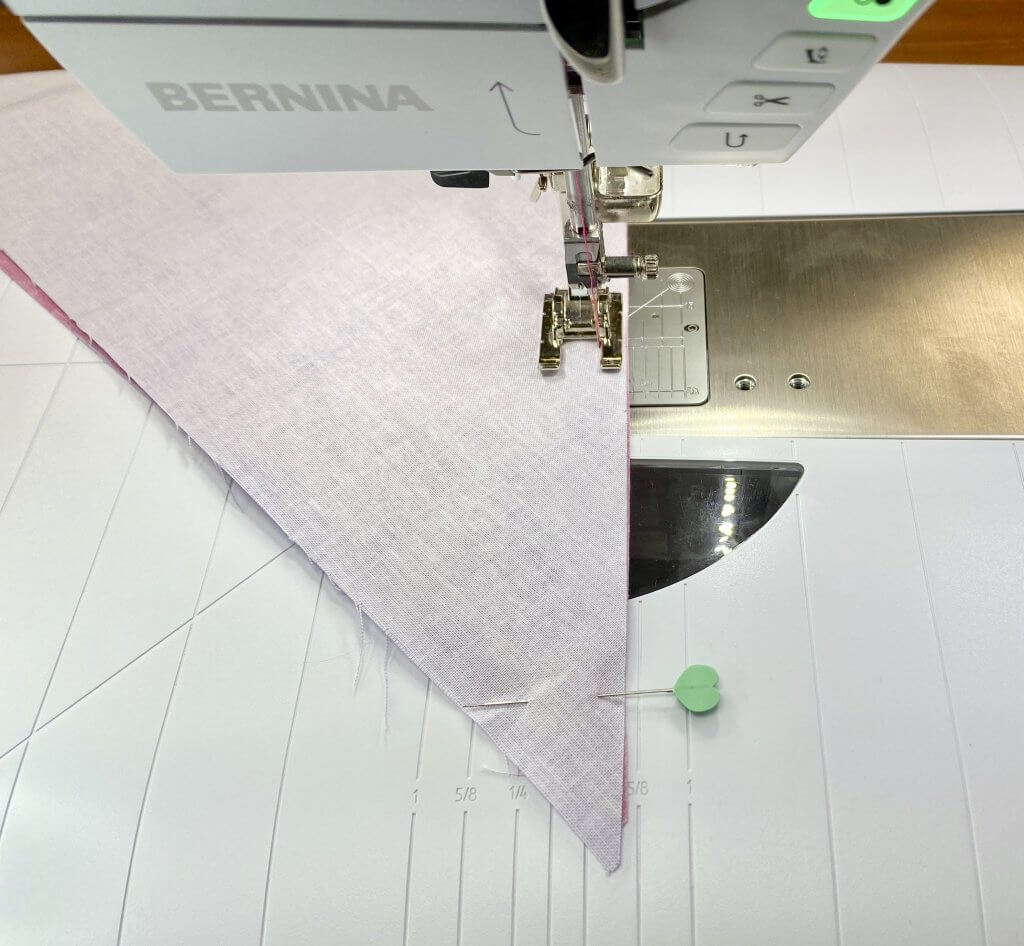
- Insert a new Schmetz Chrome Quilting Needles Size 90 into sewing machine, and attach an Open Toe Presser Foot.
- Stitch center seam.
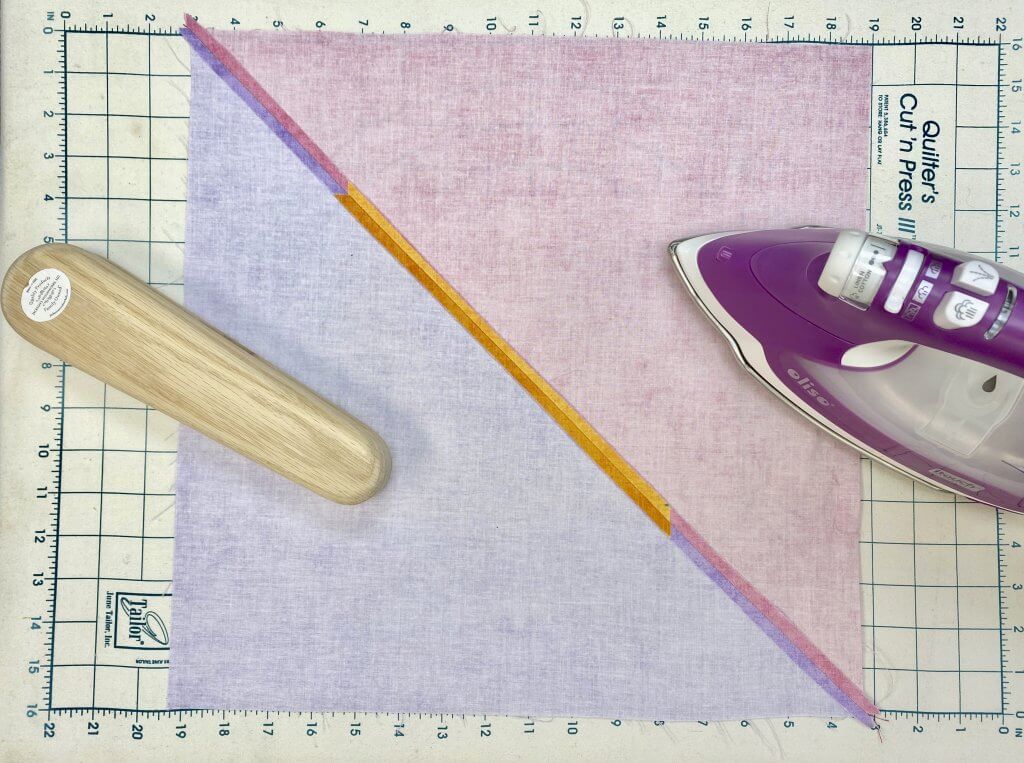
- Press seam flat; then press seam open using Tailor’s Clapper to flatten seam.
- Place quilt top right side up on pressing surface.
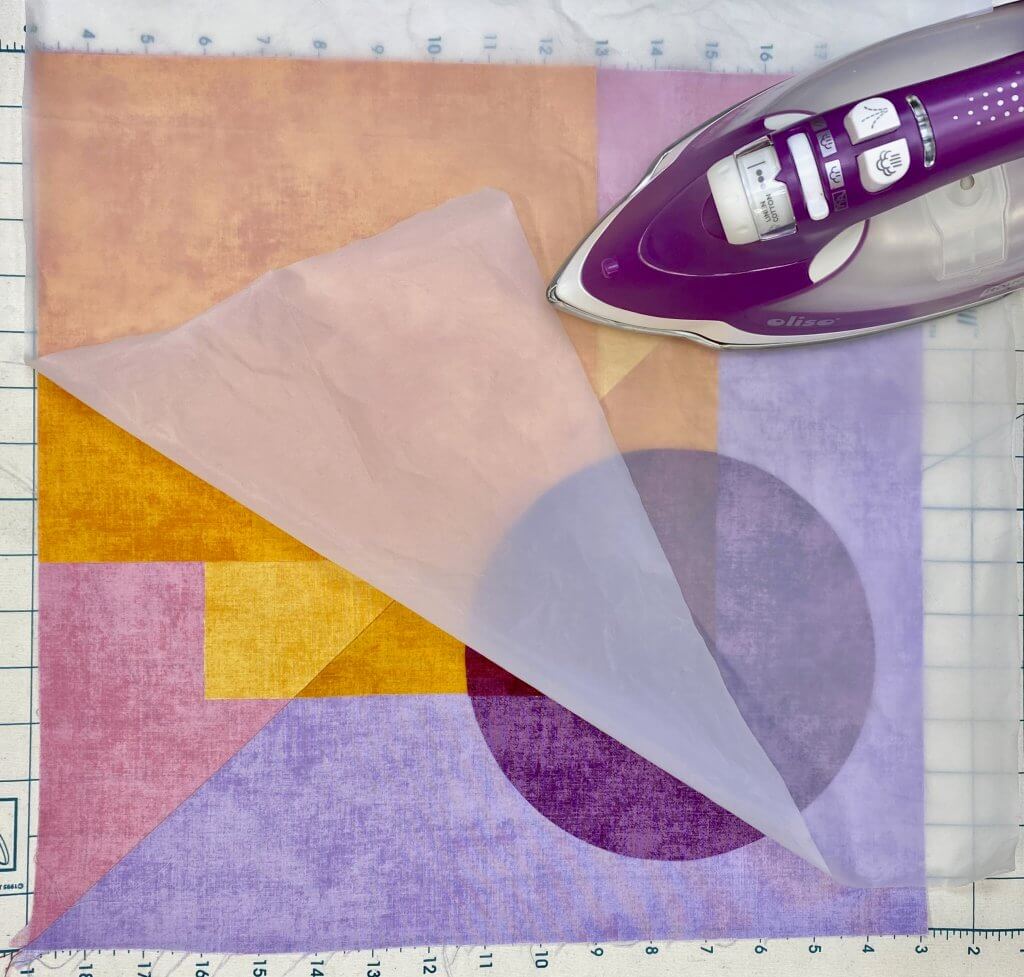
- Place one 9″ x 10″ rectangle Cheddar Cotton Shades at upper left quilt top corner as shown.
- Place one Burgundy/Grape circle assembly right side up on quilt top–aligning Burgundy quarter circle to lower left Cheddar triangle as shown.
- Using a Non-Stick Teflon Pressing Sheet and iron, press shapes to quilt top.
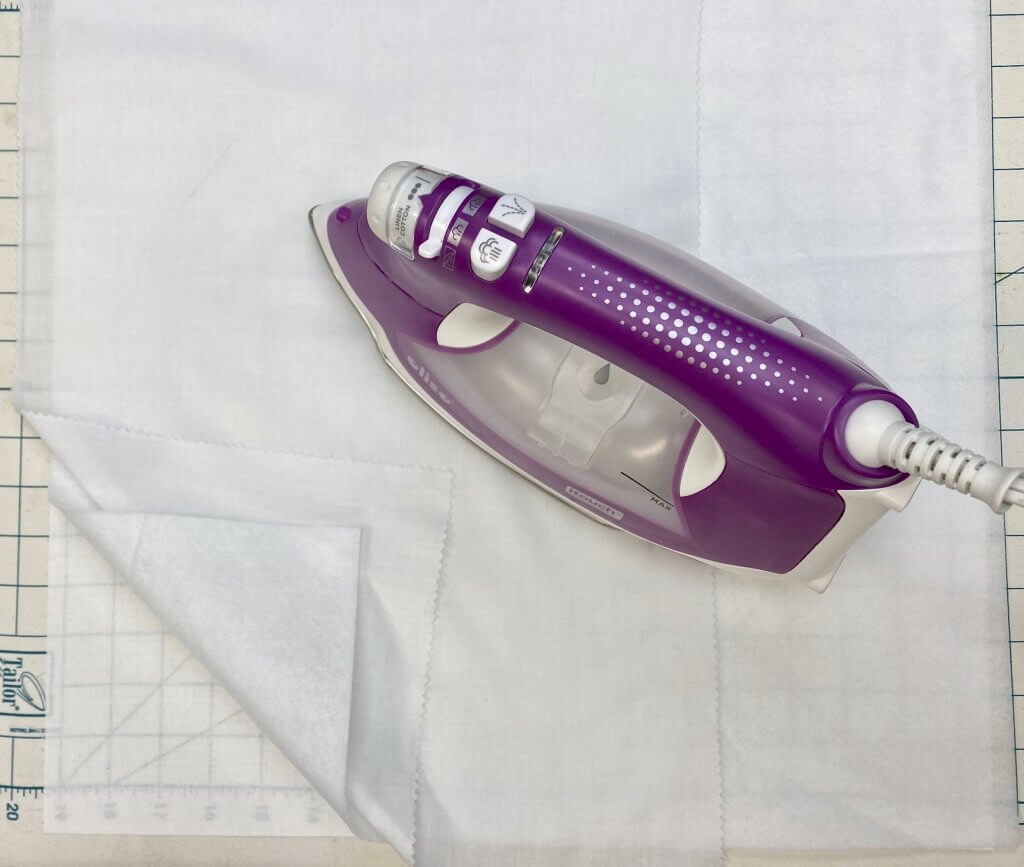
- Using an Eze-View Press Cloth, press Pellon Fusible Fleece to backing fabric following manufactures instructions.
- Apply Quilter’s Basting Spray to wrong side of quilt top.
![]()
Cover table surface with 2-3 layers Pattern Making Paper, when using Quilter’s Basting Spray!
Finish 2021 Mod Mini Quilted Wall Hanging
- Center sprayed quilt top to center of Fusible Fleece side of backing assembly.
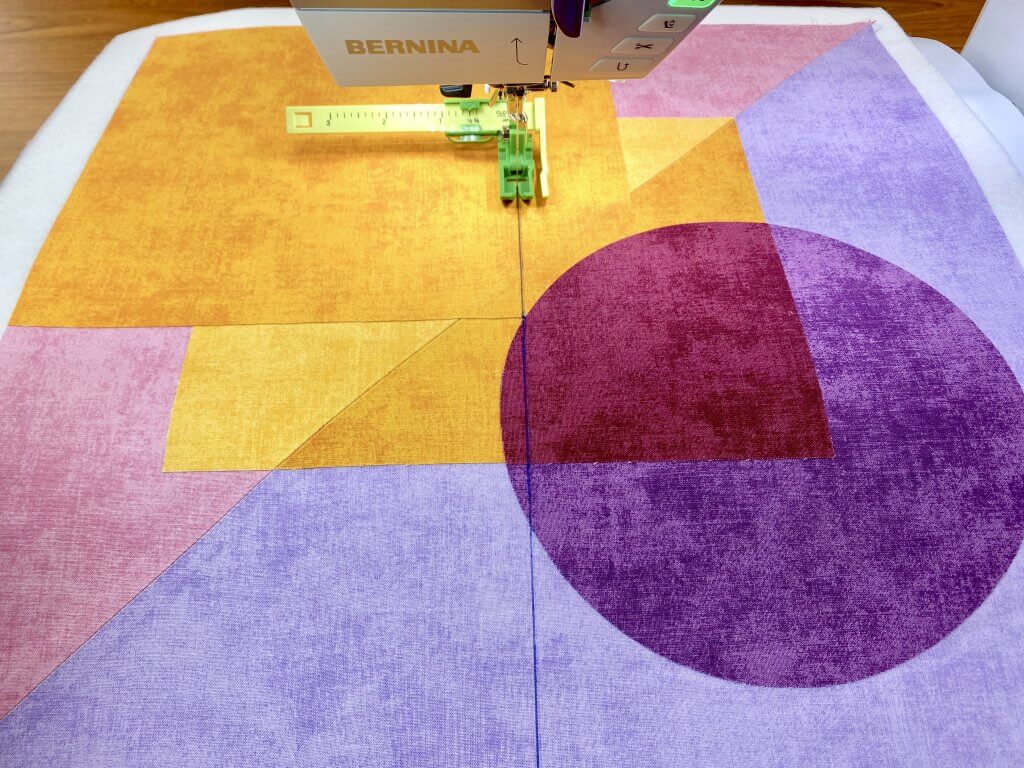
- Using a ruler and erasable gel pen, mark one vertical line down quilt center.
- Attach Clover’s Ultimate Quilt ‘n Stitch Presser Foot to sewing machine, and stitch along center marked line.
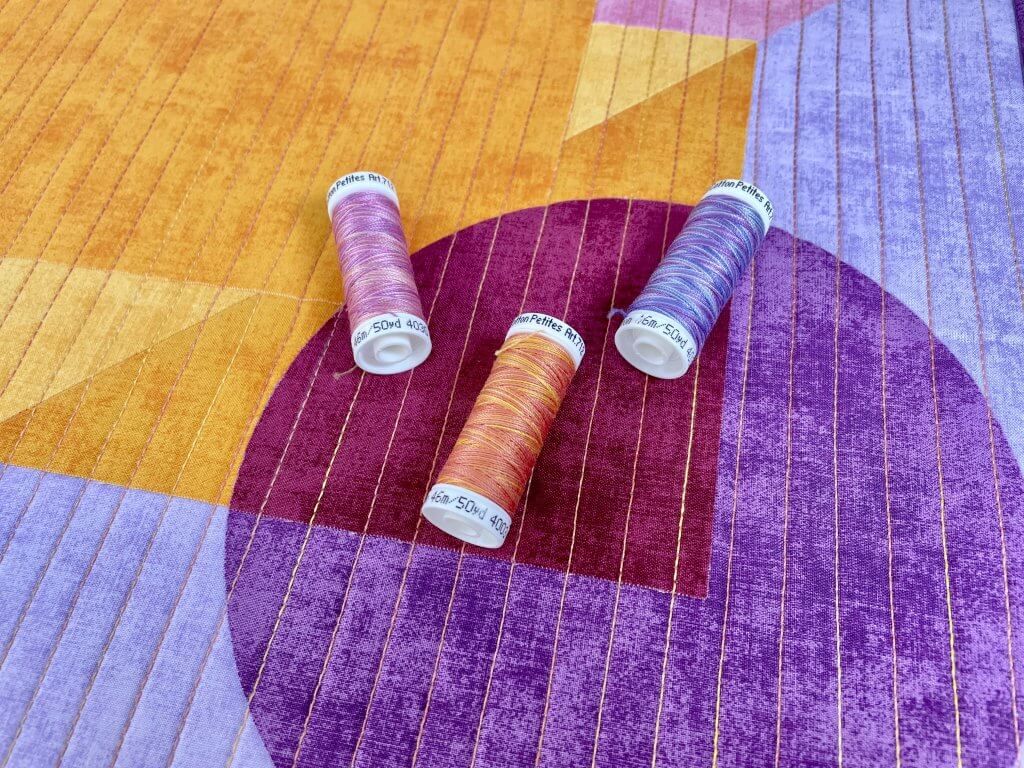
- Thread needle with Sulky 12 wt. Cotton Blendables Thread. We’re stitching with “Sunset Orange” from the Westport Petites Collection!
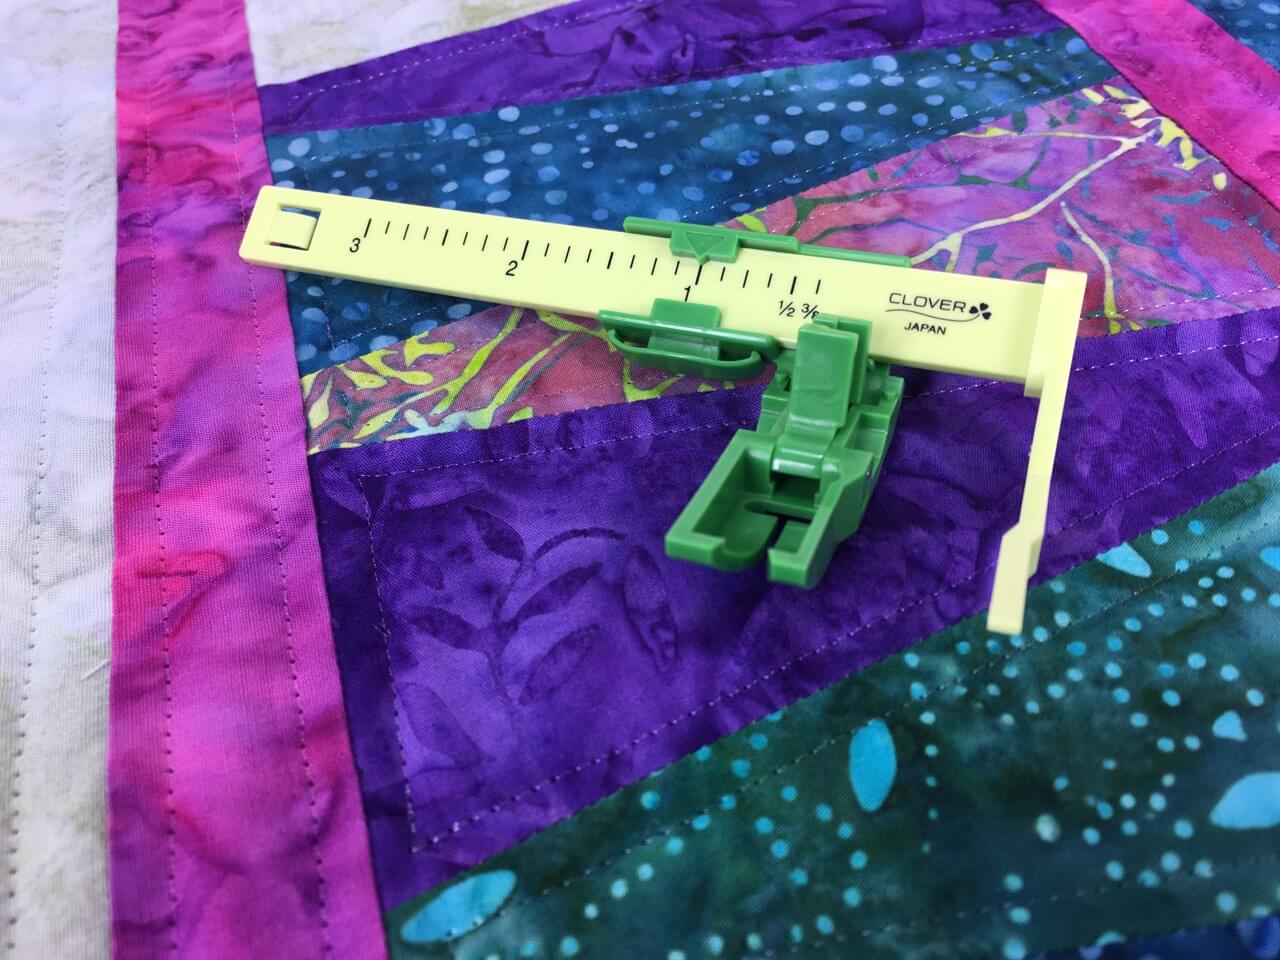
- Set Clover’s Ultimate Quilt ‘n Stitch Presser Foot guide at 3/8″ setting.
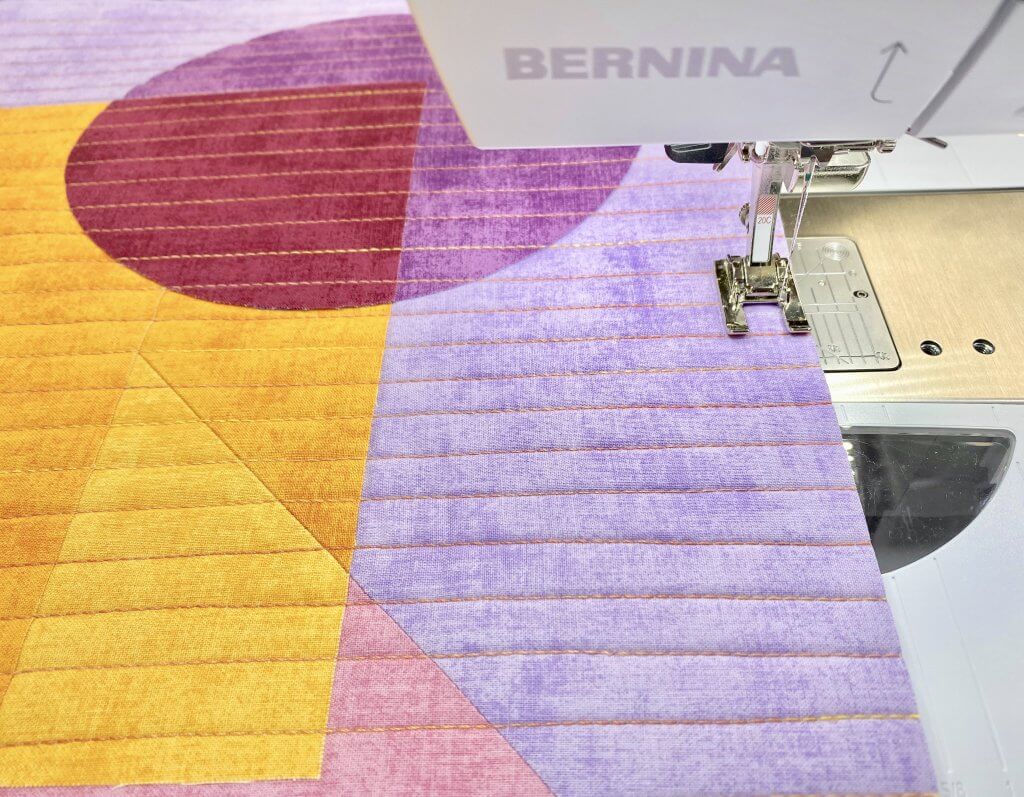
- Stitch multiple rows of straight line machine quilting, while aligning guide along previous stitched line.
- Continue stitching multiple rows of straight line machine quilting!
- Using a Rotary Cutter, Ruler and, mat, square and trim off excess fabric, fleece, and batting.
- Baste-stitch around all quilt edges with a scant 1/4″ seam.
- Repeat steps above and create a second quilt assembly.
Add A Rod Pocket for Hanging Quilt
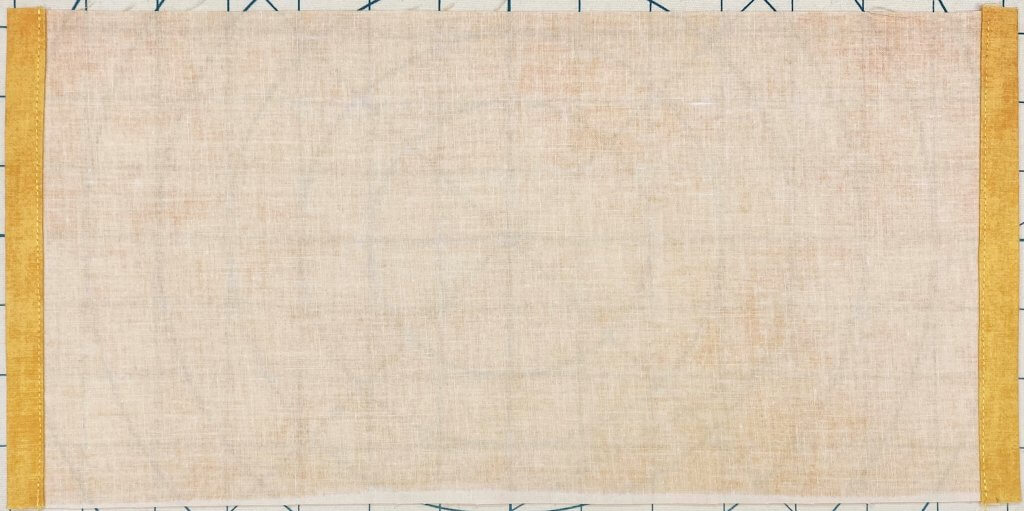
- Using a Rotary Cutter, Ruler and mat, cut two 7″ x 16″ rod pocket rectangles from remaining Amber Shades and Confetti Cotton Quilt Backing.
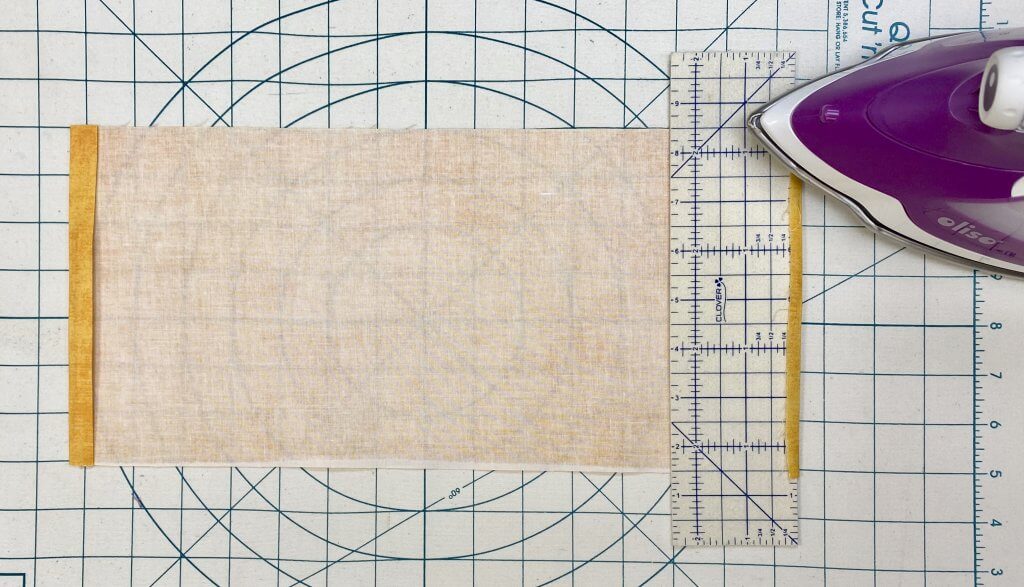
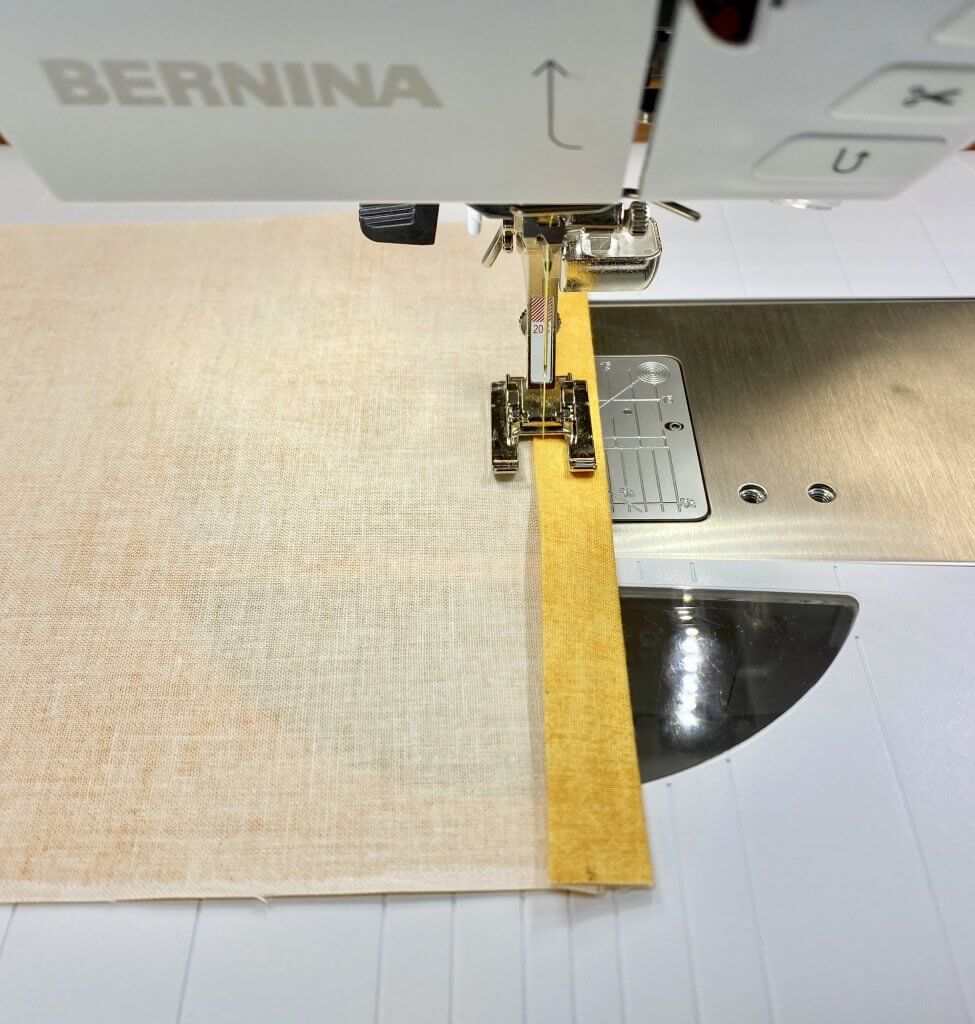
- Using Clover’s Hot Ruler, press under 1/4″ along each short end. Press under a second 3/8″ along each short end.
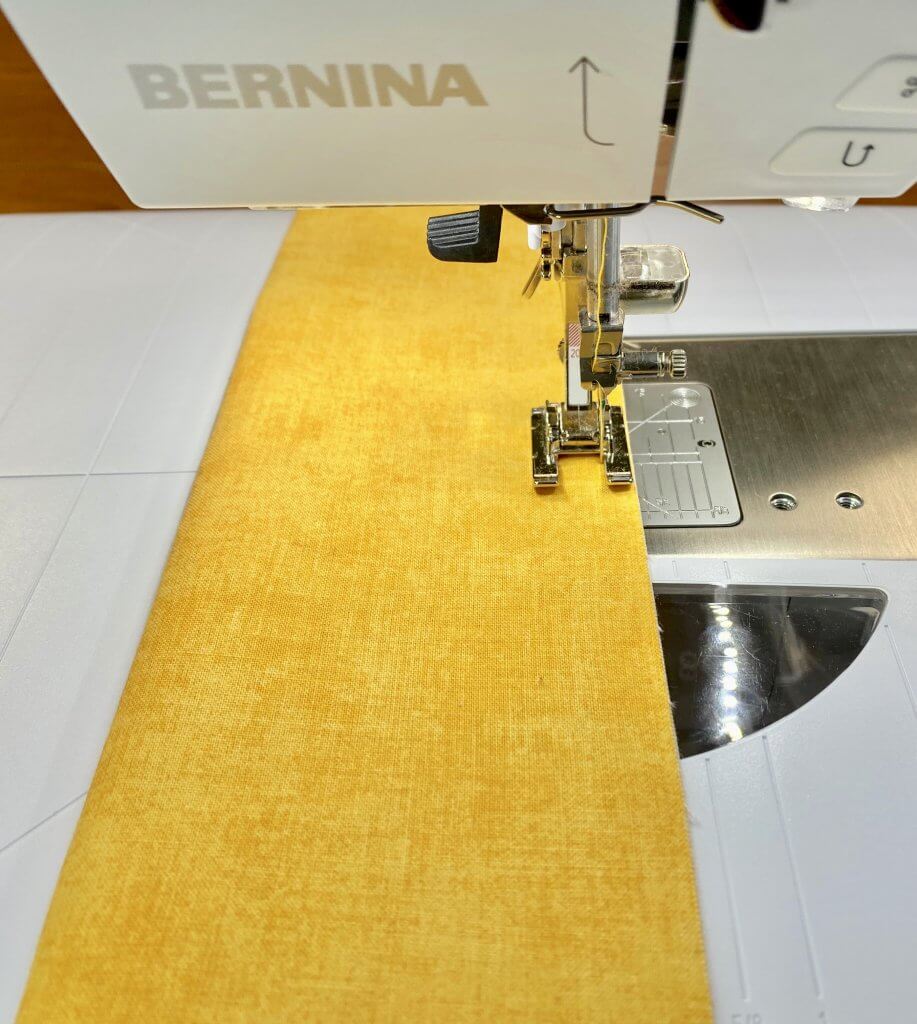
- Stitch.
- Press seams flat.
- Fold rod pocket in half, wrong sides together, meeting long edges. Press. Pin.
- Baste-stitch long seam along cut edges.
- Using Clover’s 5-in-1 Sliding Gauge, center rod pocket to quilt back – aligning cut edges of rod pocket to quilt top edge.
- Baste-stitch rod pocket
![]()
Use a hand sewing needle and coordinating thread to stitch bottom of rod pocket.
Create Binding
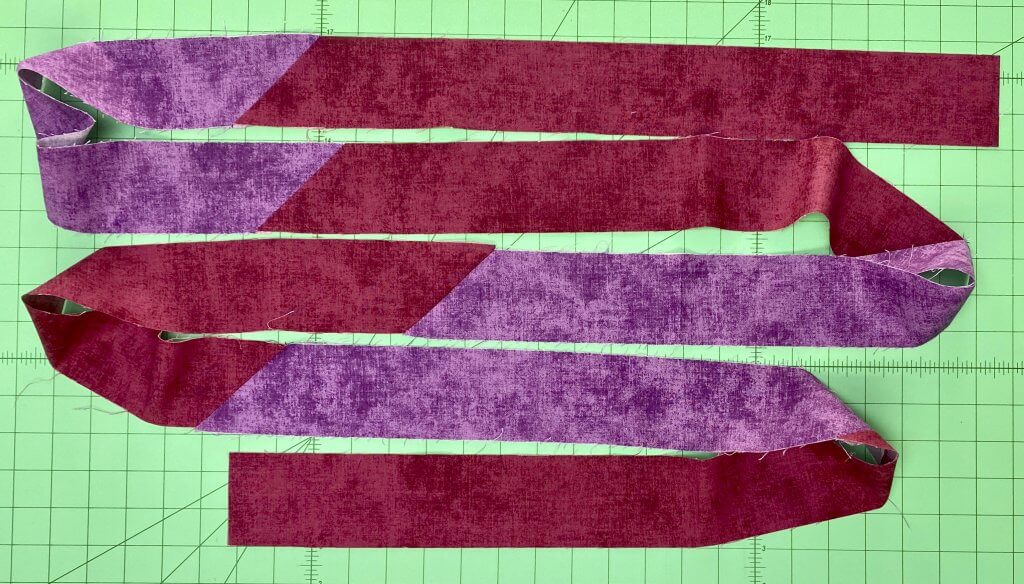
- Using a Rotary Cutter, Ruler and, mat, cut four 2-1/4″ x 22″ Burgundy Cotton Shades fabric strips and three 2-1/4″ x 22″ Grape Cotton Shades.
- With right sides together, place one Burgundy fabric strip to one Grape fabric strip, offsetting strips 1/2″.
- Stitch short ends of strips, using a diagonal seam, connecting angle intersections.
- Trim seam allowances to 1/4′.
- Stitch remaining fabric strips together, alternating Burgundy and Grape Cotton Shades – as shown – to create binding.
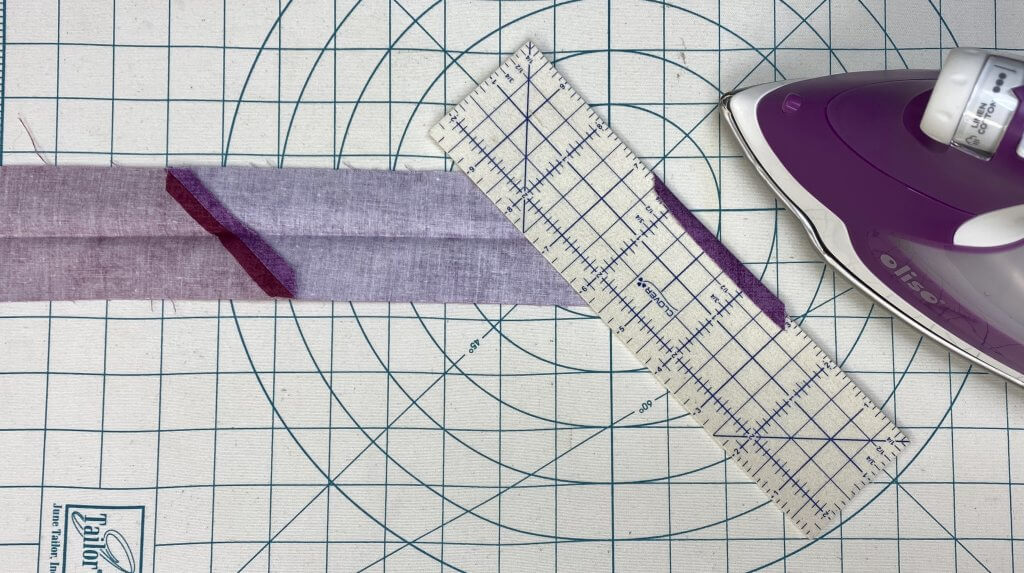
- Using a Rotary Cutter, Ruler and mat, cut strip in half at a 45-degree angle.
- Using Clover’s Hot Ruler, press under 1/4″ along 45-degree short end.
- Cut a length of Clover’s 1/4″ Fusible Web Tape.
- Following manufactures instructions fuse web tape to right side of pressed binding edge.
- Place fabric strip wrong sides together, meeting long edges. Press.
Attach Binding
- Meet binding cut edge to quilt edge, right sides together, near center of one edge. Pin.
- Stitch binding to quilt, beginning stitching at about 4″ from binding end. Backstitch.
- Stitch using scant 1/4″ seam.
- Prior to reaching the first corner, using Clover’s Seams Right and Fine White Marking Pen, mark a dot at 1/4″ from corner.
- Continue to stitching to marked dot. Backstitch. Cut threads. Rotate quilt.
- Fold binding up at angle–along same plane as quilt edge. Finger press to mark crease.
- Using Clover’s Straight Tailor’s Awl Stiletto, fold binding forward over awl, meeting binding cut edge to quilt cut edge.
- Stitch seam and backstitch at corner.
- Continue stitching, removing pins as you sew.
- Repeat steps above on all four corners.
- After stitching the final corner, stop stitching about 4″ away from angle-folded end of beginning binding. Backstitch.
- Remove paper backing from Clover’s 1/4″ Fusible Web Tape, insert ending binding into beginning of binding.
- Fold under end of binding, press.
- Using scissors cut away excess binding end.
- Re-fold binding right sides together. Press.
- Stitch binding to quilt edge. Backstitch.
- Press binding away from quilt center.
- Fold or “wrap” binding to wrong side, fussy folding corner folds to desired angles.
- Wonder Clip binding to quilt back.
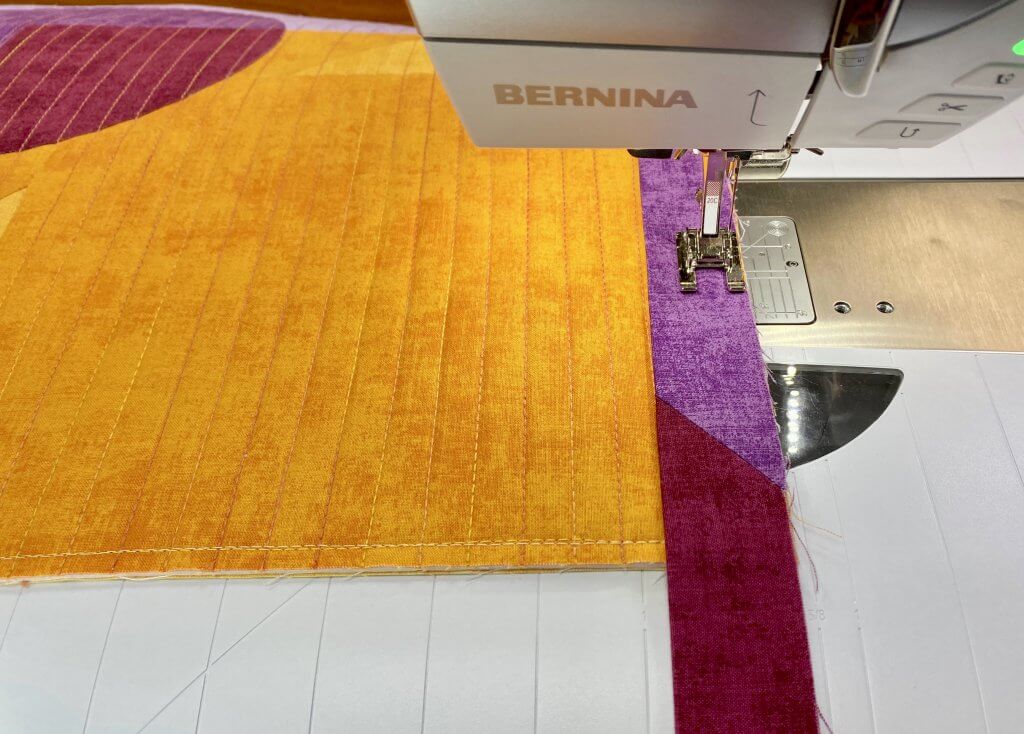
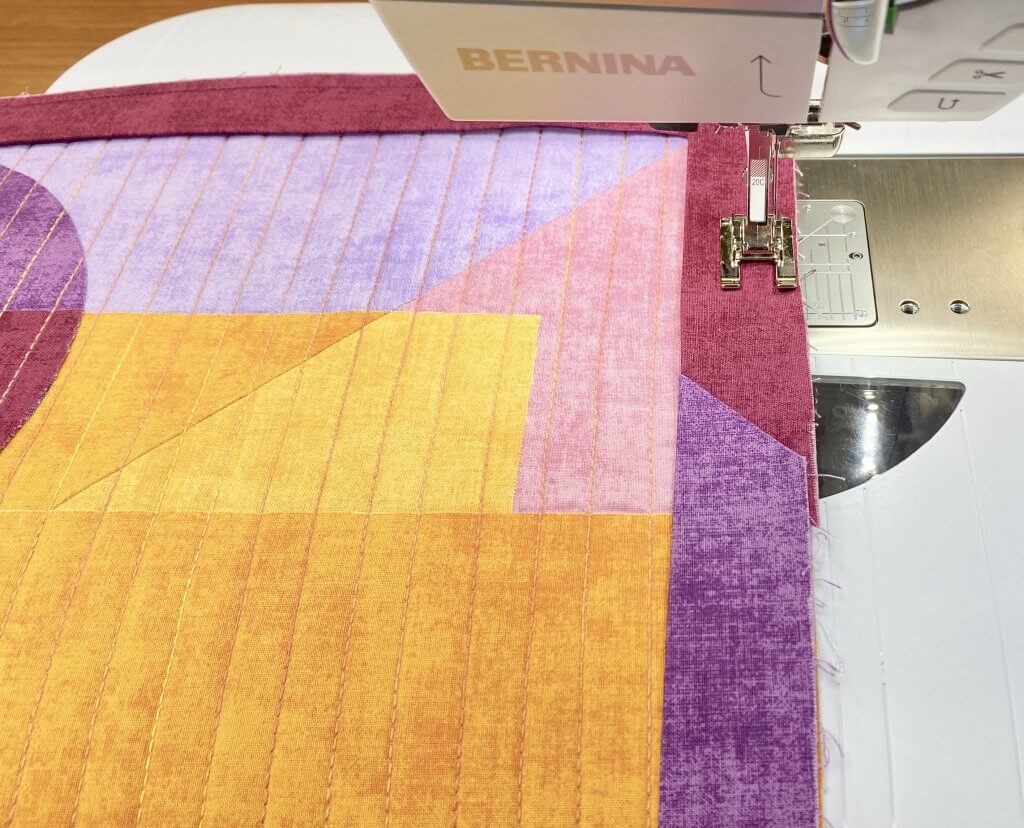
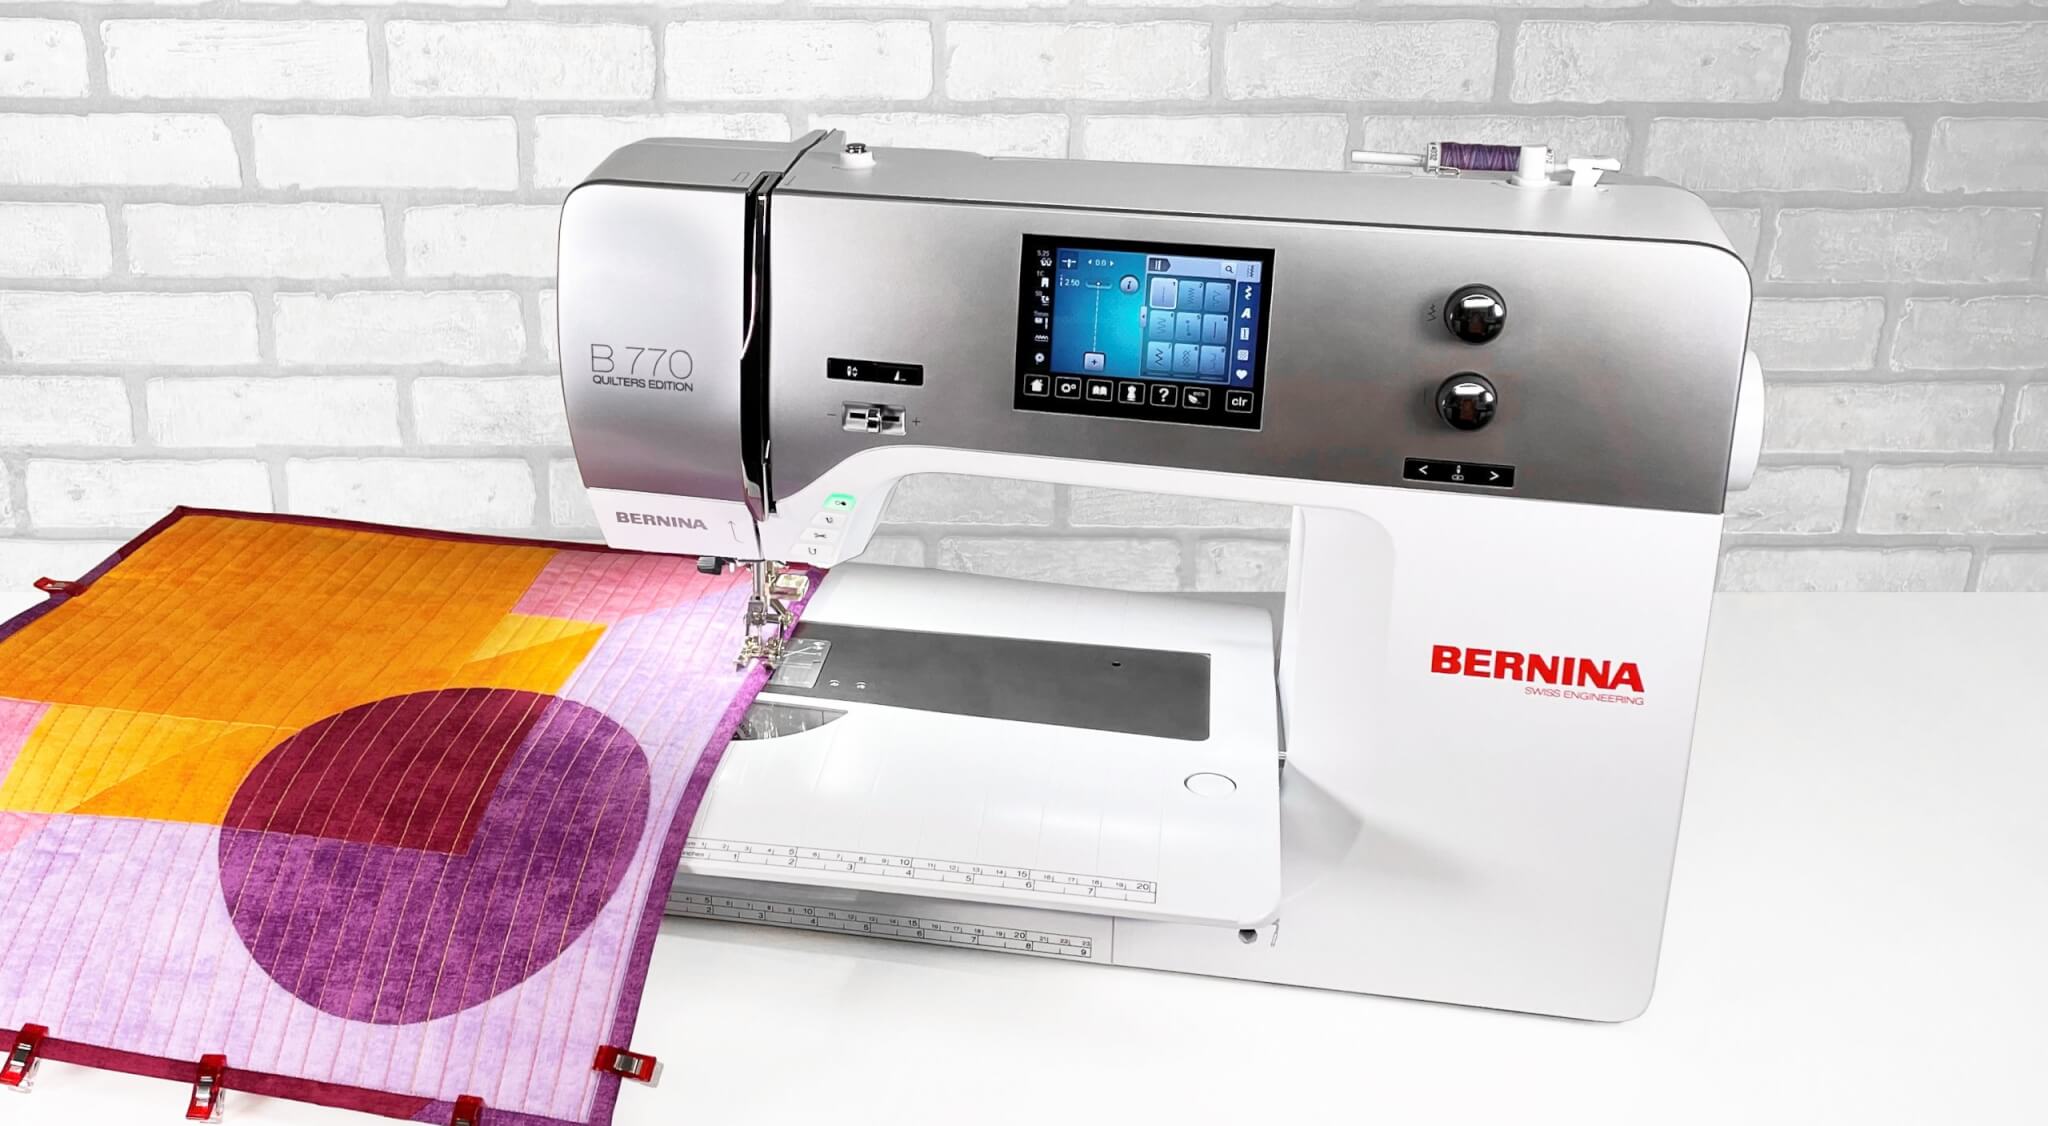
- Attached Edge Joining Presser Foot to sewing machine.
- Stitch binding to quilt, stitching in the “ditch” or the “well” of the seam – where the binding meets the quilt.
![]()
For a nearly “invisible” seam, stitch binding to quilt, stitching in the “ditch” with Monofilament Thread.
- Repeat steps above and create a second Mod Mini Quilt!
2021 Mod Mini Quilted Wall Hanging Supplies Listing
NEW! Exclusive 2021 Mod Mini Wall Hanging Project Pack by Team NZP
Rotary Cutting Ruler, Rotary Cutter and Mat
12-1/2″ x 12-1/2″ Square Rotary Cutter Ruler
Clover’s Heart Shaped Straight Pins and/or Clover’s Heart Shaped Magnetic Pin Caddy
Clover’s I Sew For Fun Fabric Marking Pen
Clover’s Fine White Marking Pen
Clover’s 1-4″ Fusible Web Tape
Clover’s Straight Tailor’s Awl Stiletto
Clover’s Ultimate Quilt ‘n Stitch Presser Foot
Sulky 12 wt. Cotton Blendables Thread- Westport Petites Collection
Clover’s 7-3/4″ Bordeaux Shears
Clover’s 5-1/8″ Bordeaux Shears
June Tailor’s Eze-View Pressing Cloth
June Tailor’s Non-Stick Teflon Pressing Sheet
June Tailor’s Quilt Basting Spray
Schmetz Chrome Quilting Needles Size 90
Iron

Find the NEW! Exclusive Modern Mini Shades & Shadows Quilted Wall Hanging Bundle Box by Team NZP at ShopNZP.com

Find NEW! Exclusive Project Packs, Sewing Tools, Quilting Supplies, Fabrics and More! at ShopNZP.com

Nearly $3,000 in prize packages!
Visit QuiltShow.com/ModernMiniQuiltChallenge for complete details and prize package listing.
View the Gallery of Quilts
Photos will be hosted by PBS Wisconsin on the public Quilt Show Facebook Page in the 2021 Quilt Show Modern Mini Quilt Challenge album. You may comment and ask questions directly on the photo. Of course, you can always share photos within Facebook, too. You do NOT need to have a Facebook account to enter the challenge. By emailing your photo to the address above, you’re acknowledging and consenting to having the image shared in public online social media venues. Subscribe or “LIKE” the Quilt Show Facebook page to see all the new mini quilt images as they are added. View entries in the photo album here.
Happy Quilting!
Team Nancy Zieman
Nancy Zieman Productions. LLC.

Stitch it! Sisters is a production of NZ Productions LLC. Content in this feed is © copyright 2021 by Nancy Zieman Productions, LLC and may not be republished without written permission. You’re welcome to forward the email to a friend or colleague but it’s not okay to add the RSS feed automatically as content on a blog or other website. The FTC requires us to tell you that Nancy Zieman Productions, LLC has provided products by other companies in the course of doing business. The FTC requires us to advise you to take this information into consideration when reading this posting.


























Julie K.
This looks like a quick, easy, day brightener type of project! I’m going to have to try it!