
NEW! Zippity-Do-Done Project Bags Sewing Tips–Plus Zippity-Do-Done Project Bags Bundle Box Sale Ends Tonight!
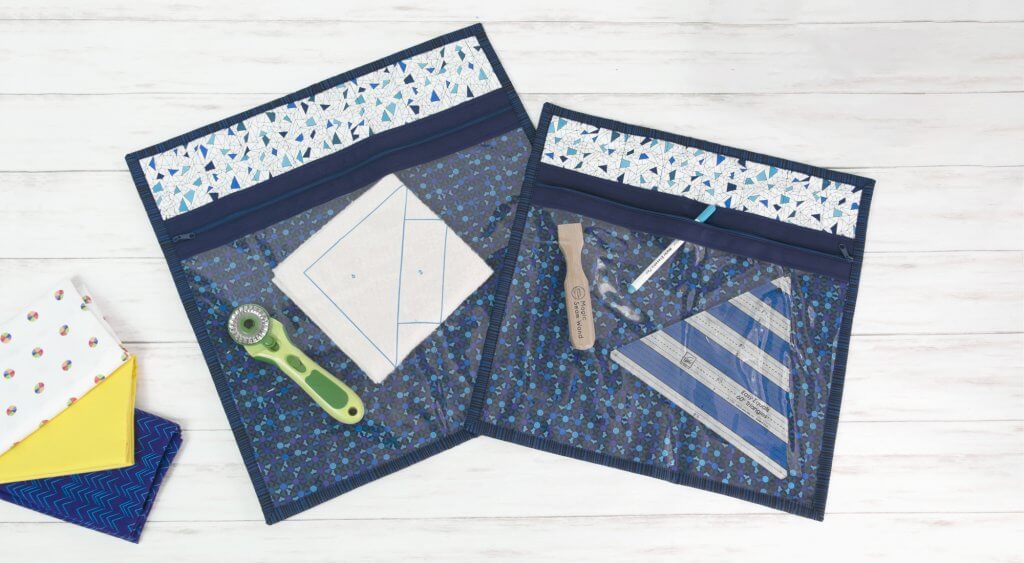
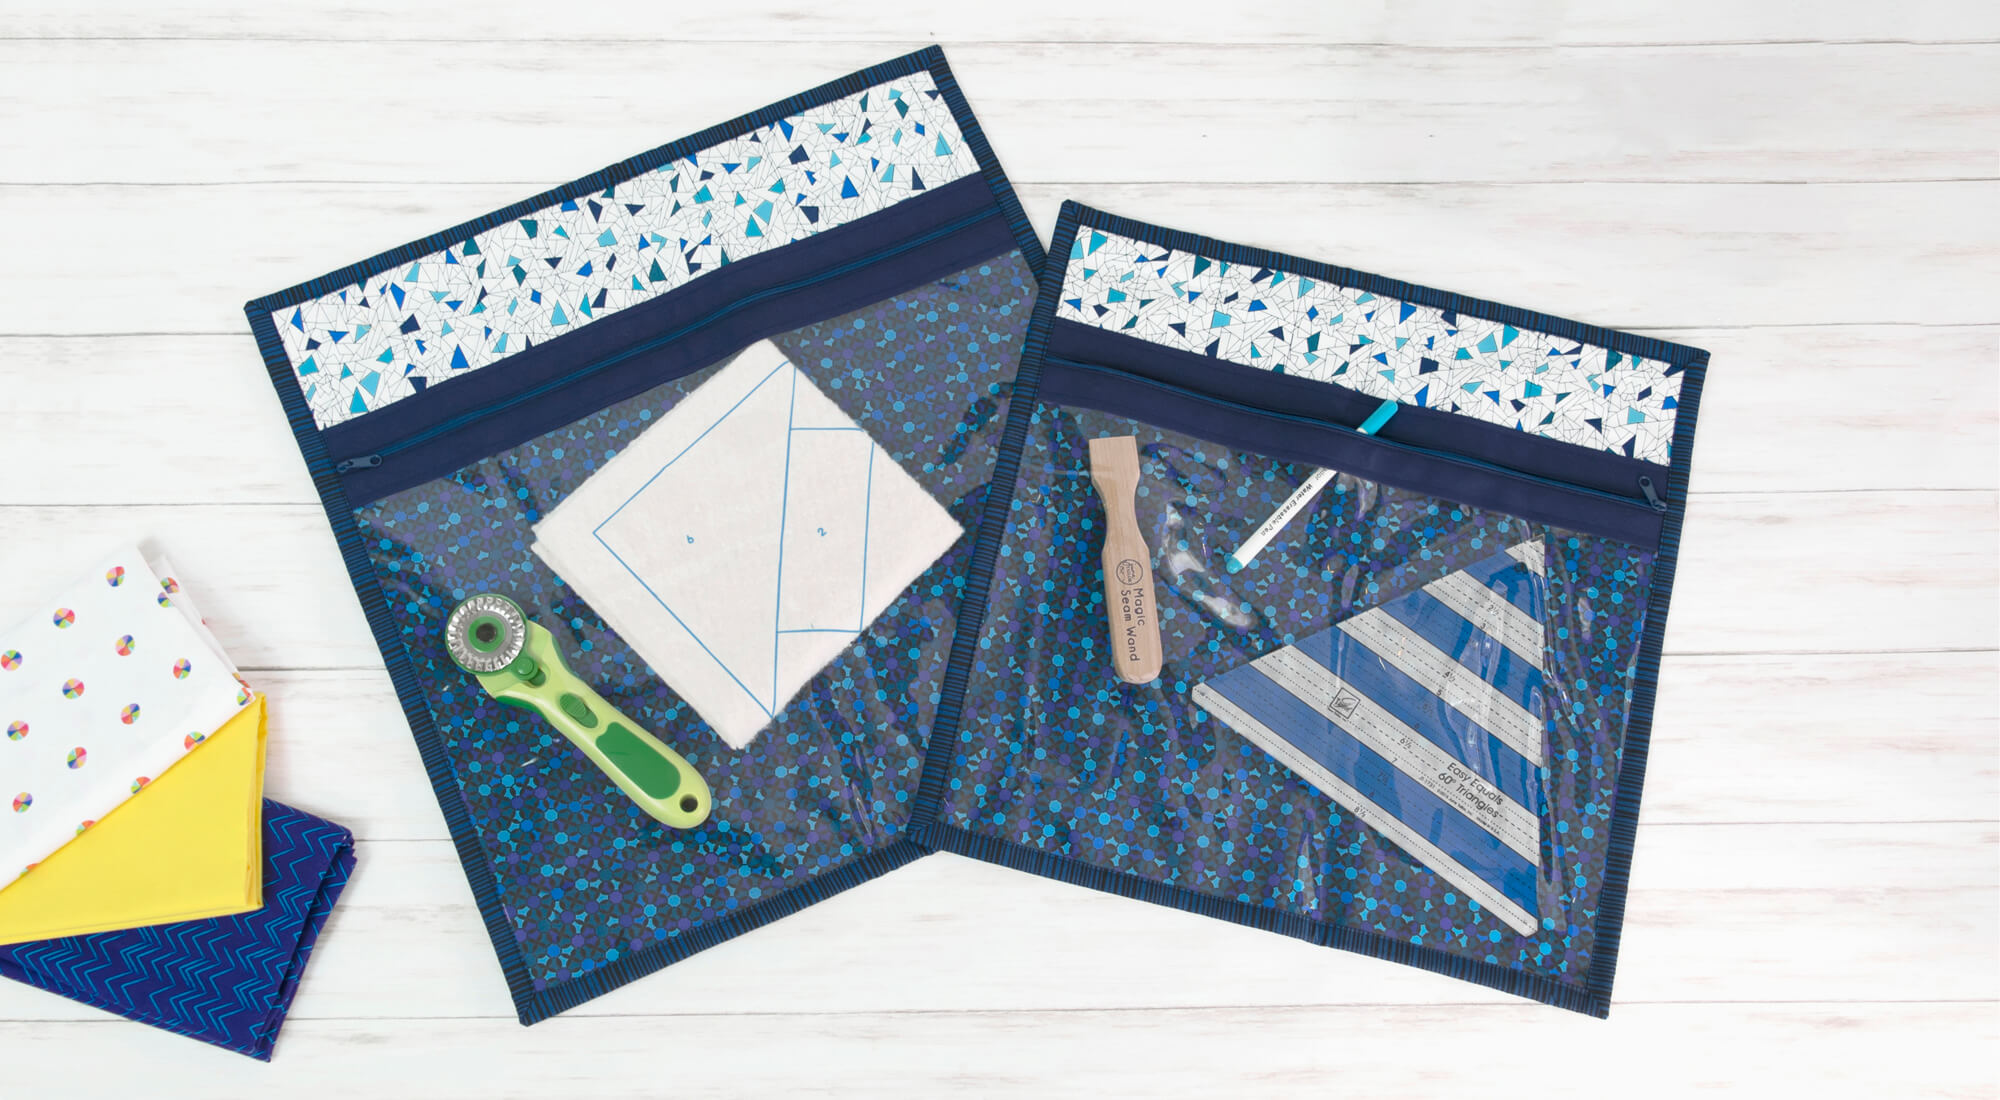
NEW! Quilt As You Go: Zippity-Do-Done Project Bags Sewing Tutorial! Follow along as we stitch set of two beautiful project organizing bags. Plus SAVE 51% OFF our NEW! Exclusive Quilt As You Go Zippity-Do-Done Bundle Boxes ends tonight at ShopNZP.com!

NEW! Watch Stitch it! Sisters Quilt As You Go: Zippity-Do-Done Project Bags Program 309 with Deanna Springer and Guest Jill Repp from June Tailor and learn learn Jill’s easy sewing tips for making her Quilt As You Go Zippity-Do-Done Project Bags!

 Then, head over to ShopNZP.com and SAVE 51% OFF our NEW! Exclusive Quilt As You Go Zippity-Do-Done Bundle Box that includes everything you’ll need to sew two Project Bags including printed substrate, clear vinyl, Zippity-Do-Done, step-by-step instructions and Black, White & Bright Fabrics by Contempo Fabrics for Benartex. SALE ends tonight at ShopNZP.com!
NEW! Watch Stitch it! Sisters Quilt As You Go: Zippity-Do-Done Project Bags Program 309 with Deanna Springer and Guest Jill Repp from June Tailor and learn Jill’s easy sewing tips for making her Quilt As You Go Zippity-Do-Done Project Bags!
Stitch it! Sisters Quilt As You Go: Zippity-Do-Done Project Bags Sewing Tutorial
by the Stitch it! Sisters
Quilt As You Go: Zippity-Do-Done Project Bags Supplies
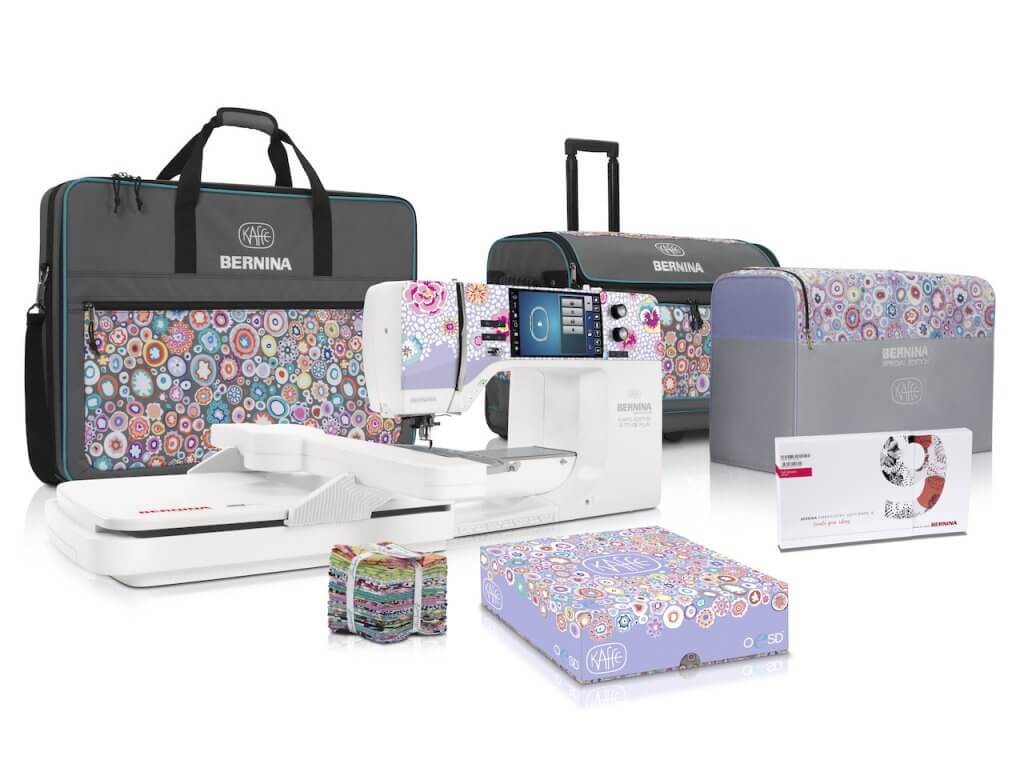
Exclusive Quilt As You Go: Zippity-Do-Done Bundle Box by the Stitch it! Sisters
June Tailor’s Quilter’s Starch Savvy
June Tailor’s Fabric Glue Stick
Schmetz Machine Quilting Needles Size 90
Clover’s 7-3/4″ Bordeaux Ultimate Shears
Clover’s Straight Tailors Awl Stiletto

![]()
Prepare your fabrics! Pre-shrink fabrics by steaming and pressing. Then, stabilize fabrics for the sewing process by pressing and starching fabrics with Quilter’s Starch Savvy.
- Following instructions included with Zippity-Do-Done Project Bag Bundle Box, cut fabric squares and rectangles.
Assemble Quilt As You Go: Zippity-Do-Done Project Bags

- Place wrong side of backing fabric to unprinted side of bag back substate. Make sure backing fabric completely covers printed area.
- Baste stitch around outside perimeter pattern line. NOTE: Do not iron.
Optional: Use June Tailor’s June Tailor’s Fabric Glue Stick or Quilt Basting Spray to spray baste substrate to backing fabric!

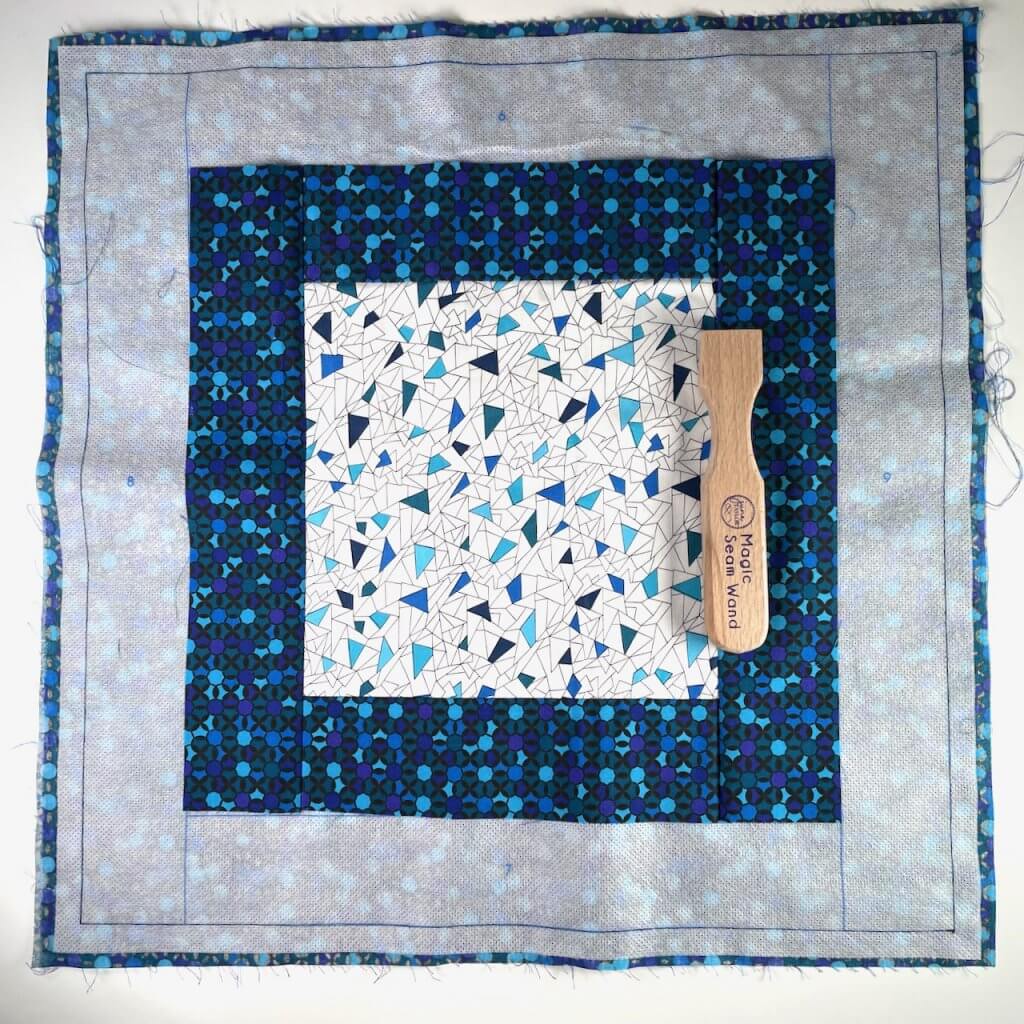
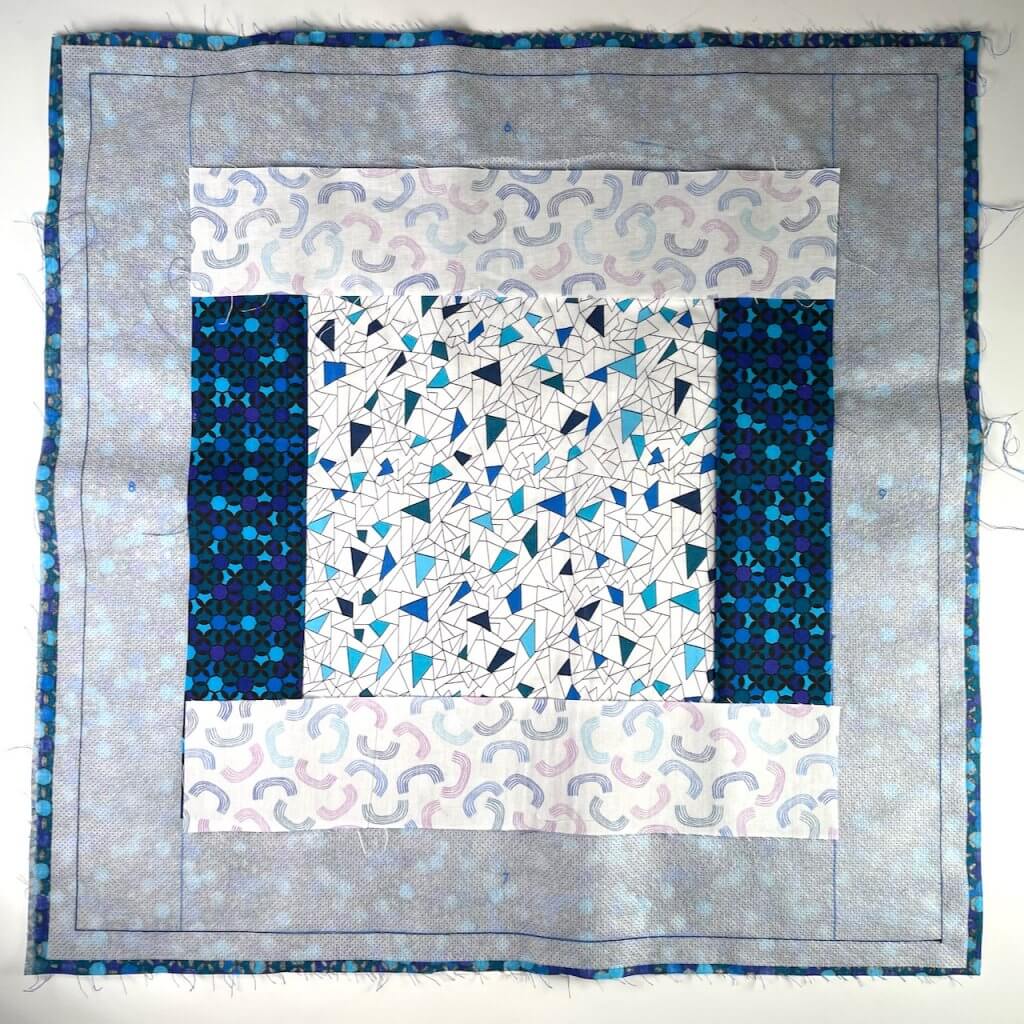
- Place center fabric square piece one – right side up onto center printed blue square placement lines marked number one.
Printed blue lines are for placement only and are not stitching lines.

- Use June Tailor’s Fabric Glue Stick to hold fabric piece number one in place.

- Place rectangle fabric piece two onto piece one, along blue placement lines, with right sides together.
- Stitch with a scant 1/4″seam along outer long edge of rectangle.
- Place rectangle fabric piece three onto piece one, along blue placement lines, with right sides together.
- Stitch with a scant 1/4″ seam along outer long edge of rectangle.
- Use June Tailors Magic Seam Wand to press seam open. NOTE: Do not iron.

- Place rectangle fabric piece four along blue placement lines, with right sides together.
- Stitch with a scant 1/4″ seam along outer long edge of rectangle. Fold open seam.
- Place rectangle fabric piece five along blue placement lines, with right sides together.
- Stitch with a scant 1/4″ seam along outer long edge of rectangle. Fold open seam.
- Use June Tailors Magic Seam Wand to press seam open. NOTE: Do not iron.
- Place rectangle fabric piece six along blue placement lines, with right sides together.
- Stitch with a scant 1/4″ seam along outer long edge of rectangle. Fold open seam.
- Use June Tailors Magic Seam Wand to press seam open. NOTE: Do not iron.
- Place rectangle fabric piece seven along blue placement lines, with right sides together.
- Stitch with a scant 1/4″ seam along outer long edge of rectangle. Fold open seam.
- Use June Tailors Magic Seam Wand to press seam open. NOTE: Do not iron.
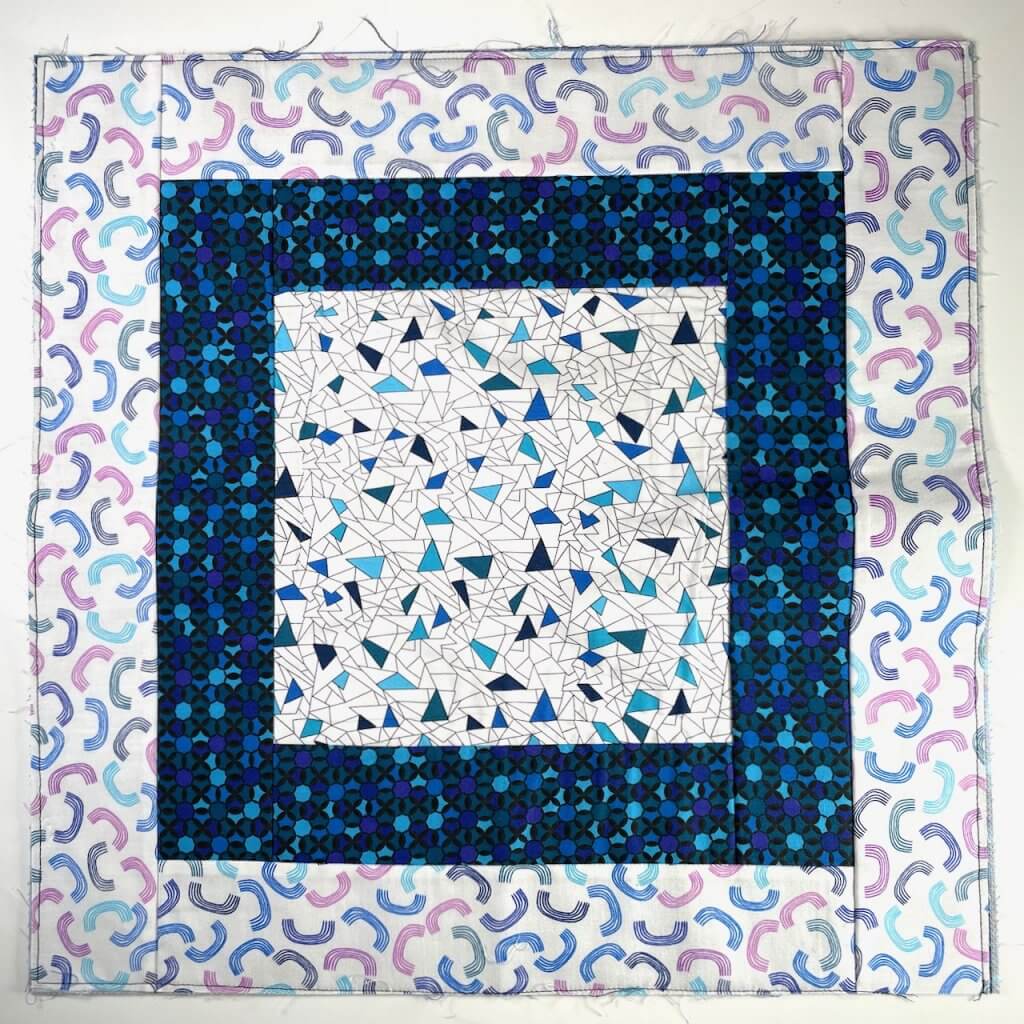
- Continue placing fabric rectangles following numbering, with right sides together.
- Stitch with a scant 1/4″ seam along outer long edge of rectangle. Fold open seams.
- Use June Tailors Magic Seam Wand to press seams open. NOTE: Do not iron.
- Edgestitch around outer edges. Trim edges square.
- Set aside bag back assembly.

- Place both bag upper front fabric rectangles to bag upper front substrate–with wrong sides to substrate–at blue placement lines. Glue-baste layers together with June Tailor’s Fabric Glue Stick.
- Stitch all three layers together with short vertical lines at about 1-3/4″ apart.

- Insert upper front assembly into one long edge opening of Zippity-Do-Done. Edgestitch along long edge of Zippity-Do-Done–stitching through all layers.

- Insert clear vinyl rectangle into remaining opening of Zippity-Do-Done. Edgestitch along long edge of Zippity-Do-Done–stitching through all layers.

- Optional: Add decorative stitching, ribbon trim, or fabric trim embellishment to Zippity-Do-Done.

- Layer bag front assembly wrong side to bag back assembly wrong side. Wonderclip along edges.
- Bind edges, through all layers, using your favorite binding methods.


Shop our Birthday Sale starting today! SAVE up to 55% Off Select Sewing Tools, Quilting Supplies, and Fabrics PLUS FREE! Standard Shipping on orders over $50* at ShopNZP.com!

SAVE 10%-20% Off Benartex Fabrics at ShopNZP.com!

SAVE 20% Off Benartex Fall Fabrics at ShopNZP.com


SAVE 10% Off Schmetz Needles, Needle MyPad, & More at ShopNZP.com!

SAVE 20% Off Clover Sewing Tools & Notions at ShopNZP.com! 
SAVE 20% Off OESD Machine Embroidery Designs & Supplies at ShopNZP.com!
SAVE 30% Off Stitch it! Sisters Sewing Project Bundle Boxes & Kits at ShopNZP.com!


Are you traveling through the Wisconsin countryside this fall? Make plans to visit the The Nancy Had a Notion History Exhibit! The exhibit will be on display on the 2nd floor of The Nancy Zieman Sewing Studio–Now easily accessible by our new elevator, Monday through Saturday this summer!

Join our NEW! Quilting Group–meeting the second Thursday of each month–at The Nancy Zieman Sewing Studio! Sign Up in-store or online, Today at ShopNZP.com!

View the NEW! Nancy Zieman Sewing Studio Class Schedule and Sign Up for classes in-store, or online at ShopNZP.com!

![]()


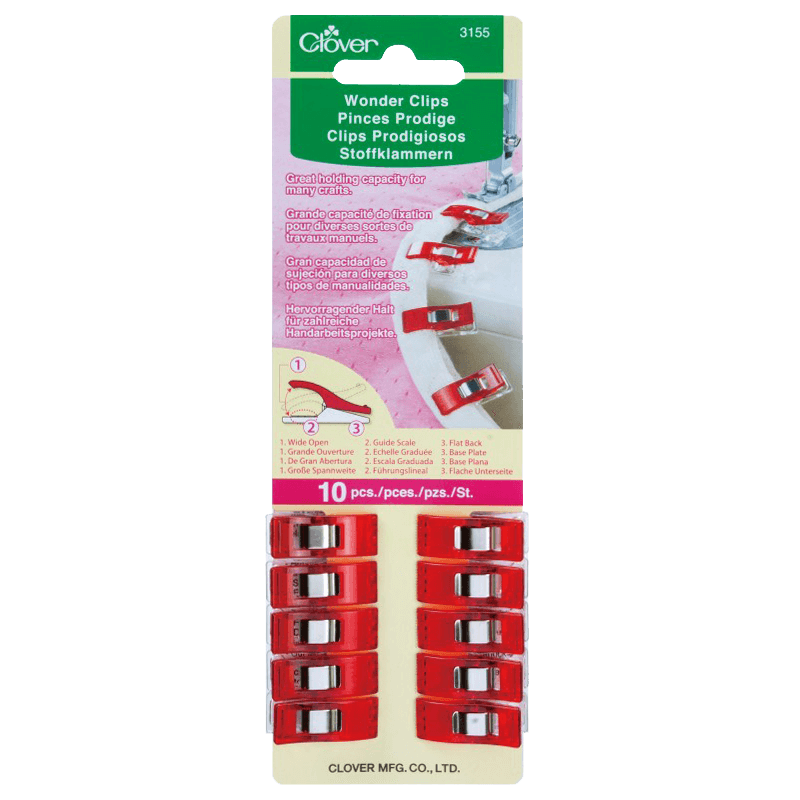
For a chance to be the random winner of a 10-Pack of Clover’s Wonder Clips, please leave a comment below about our new Project Bags!
Clover will give away one 10-Pack of Clover’s Wonder Clips, to one US resident in the 48 contiguous states. Winner must reply within 30 days to the official giveaway announcement email message – sent from Nancy Zieman Productions.
Happy Stitching!
Team Nancy Zieman
Nancy Zieman Productions. LLC.
![]()
Stitch it! Sisters is a production of NZ Productions LLC. Content in this feed is © copyright 2022 by Nancy Zieman Productions, LLC and may not be republished without written permission. You’re welcome to forward the email to a friend or colleague but it’s not okay to add the RSS feed automatically as content on a blog or other website. The FTC requires us to tell you that Nancy Zieman Productions, LLC has provided products by other companies in the course of doing business. The FTC requires us to advise you to take this information into consideration when reading this posting.


Susan
Project bags are a great way to organize and they make great gifts.
Barb Abler
Hi NZP Team and June Taylor Team,
Nice way to get organized and so cute. Thank you for keeping Nancy Zieman’s legacy going strong. I loved her “Sewing Weekends”. Your store is beautiful and very well organized. Love it.
As Nancy only said, bye for now,
Barb Abler
CARLA
I like the Project bags, it looks like something I can do without getting lost. That is why I love the videos on the projects so I can start and stop them as I am trying to complete the project.
For some reason they have been having a lot of SEWING WITH NANCY – PBS series here and I am so happy to see them again. I have been watching her for years. Such a legend. Keep up the good work and her name will go on forever.