
Quilt to Give: Step Ten—Binding and Labeling
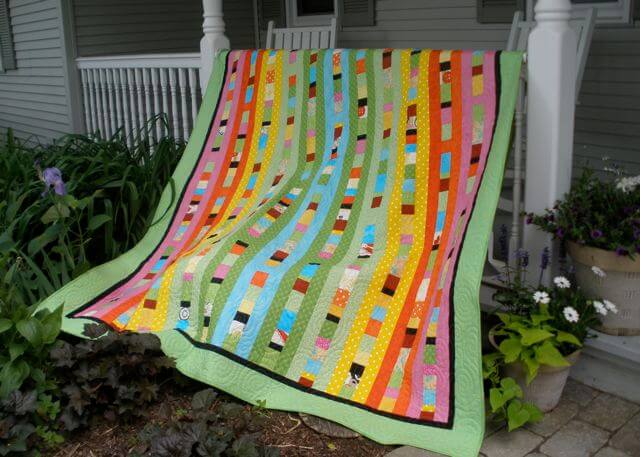
This is it, the final step of creating the Quilt to Give. Bind your creation and add a label, then you’ll be ready to give it away.
Now for the final step: Bind and Label Your Quilt
Note: Samples for the binding steps were made from contrasting fabrics. The photos are not from a completed quilt.
1. Prepare binding strips.
Twin:
Cut eight 2-1/2″ crosswise strips. (5/8 yd.)
Double:
Cut nine 2-1/2″ crosswise strips. (3/4 yd.)
Queen:
Cut ten 2-1/2″ crosswise strips. (3/4 yd.)
King:
Cut ten 2-1/2″ crosswise strips. (3/4 yd.)
• Stitch short ends of the binding strips, right sides together. Press seams open.
• Cut one end of the binding at a 45° angle. Fold in 1/4″ at trimmed end.
• Press a 1/4″ strip of paper-backed fusible web to the folded-under edge of the binding. Leave paper backing attached.
• Fold binding in half lengthwise, wrong sides together. Press.
2. Attach binding to the quilt.
• Meet the binding to the right side of the quilt, starting with the angle-cut end in the center of one side. Stitch binding to quilt with a 1/4″ seam, beginning 4″ from the end of the binding.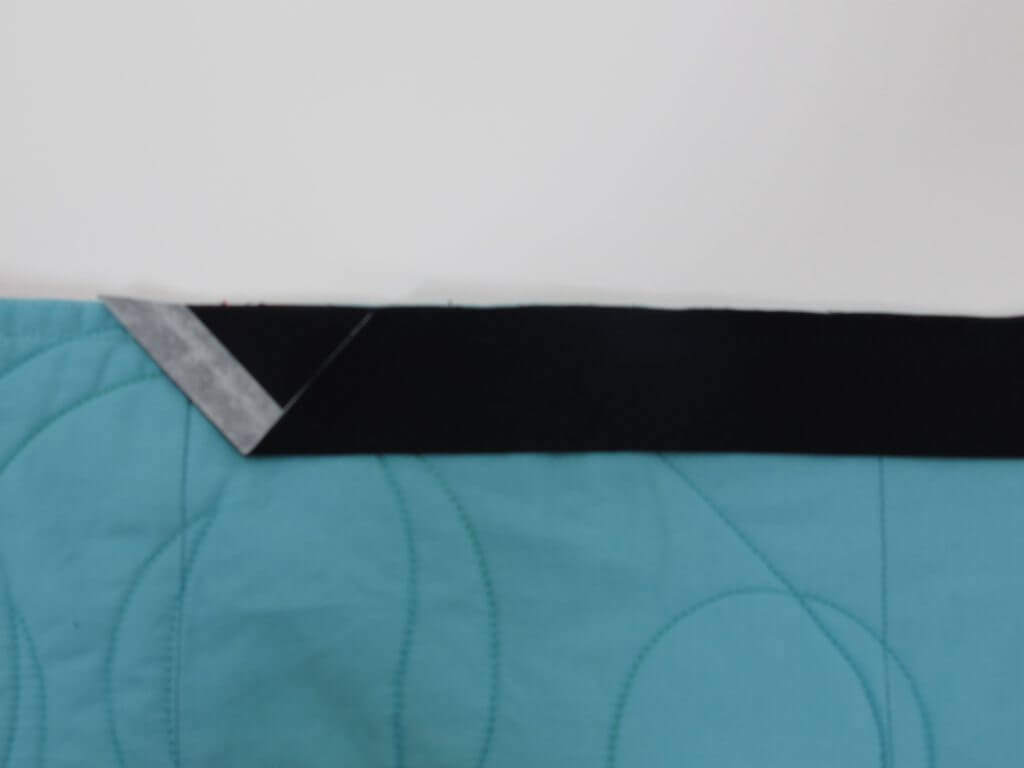
• Prior to reaching the corner, fold the binding at a right angle. Press mark the fold.
• Continue stitching, stopping at the press mark. Lock the stitch, raise the presser foot, and clip the threads.
• Refold the binding at the 45° angle, aligning cut edge of binding with cut edge of the quilt.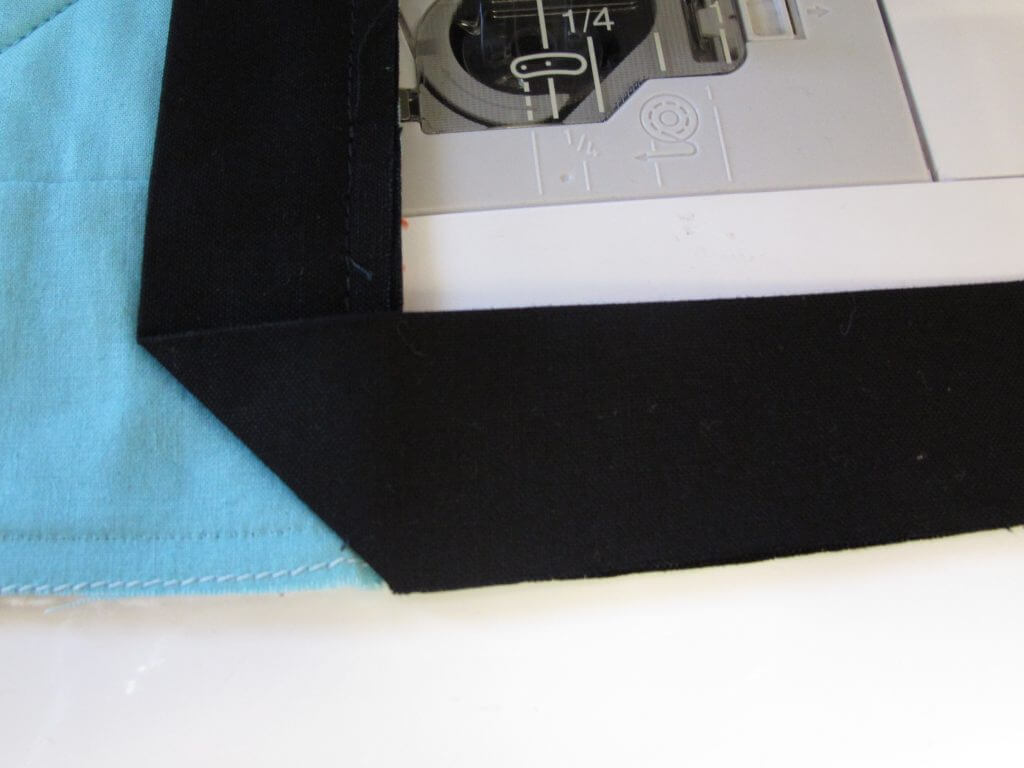
• Fold the binding down, meeting binding fold to top edge of quilt and binding cut edge to side edges. Stitch a 1/4″ seam, starting at the folded edge.
• Repeat the process at the remaining corners.
3. Join binding ends.
• Remove the paper backing from the folded-under edge of the binding.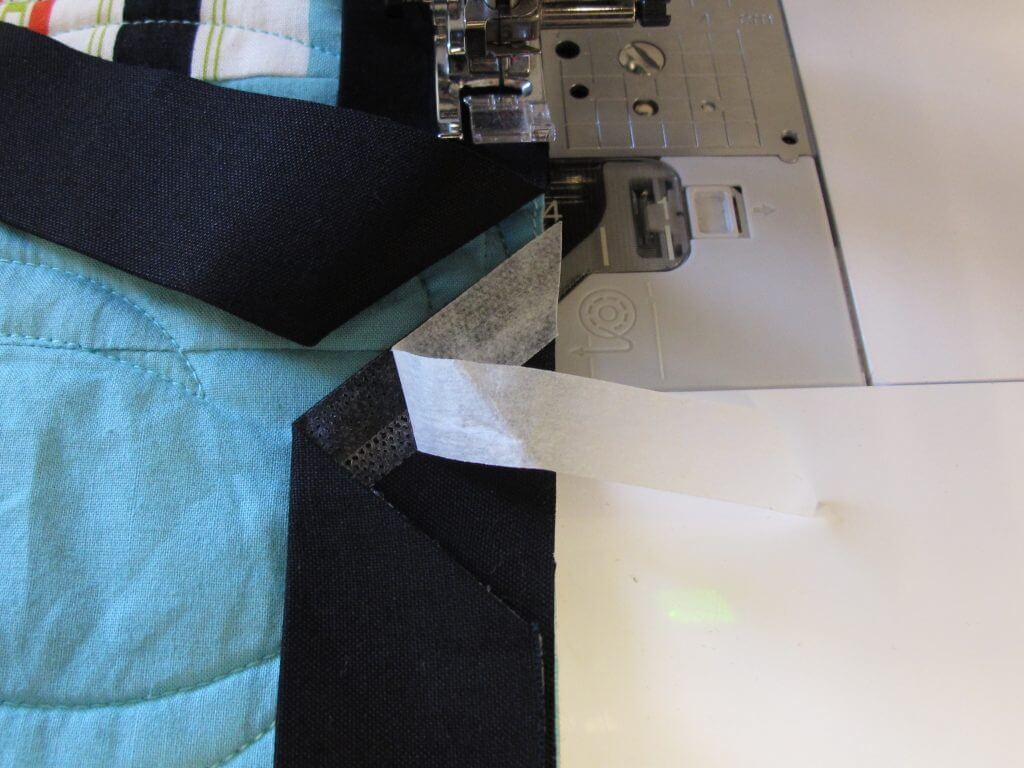
• Insert free end of binding inside beginning of binding so binding is smooth. Unfold binding and trim off excess length.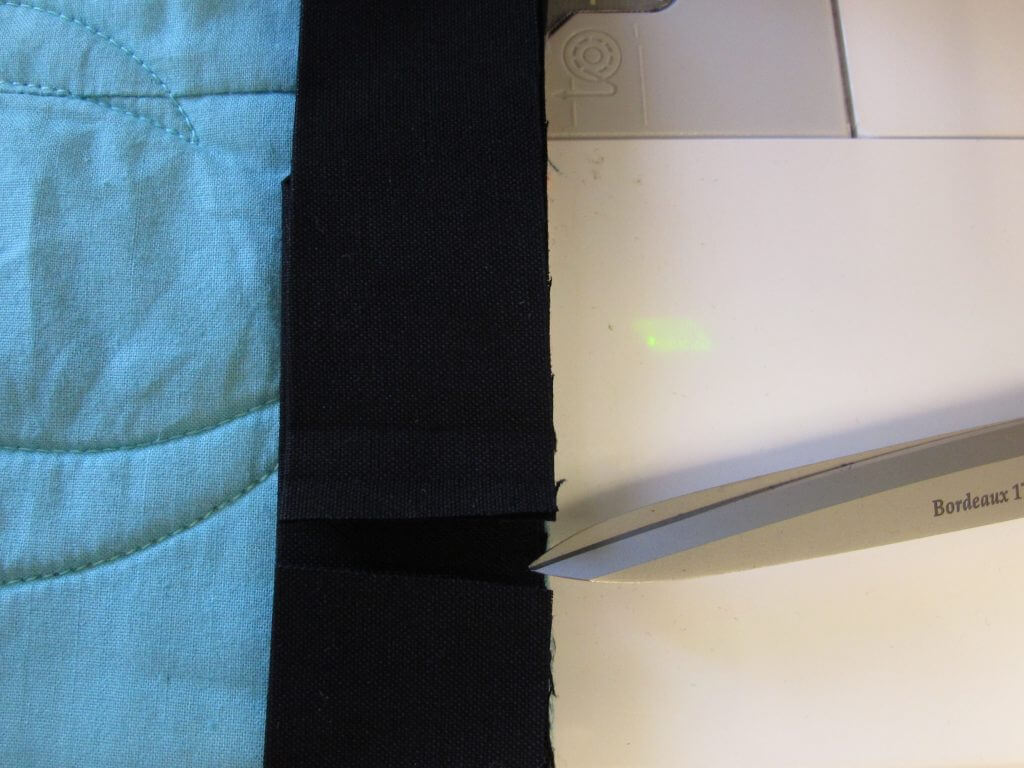
• Stitch remainder of binding seam.
• Press the newly created seam.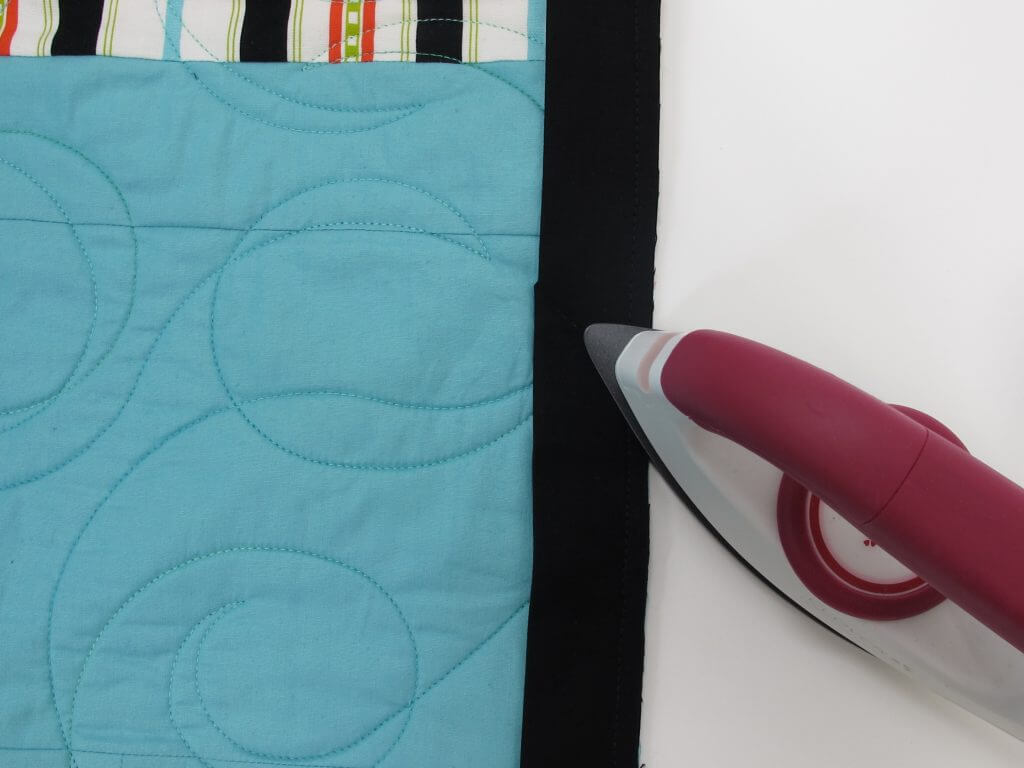
4. Fold and press binding away from the quilt. Then fold binding to the wrong side, covering the stitching line and tucking in corners to form miters. Hold binding in place with Wonder Clips or pins.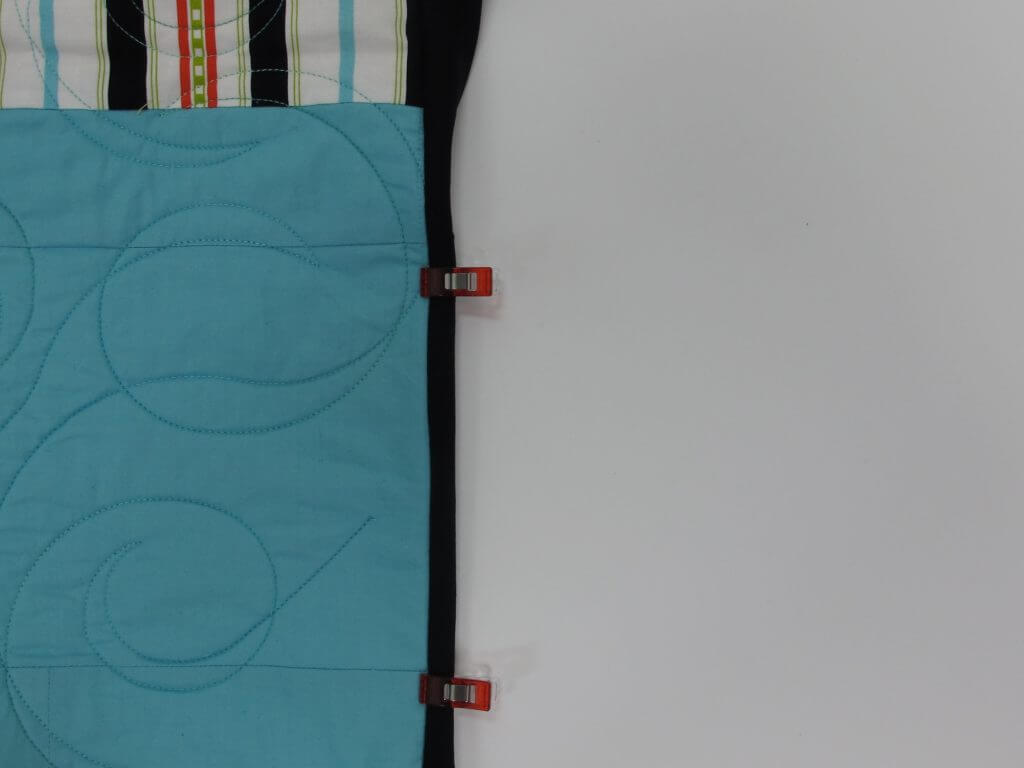

5. Secure edge of binding by stitching in the ditch from the right side, sewing in the well of the seam through all layers to catch the folded edge on the back of the quilt. Or, hand stitch folded edge in place.
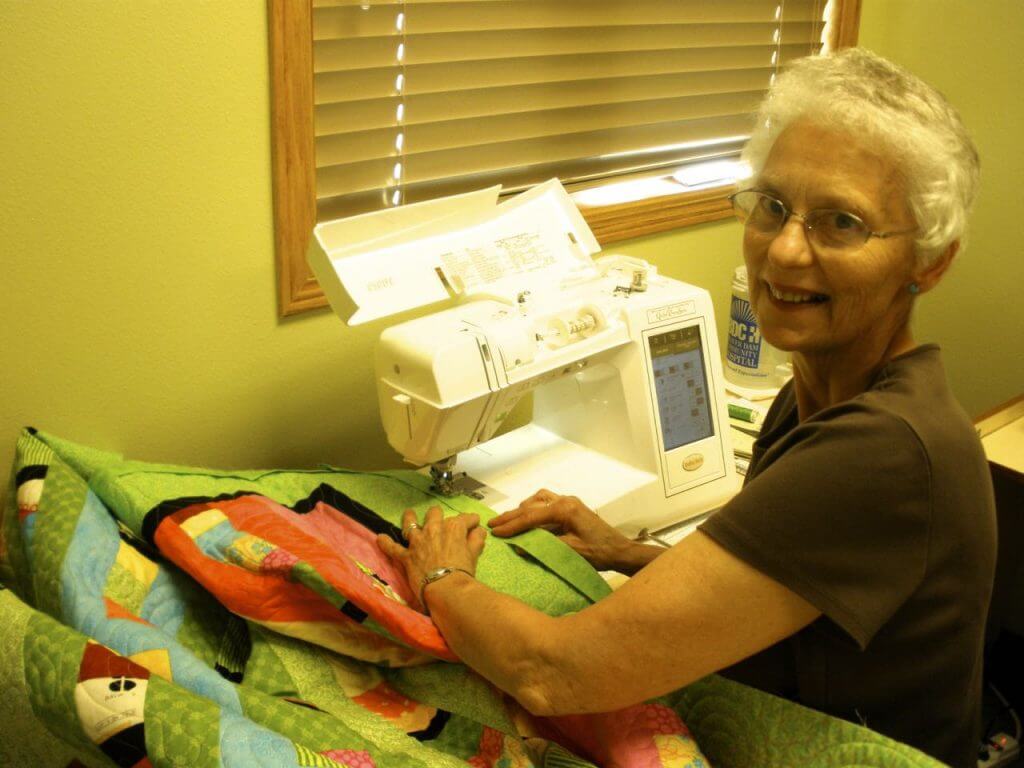
Sharen’s happy to be at the final stage of attaching the binding!
Label your quilt
Your finished quilt deserves a label. Embroider or print a message on fabric; attach to the back of the quilt.
Ta Da! You’re finished.

Thank you for following along with the 10 steps. It’s been a pleasant journey with a rewarding end result.
Here’s a review of the links for all the steps:
Step 1—Sort out fabrics from several stashes
Step 2—Cut column strips and center patchy strips
Step 4—Stitch the patchy center columns
Step 9—Layer and quilt your creation
Quilt for Others with “Quilt to Give” Learn how to set-up and organize a Quilt to Give Event.
When you make a Quilt to Give, be sure to post photos of your progress and finished quilt at the Sew Along with Nancy Zieman flickr site or on my Facebook page.
The gift is in the giving!
![]()


sandy
did you like the project? I loved the quilt … easy and modern. Best part was no matching.
Would you enjoy other Sew Alongs? Yes I loved your sew along. I’m slightly behind but have saved the instructions.
Thanks.
Robbin Jensen
Yes, this was an awesome project. Please do more like this. My current quilt project is very different from this one, but this gave me good tips and design ideas.
Denise
I have been checking the instructions and this is something I would like to do. Have some solid color jelly rolls that I could use. Would need to change the color scheme a bit but think it would be a way to use them up.
Yes I would like more of these Sew Alongs. Thanks.
Nancy Zieman
Denise, thanks for the reply, please change the color scheme! I just had an abundance of “brights” in my stash. The next Quilt to Give that I’m going to do will be in shades of yellow and blue.
Patti
I would love more sew-alongs. Even though I haven’t started this one yet, I faithfully printed out the pages each day, and picked up a few tips for the quilt wall hanging project I am currently working on. I would love to see more projects like this to sew along with, or keep for a future project! 🙂
ChaplainDonnaH
I’m part of an online Martha Pullen group and we just finished a different quilt-along. I know for sure I want to nominate this one for our next project – bless you for offering clear instructions and pics so a mixed-level group can all enjoy it! My local charitable group, “The Nicholas Project” would also love doing this in different sizes to donate!