
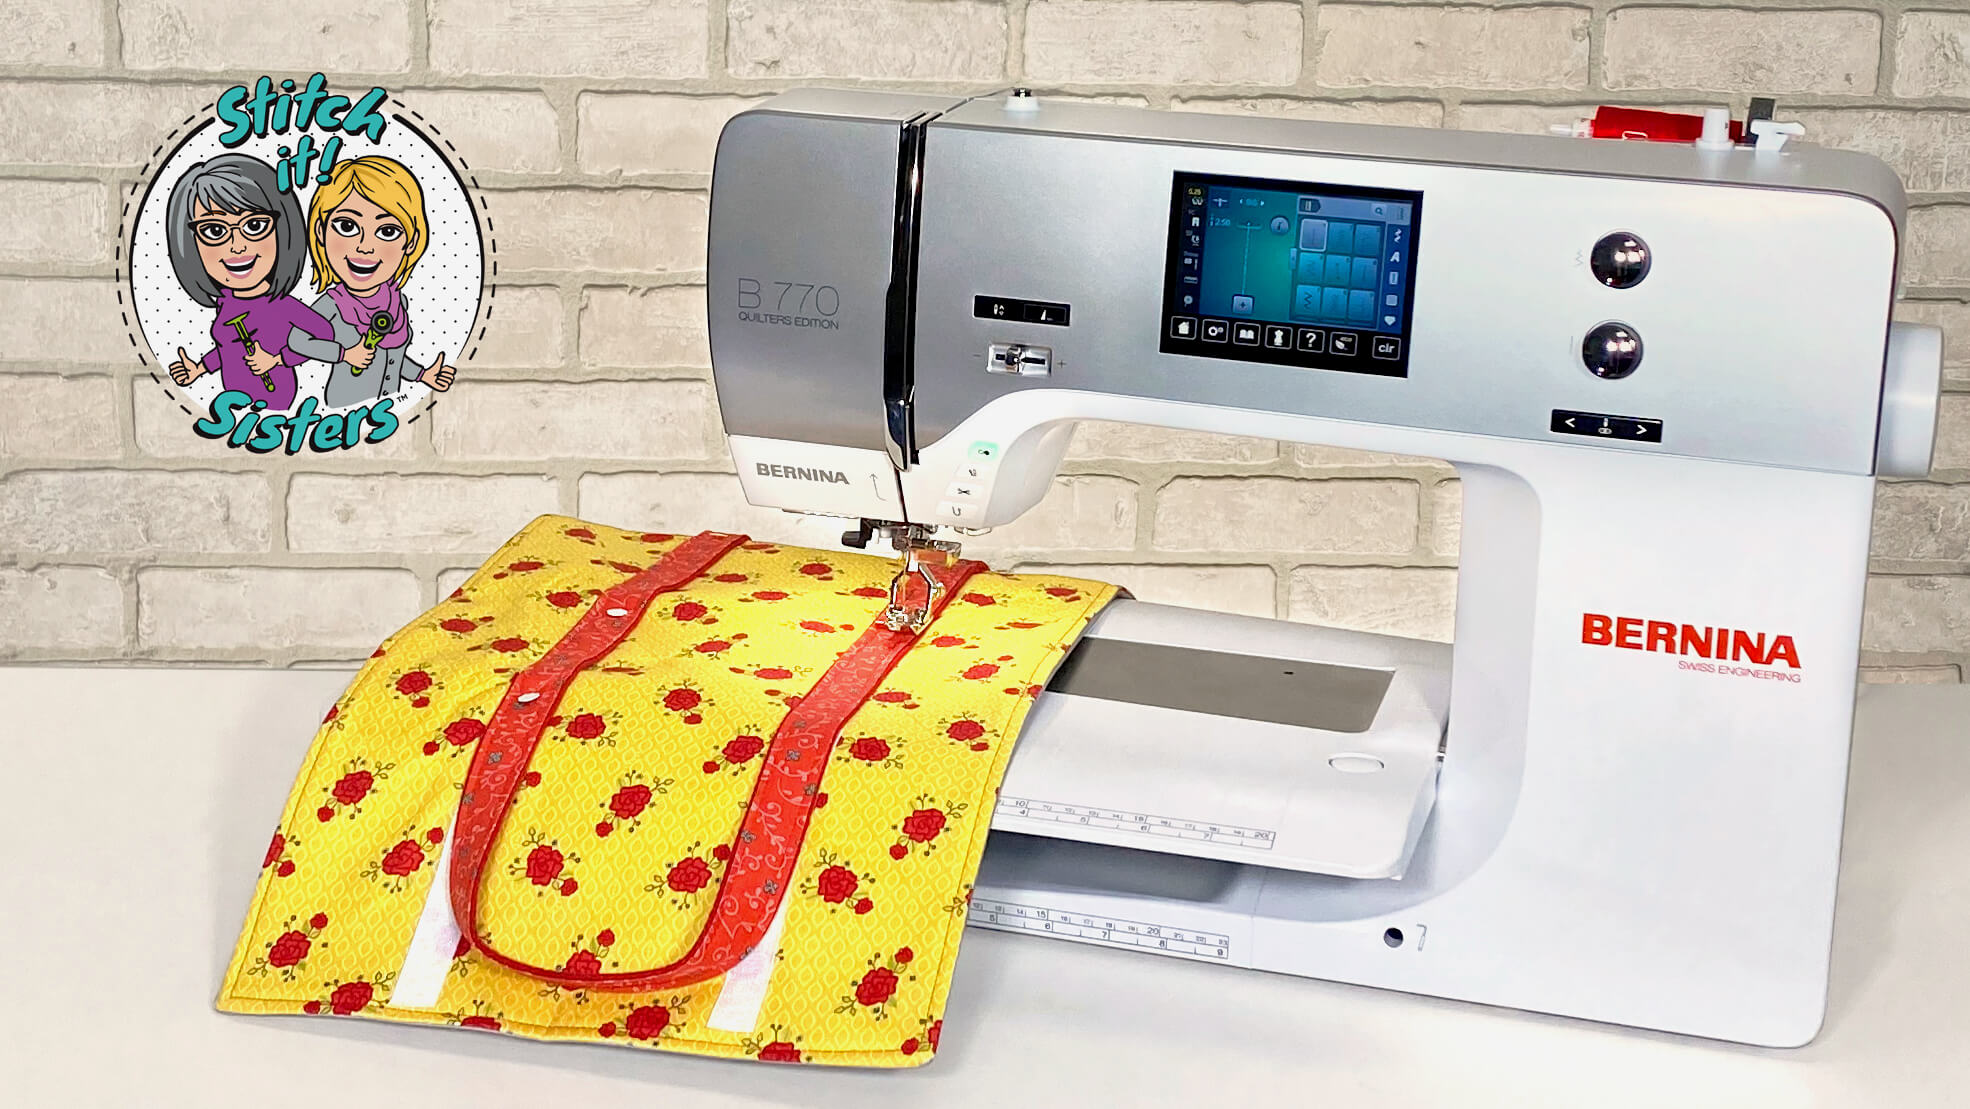
NEW! Stitch it! Sisters Wrap It Up! Casserole Carrier Sewing Tutorial

NEW! Watch Stitch it! Sisters Program 205, Wrap It Up! Casserole Carrier!
NEW! Watch Stitch it! Sisters Program 205, Wrap It Up! Casserole Carrier! with hosts Deanna Springer and Dana Casey from Team NZP! In this video, the Stitch it! Sisters share how to make our NEW! Wrap It Up! Casserole Carrier.
In our NEW! Sewing Tutorial below, we’re sharing step-by-step how to make our NEW! Wrap It Up! Casserole Carrier with simple fabric rectangles and Nancy Zieman’s Wrapped Corner technique! NEW! Wrap It Up! Casserole Carriers are ideal projects for beginner sewers!
Our NEW! Wrap It Up! Casserole Carrier design features an inner pocket for inserting a hot or cold pack, or for storing a potholder! Sew one of more of our Wrap It Up! Casserole Carriers. Wrap It Up! Casserole Carriers are ideal projects for beginner sewers!


Purchase one of our NEW! Exclusive Wrap It Up! Casserole Carrier Bundle Boxes featuring two coordinating Wildflower Boutique Fabrics, Pellon Insul-Fleece, Cotton Handle Webbing, and Team NZP’s NEW! Wrap It Up! Casserole Carrier Sewing Pattern – with full-color step-by-step instructions and illustrations! Now available at ShopNZP.com!

Our NEW! Exclusive Wrap It Up! Casserole Carrier Bundle Boxes are available in two limited edition colors and include everything you’ll need to make one NEW! Exclusive Wrap It Up! Casserole Carrier.

Wrap It UP! Casserole Carrier Sewing Tutorial
by the Stitch it! Sisters
Wrap It UP! Casserole Carrier Supplies Listing
- Pattern Making Paper
- Pencil
- Craft Scissors
- June Tailor’s Quilter’s Starch Savvy
- Fabric Shears
- Clover’s Wonder Clips
- Clover’s Flower Head Pins
- Clover’s Point 2 Point Turner
- Clover’s 1/4″ Fusible Web Tape
- Clover’s Double Sided Basting Tape
- Clover’s Supersize 5-in-1 Sliding Gauge
- Clover’s Chaco Liner or Erasable Fabric Marking Pen
- Schmetz Denim Needle Size 90
- Coordinating Thread
- Iron
- Eze-View Pressing Cloth
- Fine-Mist Bottle
- Rotary cutter, 6″ x 24″ Rotary Cutting Ruler and mat
- Optional: Tailor’s Clapper
- Optional: Clover’s 1″ Bias Tape Maker
- Optional: Clover’s Straight Tailor’s Awl Stiletto
- Optional: Clover’s Ultimate Quilt ’n Stitch Presser Foot

Prepare your fabrics! Pre-shrink fabrics by steaming and pressing. Then, stabilize fabrics for the sewing process by pressing and starching fabrics with June Tailor’s Starch Savvy.

Wrap It Up! Casserole Carrier
Approx. Finished Size: 12″ x 12″ x 4″
Create Wrap It Up! Casserole Carrier Pattern
- Cut one rectangle from Pattern Making Paper, 13″ wide x 36″ long.

This pattern will be used to cut all fabric, interfacing and batting rectangles.

Cut Fabrics and Supplies
- Place outer fabric and inner fabric right sides together.
- Place pattern on fabrics and cut one inner fabric rectangle and one outer fabric rectangle – 13″ x 36″ ea.

- Place pattern on Insul-Fleece and cut two rectangles 13″ x 36″.

- Place pattern on Iron Quik Fabric and cut two rectangles 13″ x 36″.

- Place pattern on Sof-Shape Interfacing and cut two rectangles 13″ x 36″.


- Cut four 6″ sections of hook & loop tape.

- Apply Clover’s Double Sided Basting Tape to wrong side of hook & loop tape lengths, approximately 1/4″ inside short ends.

- Cut one length Red 1″ Cotton Webbing, approx. 72″ long.

- Stitch short ends to form a continuous loop handle.

- Press seam open.

Create Wrap It Up! Casserole Carrier
- Following manufacturer’s instructions, press Sof-Shape Interfacing rectangle to wrong side of outer fabric rectangle.

- Repeat steps above and apply Sof-Shape Interfacing to wrong side of inner fabric rectangle.

- Place outer fabric rectangle to one Iron Quik rectangle right sides together.
- Place one Insul-Fleece rectangle behind Iron Quik.
- Wonder Clip layers together.

- Place inner fabric rectangle to one Iron Quik rectangle right sides together.
- Place one Insul-Fleece rectangle behind Iron Quik.
- Wonder Clip layer together.

- Using Supersize 5-in-1 Sliding Gauge, mark 8″ opening for turning – along one long side of outer assembly.

- Using Supersize 5-in-1 Sliding Gauge, mark 8″ opening for turning – along one long side of inner assembly.

Place Flower Head Pins at each side of opening to denote the “No-Sew” zone.
- Insert a new Schmetz Denim Needle size 90, into sewing machine.
- Stitch long edges of outer sections, right sides together.
- “Wrap” stitched seam towards project, and stitch short end seams.
- Trim away excess seam allowances at corners.

Wrapped corners make crisp corners! Wrap seam toward project center – folding along previous stitching line.
- Press seams open.

- Repeat steps above and create inner assembly.
- Turn outer assembly right side out, using Point 2 Point Turner. Press.

- Turn outer assembly right side out, using Point 2 Point Turner. Press.

- Press 8″ length of Clover’s 1/4″ Fusible Web Tape – at 8″ opening on outer assembly.

- Press 8″ length of Clover’s 1/4″ Fusible Web Tape – at 8″ opening on inner assembly.

- Remove paper backing from Fusible Web Tape and press outer assembly seam opening closed.

- Remove paper backing from Fusible Web Tape and press inner assembly seam opening closed.

Attach Hook & Loop Tape and Handles
- Mark placement lines on outer assembly: Using 6″ x 24″ ruler, Chaco Liner or erasable fabric marking pen, mark horizontal lines 3″ inside each long edge – on right side of outer assembly.
- Mark vertical center of each line.
- Turn outer assembly over and place wrong side up.

- At one end of outer assembly, mark 6″ horizontal lines – 3″ inside each long edge – on wrong side as shown.
- Set Aside.

- At one end of inner assembly, mark 6″ horizontal lines – 3″ inside each long edge – on right side as shown.
- Turn inner assembly over and place wrong side up.

- At opposite end of inner assembly, mark 6″ horizontal lines – 3″ inside each long edge – on wrong side as shown.

- Remove paper backing from Double Sided Basting Tape.
- Place 6″ sections of rough hook & loop tape inside marked lines on fabric side of inner assembly, 1/4″ inside edge.
- Edgestitch around hook & loop tape.
- Turn inner assembly over and place right side up.

- Remove paper backing from Double Sided Basting Tape.
- Place 6″ sections of soft hook & loop tape inside marked lines on wrong side of inner assembly, 1/4″ inside edge.
- Edgestitch around hook & loop tape.

- Remove paper backing from Double Sided Basting Tape.
- Place 6″ sections of rough hook & loop tape inside marked lines on fabric side of outer assembly, 1/4″ inside edge.
- Edgestitch around hook & loop tape.
- Turn outer assembly over and place right side up.

- Remove paper backing from Double Sided Basting Tape.
- Place 6″ sections of soft hook & loop tape inside marked lines on wrong side of inner assembly, 1/4″ inside edge.
- Edgestitch around hook & loop tape.

- Topstitch around all four outside edges of outer assembly.

- Topstitch around all four outside edges of inner assembly.

Lay handle flat, with no twists, prior to pinning to outer assembly.
- Fold handle in half and place Wonder Clips at each fold – identifying handle half-markings.
- Align handle inside placement lines, matching handle half-markings to vertical center markings on outer assembly.
- Pin handle to outer assembly using sturdy Flower Head Pins.

- Stitch handle to outer assembly – edgestitching along both handle long edges. Stop stitching with needle down and pivot around corners, at 1″ inside hook & loop tape.

Finish Wrap It Up! Casserole Carrier
- Place inner assembly right side up.

- Place outer assembly (right side up) to inner assembly – perpendicular at 90º angle as shown.

- Pin through all layers with sturdy Flower Head Pins.

- Topstitch inner assemble to outer assembly, along three sides as shown.

Stitching along only three edges creates the Wrap It Up! Casserole Carrier hidden inner pocket. Place a potholder, hot pack or cold pack inside inner pocket.
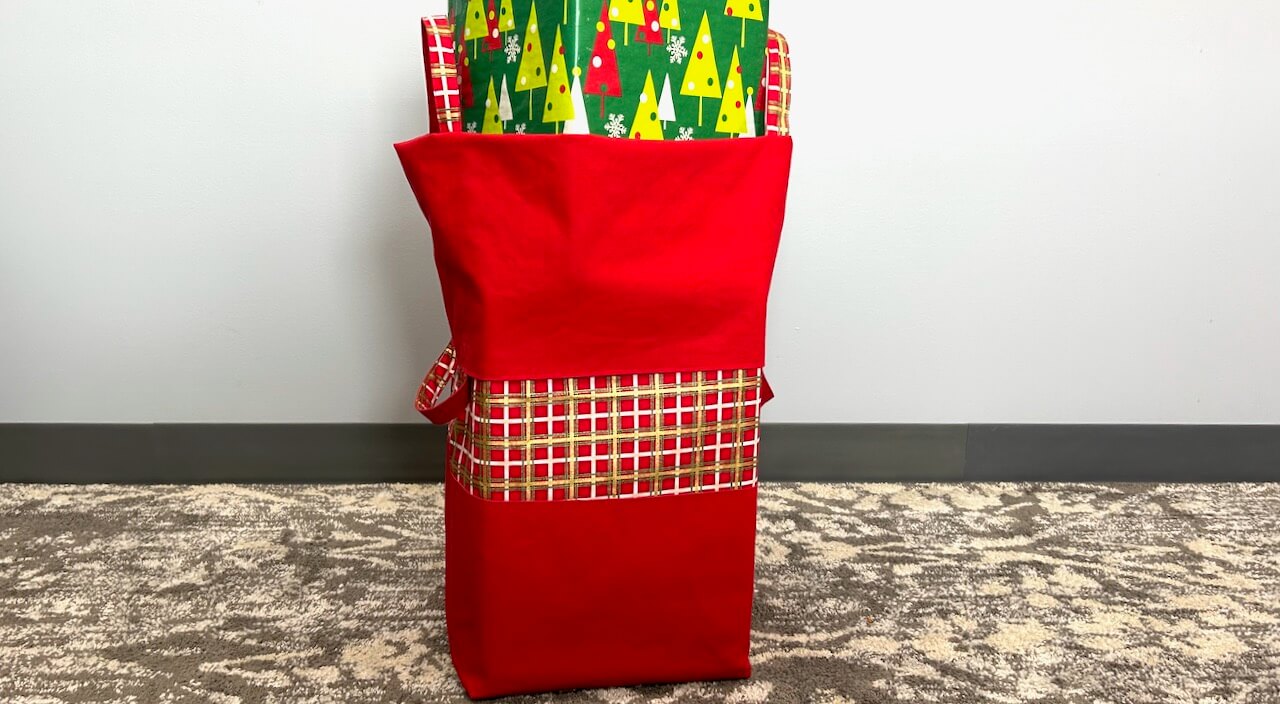
NEW! Wrap It Up! Casserole Carriers make great gifts for housewarmings, bridal showers, and wedding showers! Use Wrap It Up! Casserole Carriers for transporting hot or cold dishes to picnics or potluck dinners, or for keeping a dish hot or cold on your table.

- Our Wrap It Up! Casserole Carrier easily accommodates round or square casserole dishes up to 9″ x 9″!

- Our Wrap It Up! Casserole Carrier is adjustable with hook and loop tape closures!
NEW! Exclusive Wrap It Up! Casserole Carrier Bundle Boxes – Yellow & Red

- Our Wrap It Up! Casserole Carrier easily accommodates round or square casserole dishes up to 9″ x 9″!

- Our Wrap It Up! Casserole Carrier design features an inner pocket for inserting a hot or cold pack, or storing a potholder!
NEW! Exclusive Wrap It Up! Casserole Carrier Bundle Boxes – Green & Teal
NEW! Watch Stitch it! Sisters Program 205, Wrap It Up! Casserole Carrier!
Related Posts

Make our Potholder Plus in just two hours with our step-by-step sewing tutorial! Finished Potholder Plus measures approximately 8-1/2″ x 9-1/2″. Sew this super-quick Potholder Plus with one-half yard of fabric and two fat quarters and coordinating binding fabric!

Make our No-Hassle Towel Topper in just two hours with our step-by-step sewing tutorial! Finished No-Hassle Towel Topper measures approximately 7-1/2″ x 20″. Sew this super-quick No Hassle Towel Topper with two fat quarters and a coordinating kitchen towel! We’re using Wildflower Boutique Fabrics! Showcase your kitchen style and hang this handy towel in your home, or RV. You’ll always know where your hand towel is hanging out!

Make one or more of our NEW! Sew Organized Utility Totes featuring generous fabric shoulder straps! Choose from three roomy tote sizes – to meet your carry-all needs! Use Sew Organized Utility Totes to store pillows, bedding, and quilts! Keep one in your car for shopping in style with this reusable, and washable, Sew Organized Utility Tote!

NEW! Sew Organized Fabric Bins are fast and fun to make! Make one or more of our NEW! Sew Organized Fabric Bins – to coordinate with your sewing space, or any room in your home! 10″ x 10″ x 10″ Fabric Bins fit standard cube organizers, or set on a shelf!

Sew a Fun Fabric Caddy in four hours – and tidy your sewing space — or use in any room of your home. The sewing is easy with just a few fabric rectangles and squares. Plus, pattern includes instructions for our Fabric Bin made from four 10″ fabric squares! In a couple evenings of sewing, you’ll have a unique fabric caddy & fabric bin set – that also make great gifts!

Make a Big-Bigger Laundry Bag that expands to handle laundry and/or storage needs. It’s a bag or tote that has both function and style! Reverse the Big-Bigger Laundry Bag for a whole new look. The sewing is streamlined with a few rectangles of sturdy canvas fabric and cotton quilting fabric. Our sewing tutorial includes adding secondary handles – that lend versatility to the Big-Bigger Laundry Bag!

Showcase your sewing, quilting, and/or machine embroidery talents! The Nancy Zieman Productions Team is excited to announce our 2021 Viewer’s Showcase, taking place February 1–28, 2021! You’re invited to submit up to five different project photo(s) of project(s) you’ve been making from one or more of Team NZP’s Books, Patterns, Tools, Videos, and/or Blog Tutorials. Team NZP will share project photos in an upcoming March Viewer’s Showcase posting on The Nancy Zieman Productions Blog. Email hi-res photo(s) along with your name and hometown city and state to [email protected], by February 28, 2021. You could win one of the 2021 Viewer’s Showcase Giveaways valued at over $200!

Thank you, Clovis P. for sending your Turtleneck Scarves photo for The 2021 NZP Viewer’s Showcase! Great Job! Email your project photos today to [email protected]!
Wrap It UP! Casserole Carrier Supplies Listing
- Pattern Making Paper
- Pencil
- Craft Scissors
- June Tailor’s Quilter’s Starch Savvy
- Fabric Shears
- Clover’s Wonder Clips
- Clover’s Flower Head Pins
- Clover’s Point 2 Point Turner
- Clover’s 1/4″ Fusible Web Tape
- Clover’s Double Sided Basting Tape
- Clover’s Supersize 5-in-1 Sliding Gauge
- Clover’s Chaco Liner or Erasable Fabric Marking Pen
- Schmetz Denim Needle Size 90
- Coordinating Thread
- Iron
- Eze-View Pressing Cloth
- Fine-Mist Bottle
- Rotary cutter, 6″ x 24″ Rotary Cutting Ruler and mat
- Optional: Tailor’s Clapper
- Optional: Clover’s 1″ Bias Tape Maker
- Optional: Clover’s Straight Tailor’s Awl Stiletto
- Optional: Clover’s Ultimate Quilt ’n Stitch Presser Foot


Shop NEW! Exclusive Bundle Boxes at ShopNZP.com

Shop Clover Tools & Sewing Supplies at ShopNZP.com!

Shop Pellon Interfacing & Supplies at ShopNZP.com!


For a chance to be the random winner of a Stitch it! Sisters 5″ Short Stack with S!S button & sticker, please leave a comment below sharing your favorite color for the NEW! Wrap It Up! Casserole Carrier – Yellow & Red, or Green & Teal?
Nancy Zieman Productions will give away one Stitch it! Sisters 5″ Short Stack with S!S button & sticker to one US resident in the 48 contiguous states. Winner must reply withing 30 days to the official giveaway announcement email message – sent from Nancy Zieman Productions.

The randomly selected winner of a 20 pack of I Sew For Fun Heart-Shaped from the February 16 Blog Post, Cooler Grocery Tote Sewing Tutorial and NEW! Wildflower Boutique Bundle Boxes at ShopNZP.com, is Karen L.

Her comment is: I am guessing that everyone needs an insulated bag like this as we all have to buy groceries. I like the technique for putting on handles. Definitely going to put this in my queue.
Happy Sewing!
Team Nancy Zieman
Nancy Zieman Productions. LLC.
![]()
Stitch it! Sisters is a production of NZ Productions LLC. Content in this feed is © copyright 2021 by Nancy Zieman Productions, LLC and may not be republished without written permission. You’re welcome to forward the email to a friend or colleague but it’s not okay to add the RSS feed automatically as content on a blog or other website. The FTC requires us to tell you that Nancy Zieman Productions, LLC has provided products by other companies in the course of doing business. The FTC requires us to advise you to take this information into consideration when reading this posting.


Cynthia
I am Team Green and Teal. I like that the casserole carrier has a pocket to bring along accessories you might need like potholders or serving utensils. I will add this to my long list of projects I would like to make.
Rita Skraba
I really love the green and teal colors!
Julie K.
Red and Yellow are the colors that I like! I am planning on making a few for wedding and graduation gifts.! I plan to use the pocket to include a couple of your Pocket Pot Holders as gifts, and add some casserole and other baking recipes in the the pot holder pockets.
Susan
For the Wrap It Up! Casserole Carrier, green & teal would be my choice. Like the color contrast with them and the casserole carrier is a practical item.
Hazel Davidson
Who couldn’t use a Red/Yellow casserole carrier to transport your dish for that next church Pot Luck dinner! I certainly could and would love to use with pride as red is my favorite color.
Dixie
Teal and green would be my color choice.
Judy Cook
I like bright colors! I like the yellow and red. The pocket underneath you can put a hot or cold pack in for long travel.