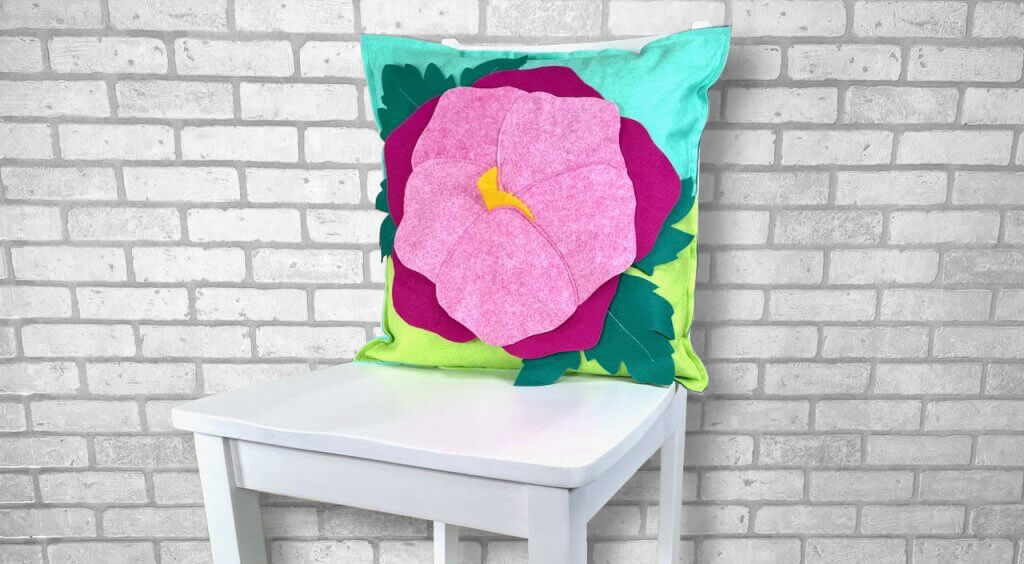
NEW! Posey Pillow Sewing Tutorial
NEW! Sew A Posey Pillow™ and create a pretty porch accessory for spring. Make a colorful 3-dimensional floral pillow with our easy sewing tutorial and free applique printable, below!
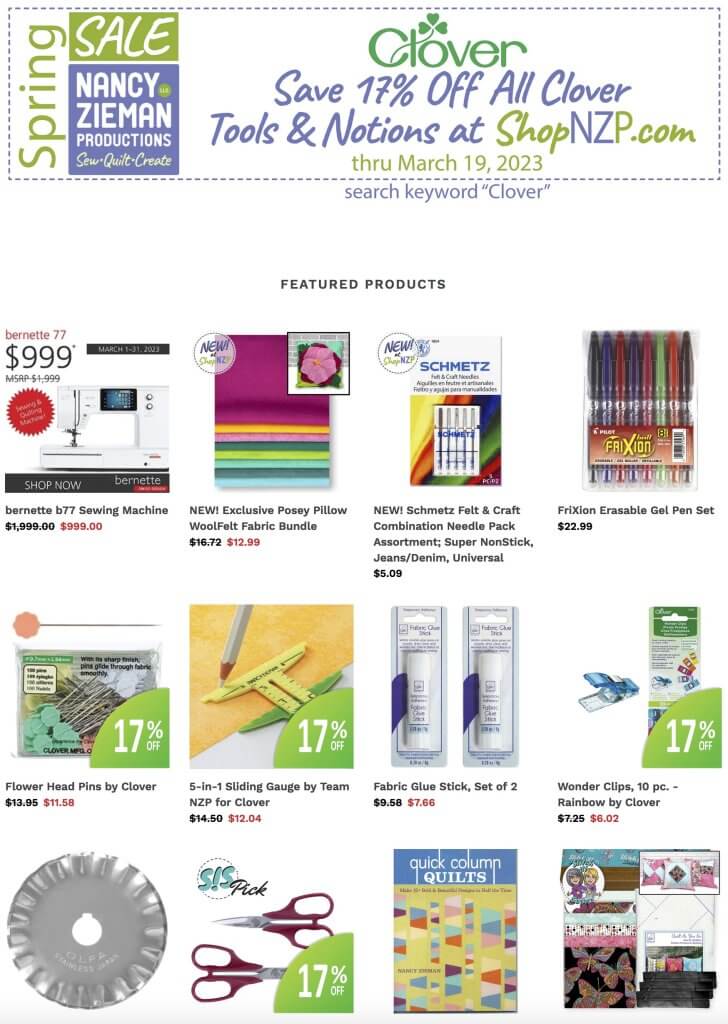
Our NEW! Posey Pillow™ WoolFelt® Fabric Bundle, curated by the Stitch it! Sisters®, includes eight 12″ x 18″ WoolFelt® pieces, and is available today at ShopNZP.com!
NEW! Posey Pillow™ Sewing Tutorial
by the Stitch it! Sisters
Approx. finished size: 18″ Square.
Posey Pillow™ Supplies Listing
- NEW! Posey Pillow™ WoolFelt® Fabric Bundle
- Team NZP’s FREE! Downloadable Posey Pillow™ Applique Patterns PDF
- 18″ Square Throw Pillow Form Insert
- Open Toe Sewing Machine Presser Foot
- Schmetz Denim Needle Sz. 90
- Metrosene Plus Sewing Thread
- Clover’s 5-in-1 Sliding Gauge
- Clover’s Wonder Clips
- Clover’s Flower Head Straight Pins
- Clover’s Double Sided Basting Tape or June Tailor’s Fabric Glue Stick
- Clover’s Bordeaux Scissors Set for Applique
- June Tailor’s EZE-View Pressing Cloth
- 5/8 yds. Pellon’s Easy Knit Interfacing
- Frixion Marking Pen
- 45 mm Rotary Cutter, Cutting Mat, and Rotary Cutting Ruler
- 45 mm Rotary Cutting Pinking Blade
- Iron
- Cut four 10″ x 18″ Rectangles WoolFelt® Fabric in assorted blues and green, for pillow front and back.
- Cut our 10″ x 18″ Rectangles Pellon Easy-Knit Interfacing.
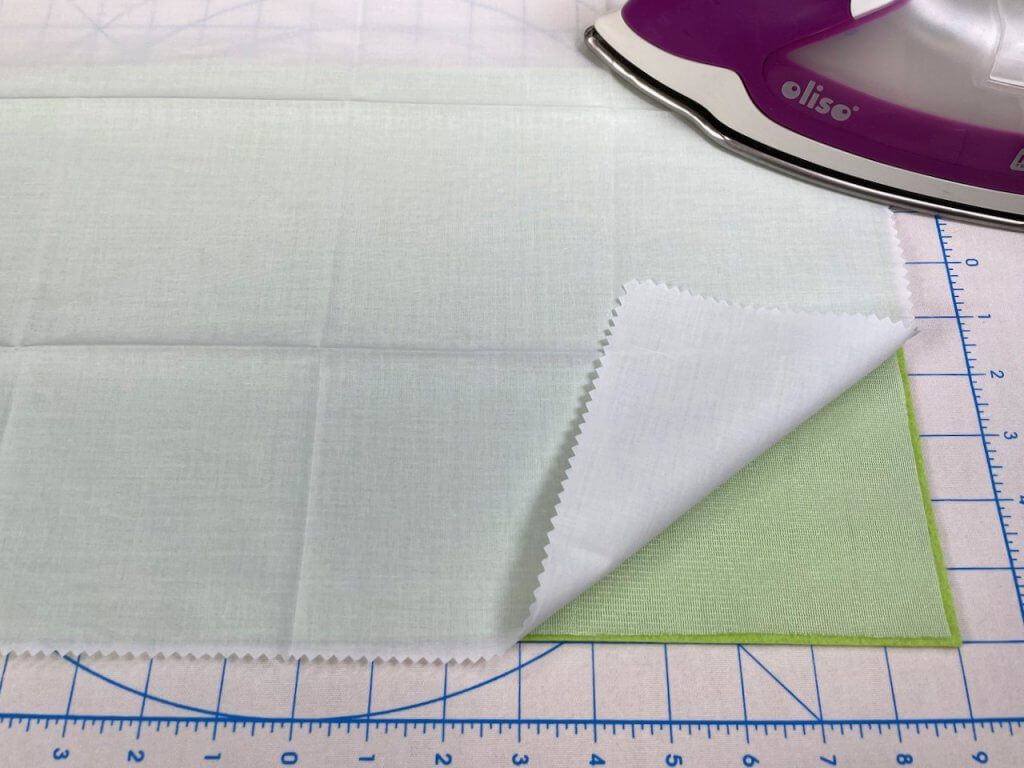
- Using June Tailor’s EZE-View Pressing Cloth, press Easy-Knit Interfacing to wrong side of WoolFelt Rectangles.
Team NZP’s FREE! Downloadable Posey Pillow™ Applique Patterns PDF

- Cut out petal applique pattern.
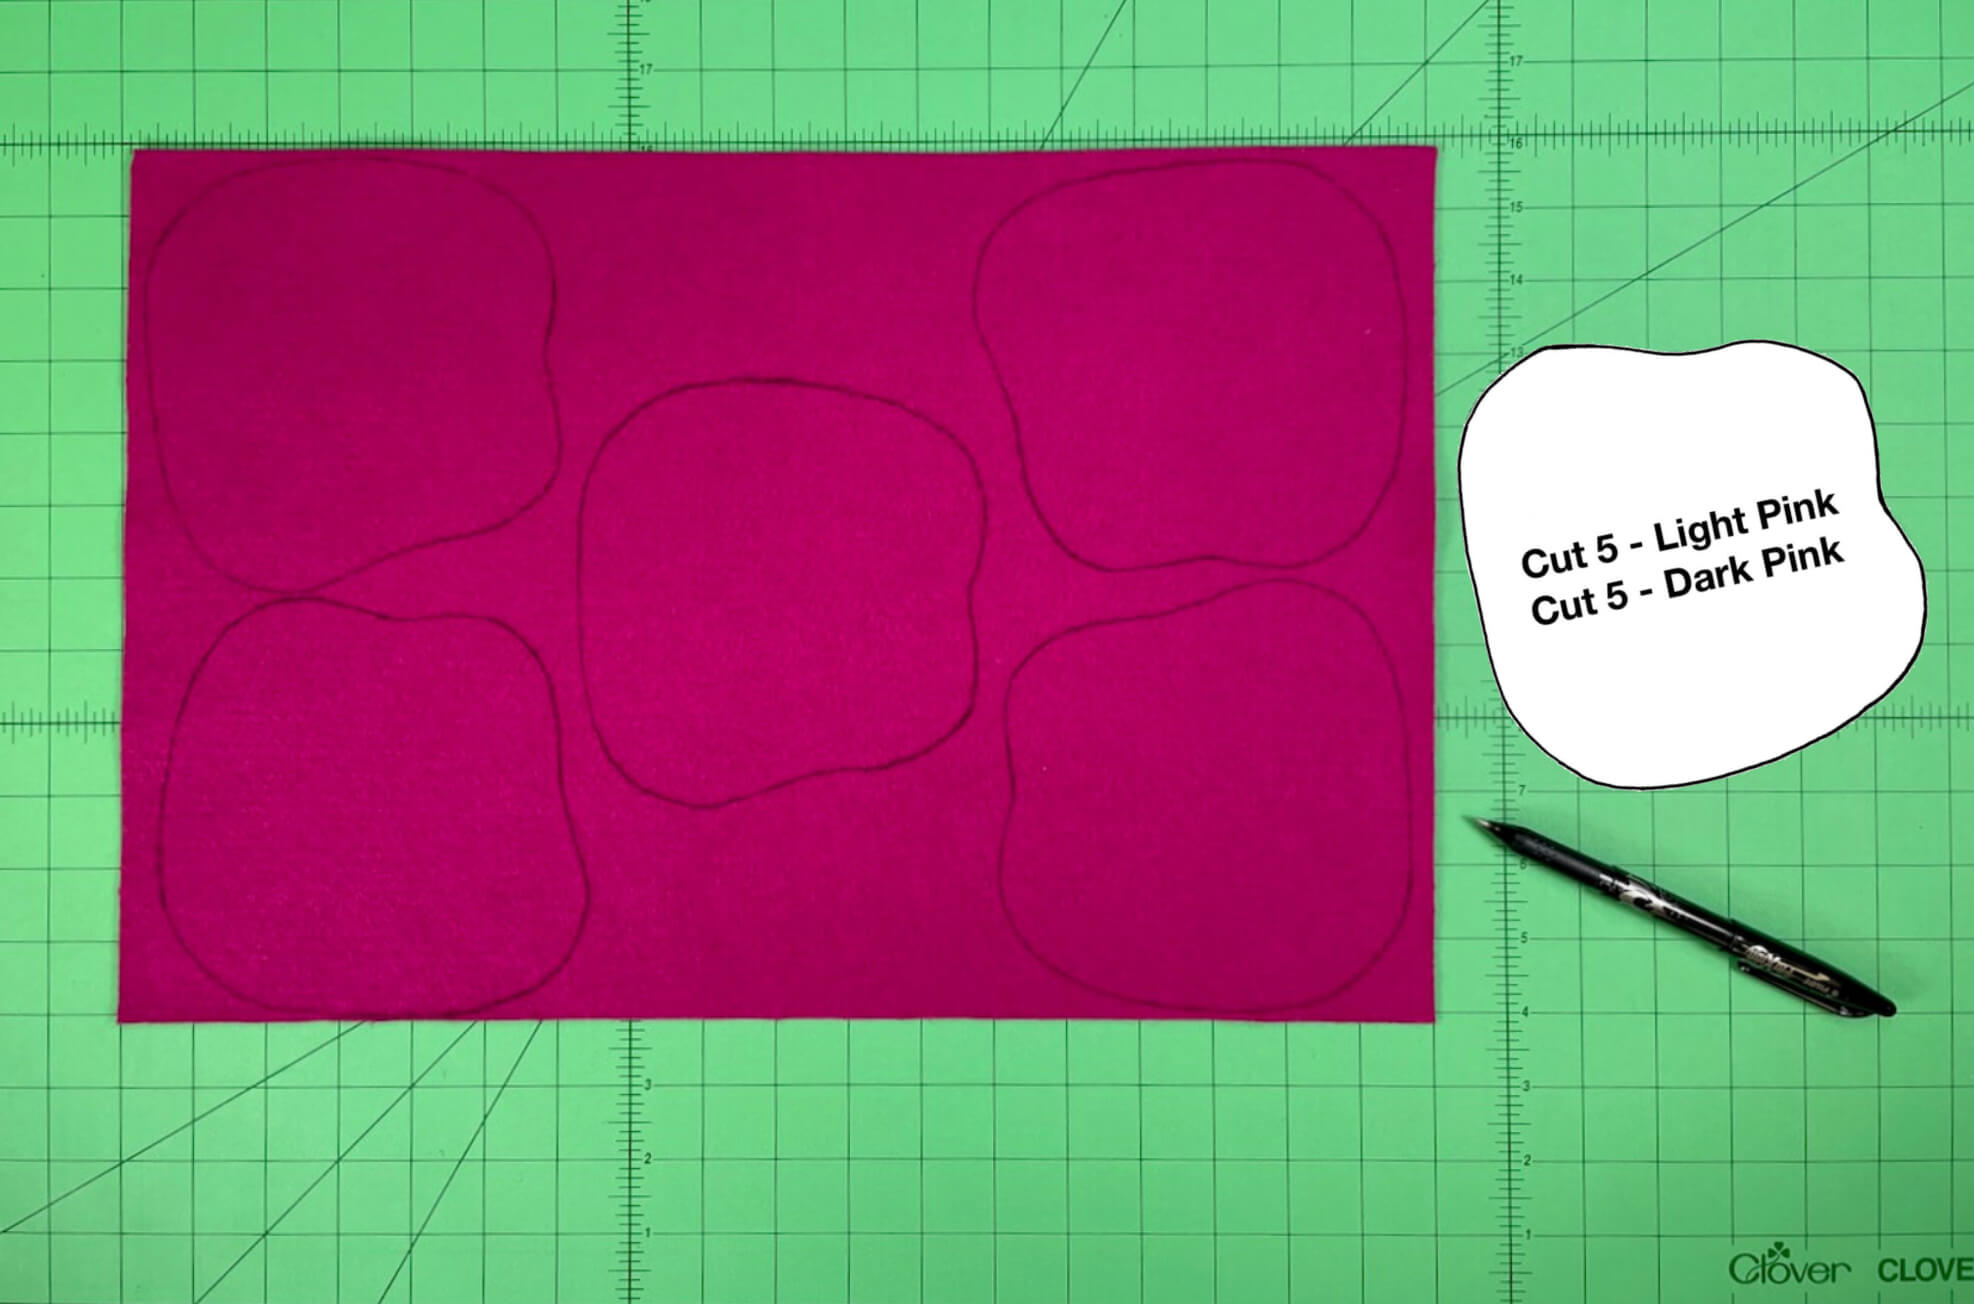
- Trace FIVE flower petals onto wrong side of dark pink WoolFelt.
- Trace FIVE flower petals onto wrong side of light pink WoolFelt.
- Cut out leaf applique pattern.
- Trace two flower leaves onto wrong side of dark green WoolFelt.
- Cut out flower center applique pattern.
- Trace one flower center onto wrong side of yellow WoolFelt.
- Using 45 mm Rotary Cutter and Pinking Blade, cut out flower center.
Create Pillow Front
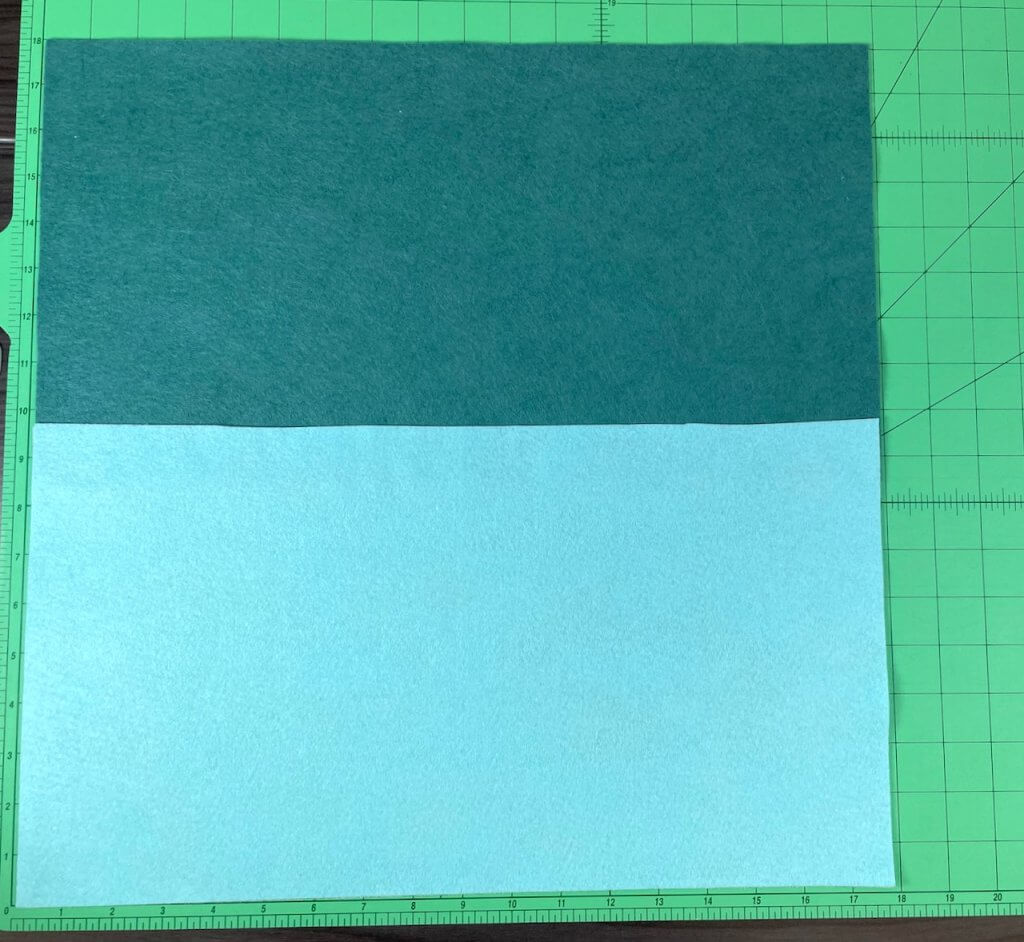
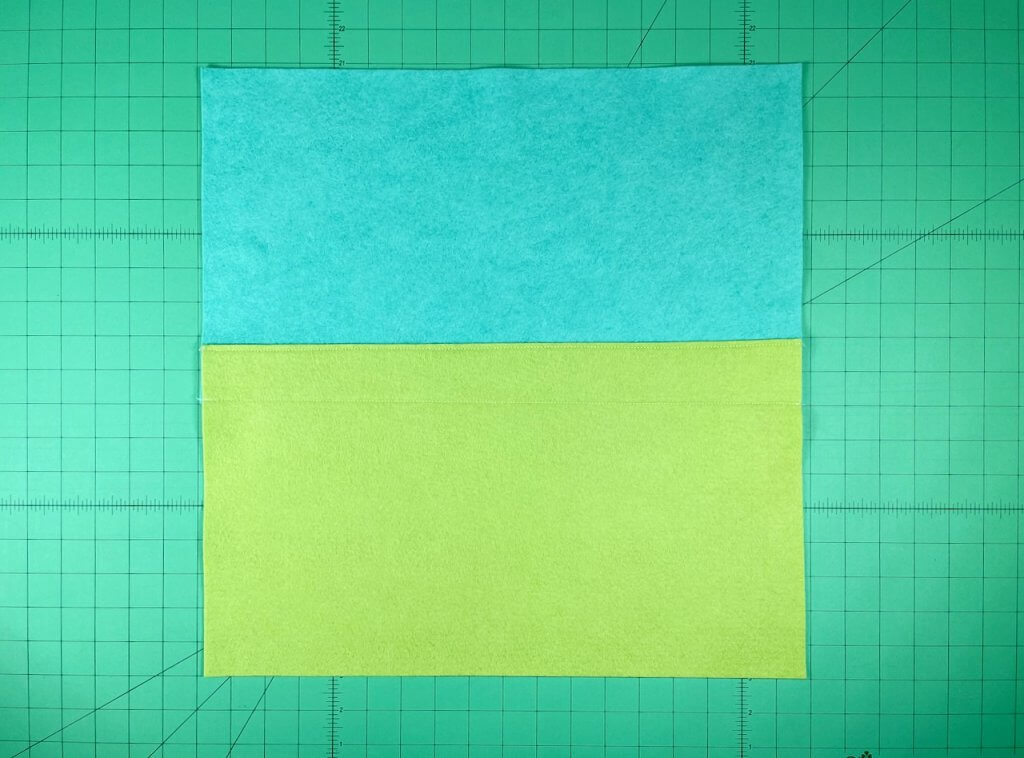
- Place one lime 10″ x 18″ WoolFelt® Fabric Rectangle over one aqua 10″ x 18″ WoolFelt® Fabric Rectangle, overlapping 2″ at center.
- Using Clover’s Double Sided Basting Tape or June Tailor’s Fabric Glue Stick, glue-baste or tape-baste rectangels at center overlap.
Create Pillow Back
- Place one light blue 10″ x 18″ WoolFelt® Fabric Rectangle over one dark teal 10″ x 18″ WoolFelt® Fabric Rectangle, overlapping 2″ at center.
- Using Clover’s Double Sided Basting Tape or June Tailor’s Fabric Glue Stick, glue-baste or tape-baste rectangels at center overlap.
- Insert a new Schmetz Denim Needle Sz. 90 into sewing machine.
- Set machine for a 3.0 mm Straight Stitch.
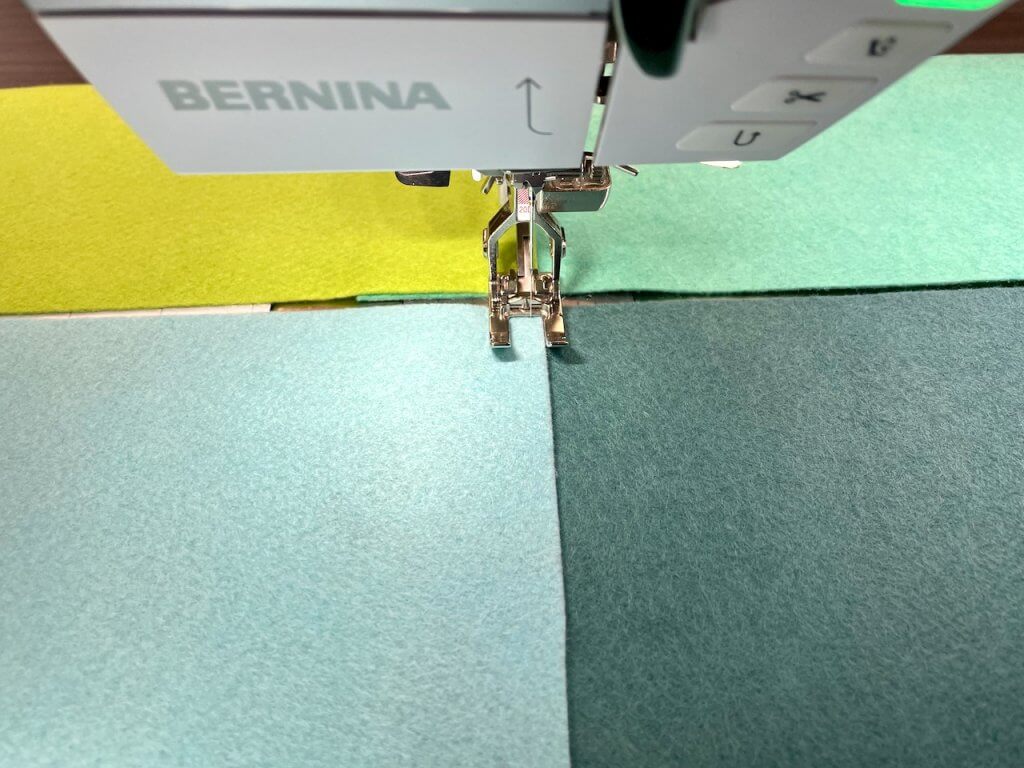
- Attached Open Toe Sewing Machine Presser Foot to machine, and topstitch pillow front along center WoolFelt Fabric edge.
- Topstitch pillow back along center WoolFelt Fabric edge.
- Flip pillow front over, and topstitch pillow front along center edge WoolFelt Fabric edge.
- Repeat steps above and topstitch pillow back along center WoolFelt Fabric edge.
- Set pillow back aside.
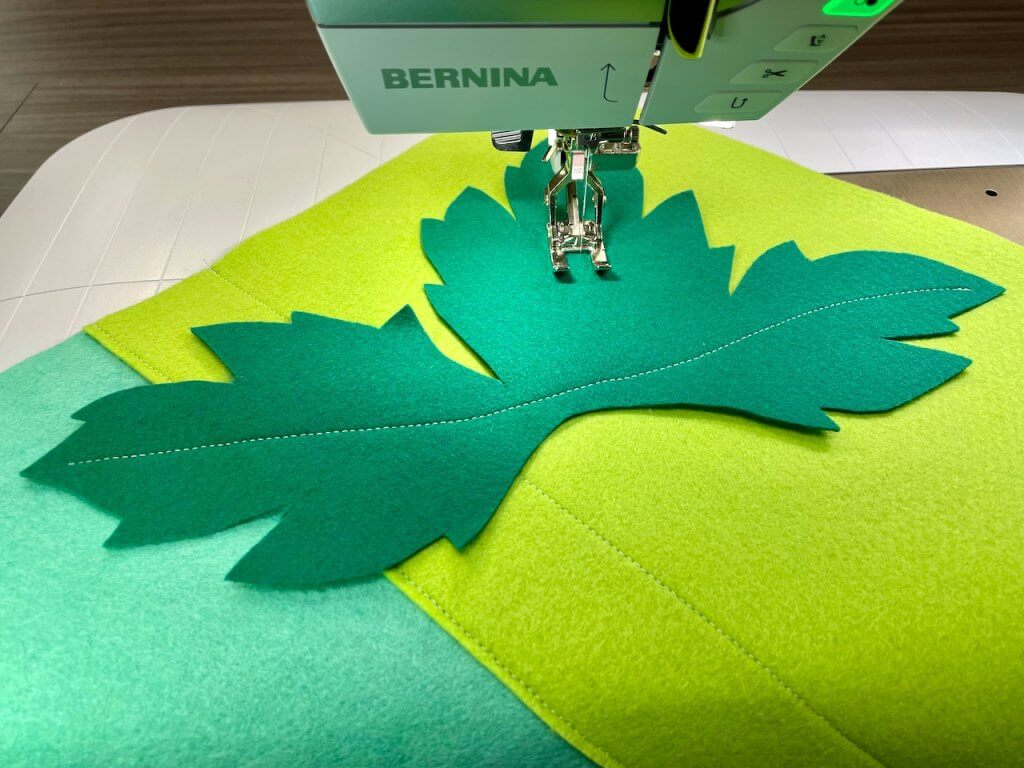
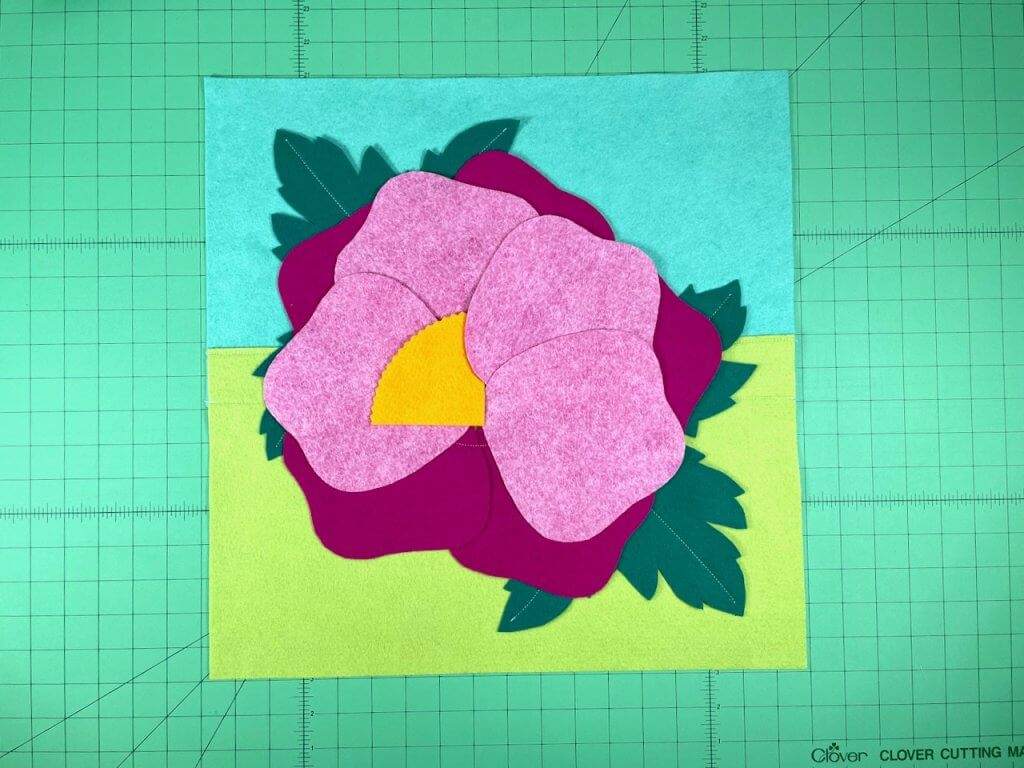
- Place dark green leaves at opposite corners on right side of pillow front–at 1-1/4″ inside cut edges.
- Tape-baste or glue-baste leaves to pillow.
- Stitch leaves to pillow front, at center of each leaf.
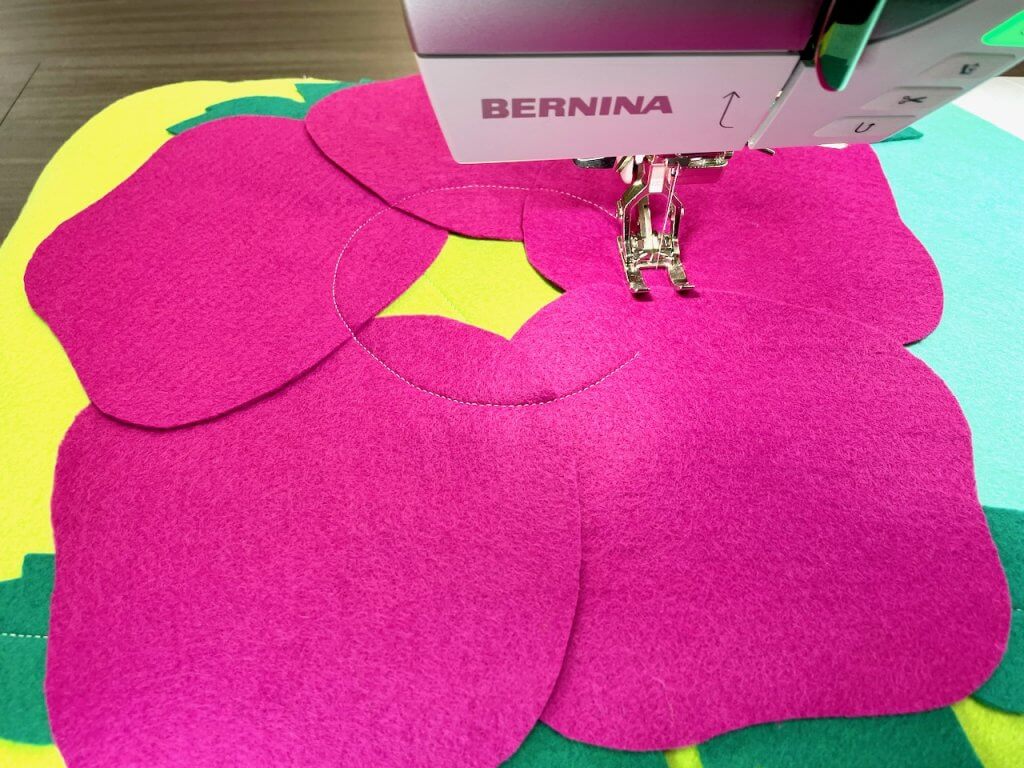
- Position dark pink flower petals on right side of pillow front–overlapping as shown–about 2-1/4″ inside cut edges.
- Tape-baste or glue-baste petals to pillow.
- Stitch petal centers to center pillow front–stitching in a circular shape as shown.
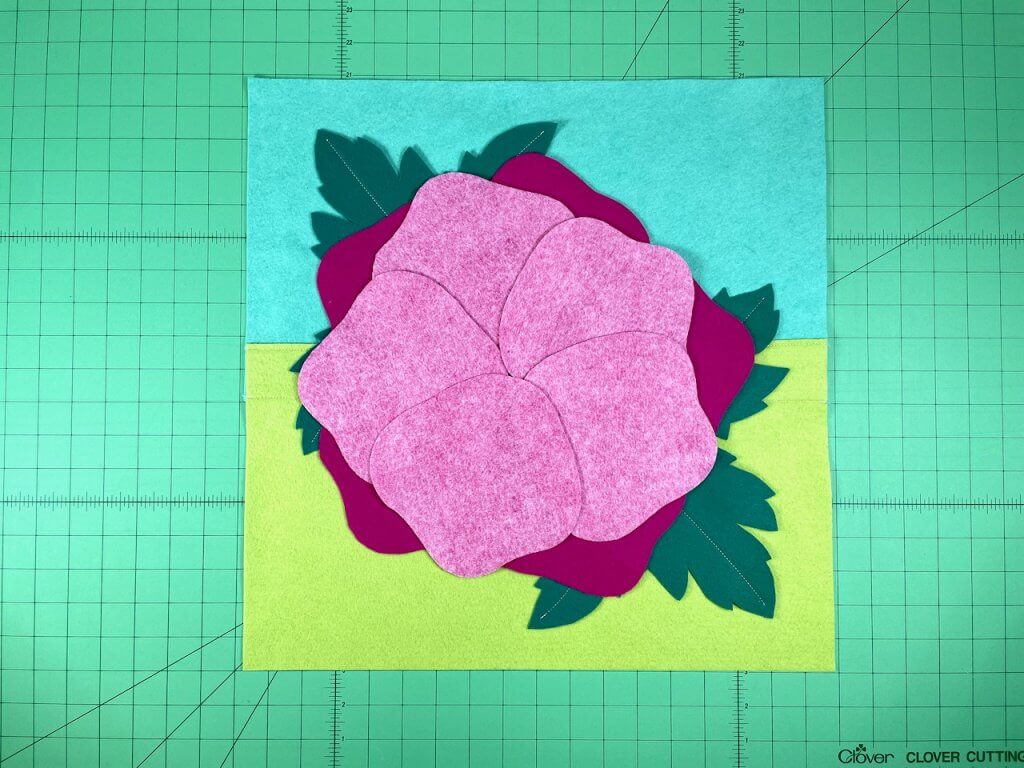
- Position light pink flower petals on right side of pillow front–overlapping as shown–about 2-1/4″ inside pillow cut edges.
- Tape-baste or glue-baste petals to pillow assembly.
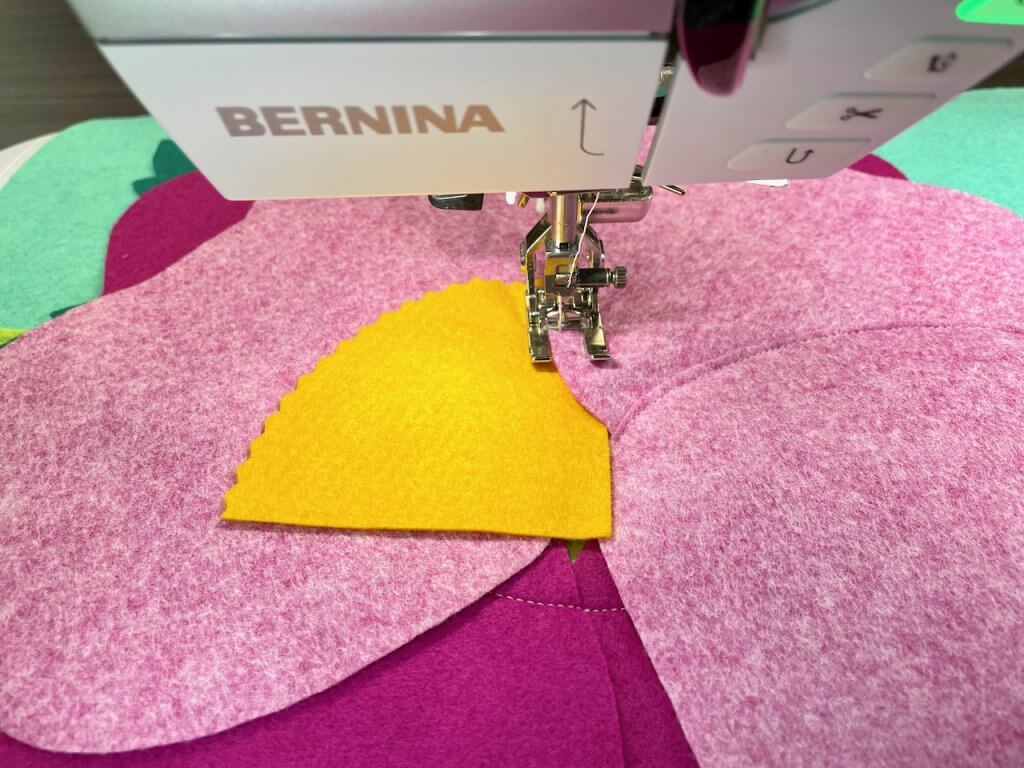
- Lift lower left petal, and tuck yellow flower center into center of flower as shown. Do not tape or glue-baste.
- Remove lower left petal and set aside.
- Topstitch light pink petals–where petals overlap, and stitching through upper right yellow flower center–as shown.
- Continue topstitching light pink petals–where petals overlap.
- When approaching yellow center top, stop stitching with needle in the down position.
- Fold yellow center over to the right, and continue stitching light pink flowers where petals overlap–as shown.
- With yellow center folder over to the right, replace lower left light pink petal over folded yellow center.
- Tape-baste or glue baste petal to pillow front.
- Continue stitching light pink flowers where petals overlap–as shown.
- Place pillow front to pillow back, with wrong sides together.
- Using Clover’s Wonder Clips, clip along pillow top and sides.
- Do not clip along lower pillow edge.
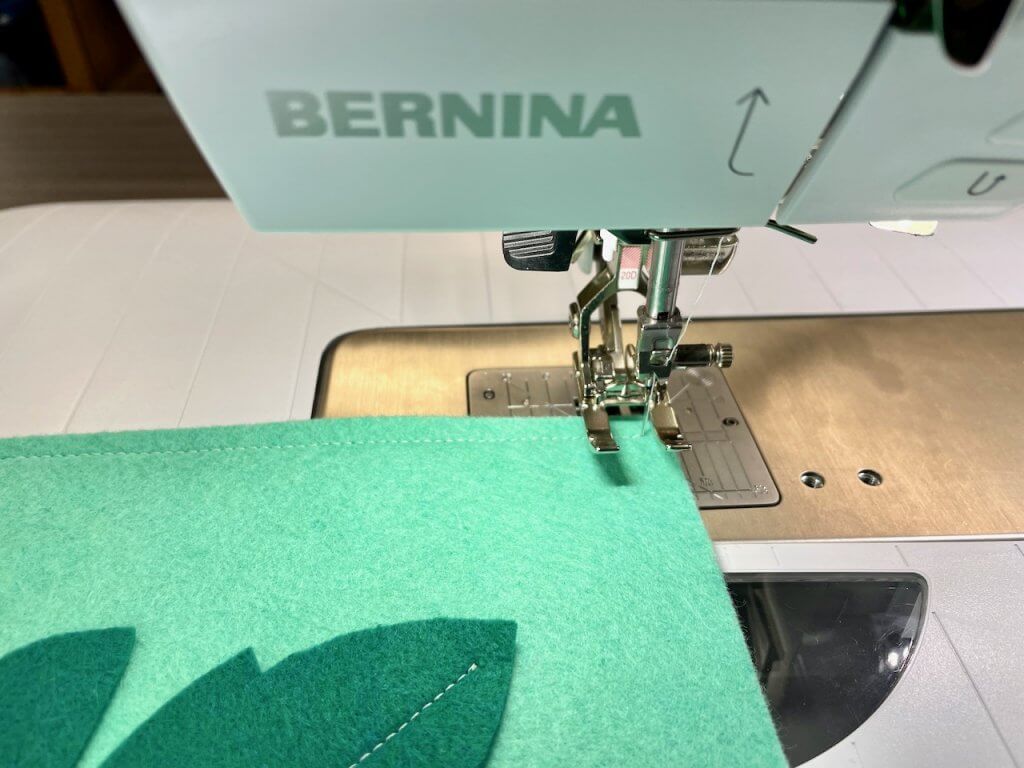
- Edgestitch pillow front to pillow back, along pillow top and sides only.
- At pillow corners, stop with needle in the down position, and pivot around corners.
- Backstitch at beginning and ending of seam–leaving lower edge open.
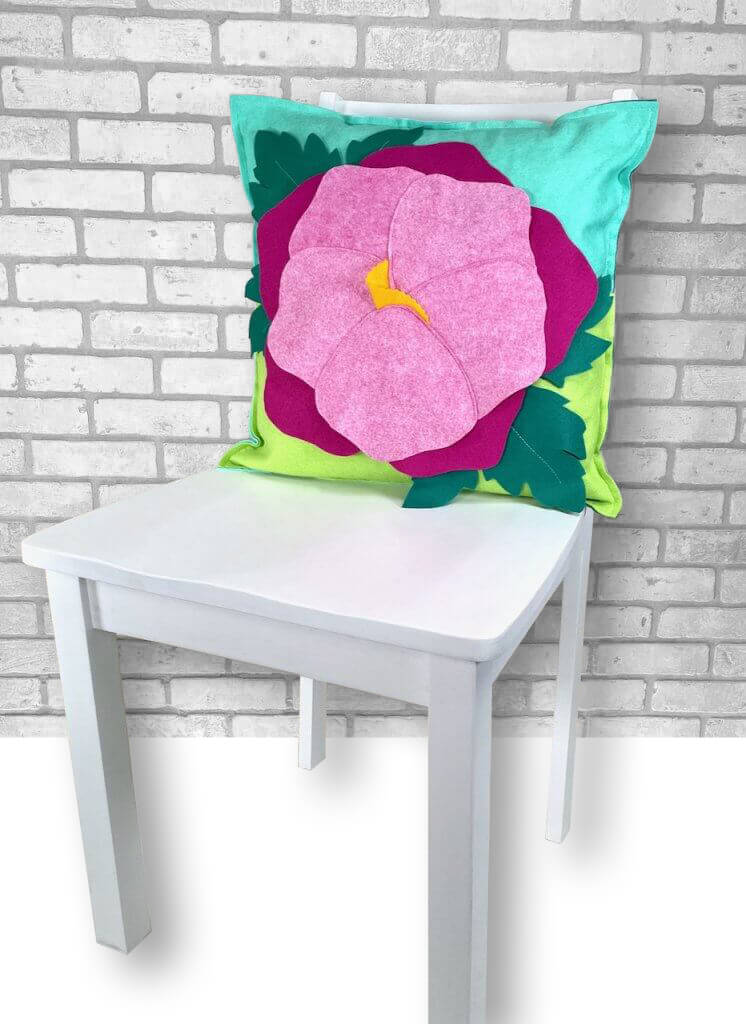
- Optional: Slide pillow case over chair back for a beautiful posey chair cover decoration!
- To complete Posey Pillow, insert pillow form into pillow–through lower seam opening.
- Pin seam closed with Clover’s Flower Head Straight Pins and stitch seam closed, removing pins while stitching.
Our Posey Pillow is complete!
Posey Pillow™ Supplies Listing
- NEW! Posey Pillow™ WoolFelt® Fabric Bundle
- Team NZP’s FREE! Downloadable Posey Pillow™ Applique Patterns PDF
- 18″ Square Throw Pillow Form Insert
- Open Toe Sewing Machine Presser Foot
- Schmetz Denim Needle Sz. 90
- Metrosene Plus Sewing Thread
- Clover’s 5-in-1 Sliding Gauge
- Clover’s Wonder Clips
- Clover’s Flower Head Straight Pins
- Clover’s Double Sided Basting Tape or June Tailor’s Fabric Glue Stick
- Clover’s Bordeaux Scissors Set for Applique
- June Tailor’s EZE-View Pressing Cloth
- 5/8 yds. Pellon’s Easy Knit Interfacing
- Frixion Marking Pen
- 45 mm Rotary Cutter, Cutting Mat, and Rotary Cutting Ruler
- 45 mm Rotary Cutting Pinking Blade
- Iron
Shop WoolFelt Bundles and NEW! Posey Pillow™ WoolFelt® Fabric Bundle
at ShopNZP.com
SAVE THE DATE!
Our annual Sew•Quilt•Create Weekend is May 18-20, 2023 in Beaver Dam!

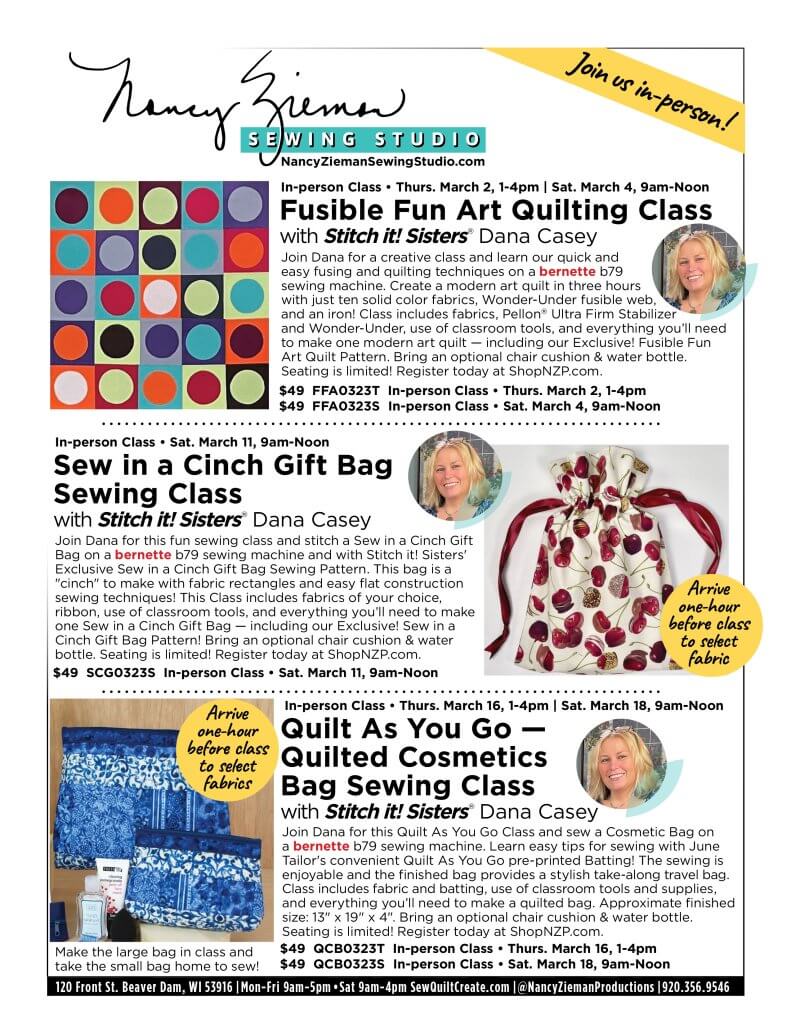

Learn how to sew with The Stitch it! Sisters as they teach Nancy Zieman’s classic timesaving sewing techniques and easy sewing methods with fun sewing projects at The Nancy Zieman Sewing Studio! Our classes are ideal for beginners! Sign up for one or more sewing classes, today at ShopNZP.com.
Our store classes include fabrics, use of classroom tools, BERNINA and bernette sewing machines, and everything needed to sew each project! Sign up for one or more sewing classes in store or online at ShopNZP.com.
This March SAVE 50% OFF the bernette b77 Sewing & Quilting Machine–in store at the Nancy Zieman Sewing Studio and online at ShopNZP.com!

Join the 2023 Nancy Zieman Productions Pillow Sewing Challenge!
Join the NEW! 2023 Nancy Zieman Productions Pillow Sewing Challenge this March at the NZP Blog! Deadline to enter is Thursday, March 23, 2023
Subscribe to the Team NZP E-Newsletter for updates and more at nancyzieman.com/blog/newsletter.
Happy Sewing!
Team Nancy Zieman & The Stitch it! Sisters
Nancy Zieman Productions. LLC.
Stitch it! Sisters is a production of NZ Productions LLC. Content in this feed is © copyright 2023 by Nancy Zieman Productions, LLC and may not be republished without written permission. You’re welcome to forward the email to a friend or colleague but it’s not okay to add the RSS feed automatically as content on a blog or other website. The FTC requires us to tell you that Nancy Zieman Productions, LLC has provided products by other companies in the course of doing business. The FTC requires us to advise you to take this information into consideration when reading this posting.


