
How to Sew a Lumberjack Pillow from a Flannel Shirt

Here’s a recycled-garment pillow project that we call the Lumberjack Pillow. It’s a great beginner sewing project.
Supplies:
- 1 man’s or woman’s shirt, any size
- 13″ x 10″ square of contrasting fabric to fill neckline area
- Color coordinated thread
- 16” Pillow form
- Double sided basting tape
- 5-in-1 Sliding Gauge
- Chaco Marking Pen
Cutting Instructions:
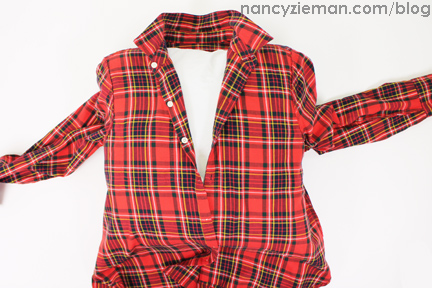
- Working from the wrong side, button the lowest three to four buttons. Secure placket lower edge with double sided basting tape.
- Follow manufacturer’s directions to apply tape.
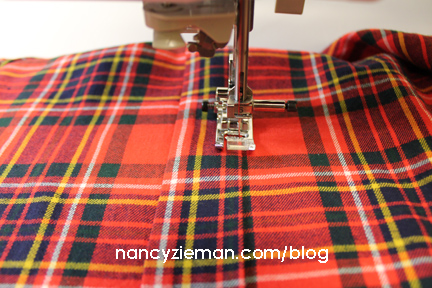
- Edgestitch the lower center front placket.
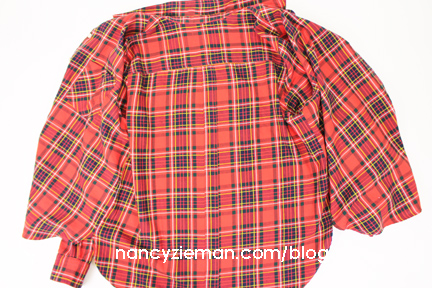
Our plaid flannel shirt had a back pleat. To avoid puckering, we topstitched the entire back pleat closed.
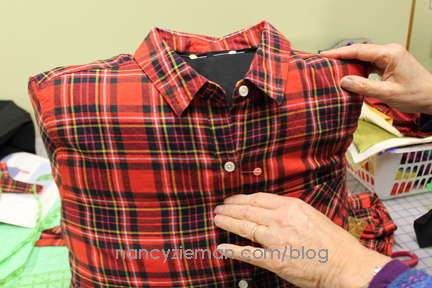
- Center pillow form inside shirt. (Notice the shirt is still wrong side out.)
- Button the shirt completely.
- Pin shirt parallel to the pillow form edges along the right, left, and bottom edges.
- Pin through the sleeve, closing the armhole area.
- Unbutton the shirt. Remove the pillow form.
- Lay the shirt flat.
- Use the 5-in-1 Sliding Gauge to measure 1″ beyond the pinned line.
- Mark with a Chaco Marking Pen.
- Cut along the marked chalk line.
- Keep the pins in place.
- Mark the pinned line with a marking pen.

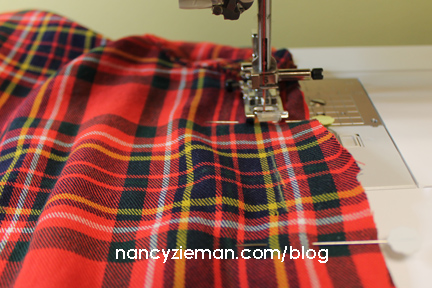
- Use a straight stitch and 1″ seam allowance to sew right, left, and bottom edges.
- Try the shirt on the pillow form.
Fine tune the fit of the shirt around the pillow form. A loose shirt may look sloppy and it is quite easy to turn the shirt wrong side out to remark/stitch a tighter fit.
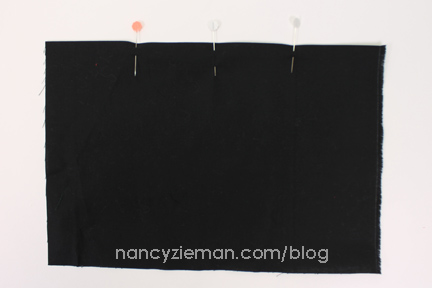
- Cut a 13” x 10” square of contrasting fabric to fill neckline area. Press under ½” along the 13” sides.
If the flannel shirt size is XL, it may be necessary to use a larger rectangle of fabric to cover the opening in the shirt.
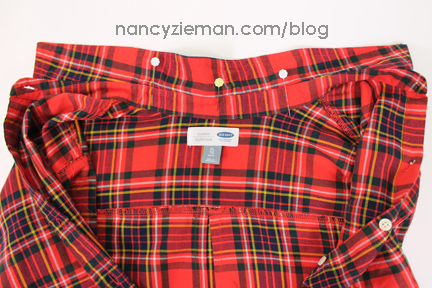
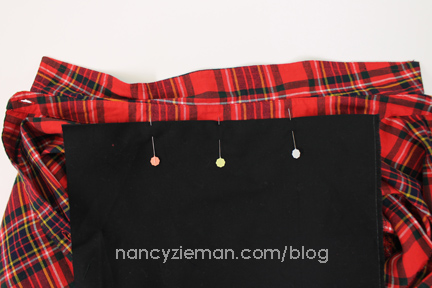
- Pin the midpoint of one 13” side to the center back of the neckline seam where the collar is attached to the shirt.
- Continue to pin approximately 3” from each side of the center back.
- Edgestitch the rectangle to the shirt where pinned along the collar or neckband seam line.
- Trim excess seam allowance from pillow sides and lower edge.
- Fold the seam allowance to create a “wrapped corner” at the lowered edges. Stitch in place.
Happy Sewing,
Team Nancy Zieman
Nancy Zieman Productions, LLC.











Lillian K
I got a little “lost” with the instructions when the contrasting insert was put into the shirt. Is there a video tutorial for this project?? It would help. Cute pillow idea, though. Thanks.
Rebecca Monnin
I’ve seen the Lumberjack Pillow and have wondered ever since regarding the “how-to”, thank you for the great instructions and pictures! This would be a good project to be a remembrance of someone who’s died, using one of their shirts.
Rebecca Monnin
I’ve seen the Lumberjack Pillow before and wondered how to make it. Thanks for the excellent directions and pictures! This would be a thoughtful gift of remembrance to make for someone who’s lost a family member. If I still had any of my father’s shirts, I’d make this as another way to remember him.
Pat
Thanks for this idea. My husband died in June and I am left with many wonderful wildlife motif shirts that are in excellent condition. Now I know what I can do with them.
Pat
Cindy Hertel
Great idea for a pillow. I did something similar last Christmas. I made a T-shirt pillowcase for my grandson. I used a shirt with his favorite band, cut off the sleeves and stitched the armholes closed, then I used one of the sleeves to enclose the neck area. It looks really cute to prop the pillow vertically on the bed.
Noreen
Hi! Nancy, and thank you for being such a great instructor of sewing!!! I am lost as to where you place that insert. Is there any video available? I would sure appreciate it! Thanks and hugs@
leather
Very good website you have here but I was curious if you knew of any user discussion forums that
cover the same topics discussed here? I’d really
like to be a part of group where I can get opinions from other knowledgeable individuals that share the same interest.
If you have any recommendations, please let me know. Many thanks!
sports betting
Hey terrific blog! Does running a blog similar to this
require a great deal of work? I have absolutely no understanding of coding however I was hoping to start my
own blog in the near future. Anyway, should you have any suggestions or tips
for new blog owners please share. I know this
is off topic but I just had to ask. Thank you!
milad shooli
This is an excellent idea, I love flannel and plaid shirts, and you can find my last article about warm flannel shirts and how to wash and dry them! I think the best plaid flannel shirts are buffalo plaid, I love to wear them in the fall and winter!
https://www.plaidlover.com/flannel-shirts-keep-you-warm/
cathy
Nancy I am searching for pattern for memory pillow with collar and sleeves. My father just passed away and I was hoping to make a pillow out of his flannel shirts. I found a pattern online for lumberjack, it had collar and sleeves. And the sleeves were stuffed also so it lookes like he is giving a hug. But I lost it when the computor shut down. My parents are both gone now and I don’t have much to show for them being here…