

How to Sew a Kite!
Ever consider sewing a kite? Paul Fieber, a recent Nancy’s Corner Guest on Sewing With Nancy, shares his love of kite flying and sewing. I know you’ll be impressed with his technique.

Watch my Sewing With Nancy interview with Paul Fieber

Fabrics and Supplies:
- Fabric: Rip Stop nylon sailcloth (not the ripstop fabric sold as clothing)
- Hot tacker: Wood burner with very fine point
- Sewing Machine: Only a zigzag and straight stitch are typically needed
- Thread: All-purpose polyester thread
- Needles: Microtex (sharp) 11/12
- Scissors: Good quality with narrow, sharp tips
- Tape: Double-sided for holding fabric where necessary
- Light table: Very useful for laying fabric on the working pattern

Kitemaking Techniques by Paul Fieber
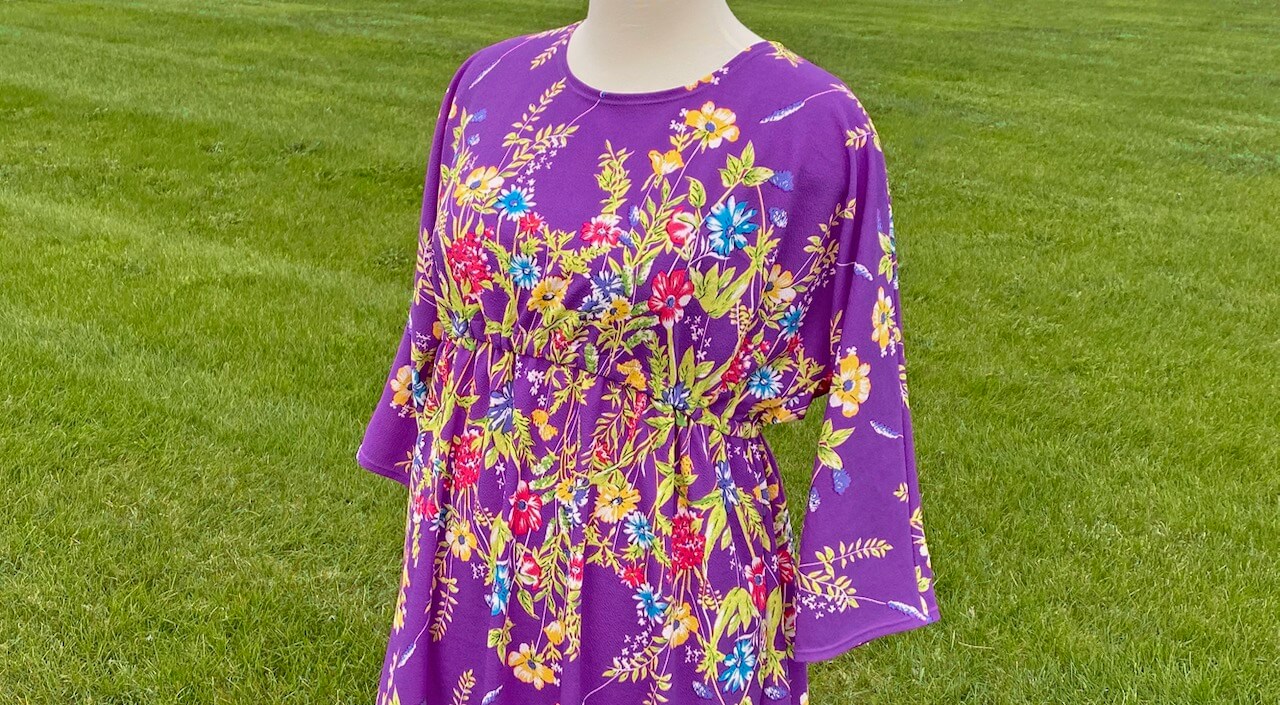
The kite design, in the photos, has an original Mound Builder’s theme. The rectangular and flat kite style is 41″ x 46″ and is called a della Porta.
Step 1 Create a full-sized pattern
- Decide on the kite’s style and draw out a full-size shape on paper. Since you’ll be stitching from the back of the kite, the kite image will be the reverse image of the drawing.
- Or, draw the design or a traced shape onto light-colored paper and attach to a smooth wall.
- Use a fine-point black Sharpie to darken the lines for your final working pattern. Take your time on this step since the lines become your stitching lines and fabric layout.
Option: If you have a way to enlarge your design by the use of a projector, tape a large sheet of paper to a smooth wall and trace the larger design on the paper.

Step 2 Trace stitch lines and layer fabric
- Select fabric colors based on the design.
- Find the “lightest” color and cut a rectangle or square slightly larger than the full pattern size. This is the base of your kite.
- Trace the lines on this “light” colored base fabric. These will be your stitching lines. Then, begin layering the other fabrics under this piece to introduce the color scheme.
- Finish the layering process with black fabric at the front (face of the kite).

Step 3 Hot tack layers together
- Hot tack layers every couple of inches on the lines to “pin” all the pieces together. Tack carefully and quickly. Avoid large holes but tap just enough to connect all layers together. (If available, a light table makes this step much easier.)

Step 4 Stitch from the back
- Stitch using a zigzag stitch. I usually use a 3.0 mm wide by 4.0 mm long zigzag for this step. It helps to begin sewing where two or more lines meet. And, if the design permits, stitch the longest continuous and more centered lines first to avoid shifting fabric as much as possible.
- Backstitch at the beginning and ending of a stitching line to strengthen the kite for heavier winds. Backstitching is also helpful where lines meet or severe direction change occurs.

Step 5 Cut away fabric to reveal design
- Now the fun part. Removing fabric to reveal colors is the next process. I generally complete the back of the sail first, then finish up on the face of the kite. Make sure you work on a smooth surface. Practice on some scraps before moving on to your precious kite sail.
- To get the working point of your scissors into the right layer, cut a small slit (very, very carefully!) with a #16 X-acto blade held backwards. Or, you might be more comfortable using a sharp pin to lift the fabric before cutting a slit.
- If you have to go through more than one layer to find the color you seek, open up the first opening a bit and cut another slit to get at the next layer. Then, run your scissors to the beginning of the stitch, snip and turn left. Always cut from the left of the stitch and open the scissors only a 1/4″ or so. The idea of this technique is to put some tension on the layer (or layers) being removed with your non-scissors hand, then run the scissors along the stitch but not too close. If you hear or feel your scissors rubbing along the stitch, you are too close! A single layer is cut easily. Multiple layers are more difficult. But if you feel the scissors grab, make sure you are not hung up in a stitch, and if not, make a snip or two rather than forcing the cut.

Step 6 Finish module from the front
- After removing all the unwanted fabric at the back, and removing (and wasting) a lot of black fabric at the front, you’ll achieve the desired “stained glass” effect.
- It is helpful if the design permits working in modules or sections. This is a good way to proceed, because it limits the number of times you have to push the entire sail material back and forth through the sewing machine arm.

Step 7 Finish raw kit
- Since the gold and green right side of the sail was joined earlier, I was able to add in (again by layering) the blue river, the North Star and a few round burial mounds. This was also done without the lower left side fabric being in place. I then added the black and red background with the white eagle effigy mound using the same layering technique to essentially finish the sail.
- This is how the kite looks before the 5/8″ black hem was added on the edges.

Thank you, Paul!


Thanks for leaving comments to my blog titled Seams Unlikely—Book Club Ideas. The random winner of my autobiography Seams Unlikely is Erin M. Her comment is: Dear Nancy, I must purchase your book to read your inspiring life story. You have been a part of my life for many years and even my husband knows your name and business! I just finished reading Joni Eareckson Tada’s autobiography called “Joni, An Unforgettable Story.” Her diving accident at age 17 left her a quadriplegic, she suffered from depression and tremendous struggles, but God brought her through all of this to lead a ministry to disabled persons and their family members as well as wheelchair distribution across the world. I would love to read your story, because no doubt God has been using you in wonderful ways to touch many of us through the years. Each one of us is precious to the Lord and He wants to use the full potential in each of us. Thank you for what you have meant to me!

Bye for now,
![]()


Jeannie Bell
Hi Nancy,
Many ,many years ago I saw a faux “stained glass” window made with a similar technique. I believe colored interfacing was used as the” glass’. I am definitely going to try this !!! Thank you very much !
Lou Ann Rice
Wow! These kites are beautiful! I’m definitely inspired to make my own. Thank you so much for sharing Paul’s work and his kite-making tutorial. This is going to be my “after the holidays” project. Again, thanks.
Robin
I never thought about doing this, but it is very interesting to learn about the process. Thanks for sharing this!
Mary
Beautiful kites, a work of art, lovely!
Martha
Brightened my day!!!!!
Jennifer Fried
Dear Nancy, As always you keep things interesting! I loved to fly kites when I was younger. Had many a dates that ended flying a kite. Could not believe how many people have not had the joy of flying a kite. Thank you Nancy and Paul for telling us how to make and them and then “Go fly a kite!” Jenny
Robin in KS
What great colors and an interesting technique! I don’t see myself jumping into this, but as my grampa said no knowledge is wasted!
Kim M. Harrington
I would love to use this technique to make a flag for our camper.
Ginger
Over the summer my children asked if I could sew kites. I guess the answer now is yes. Thanks for sharing this.
Elmer Cruz
Oh that was too easy.. All I need is to follow your instructions. Thank you so much! Cheers!
Elmer Cruz
Thank you for this site. Could be the start of a new hobby for me and my friends!
Dawn
Does the double sided tape gum up the needle?
Nancy Zieman
Dawn, We’ve had great success with the double side basting tape. It does not gum up our sewing machine needle.
Martin Haswell
Lovely piece, it all looked lots of fun and the kites are fantastic. Have been inspired to start making them myself, thank you for a fascinating video