Quilt to Give: Step Three—Stitch the Outside Columns
It’s the third step of the Quilt to Give, community quilting project. Using fabric from your stash to stitch an attractive bed-sized quilt and then giving it to those in need is a wonderful way to show love and concern for others. The best gift is always in the giving!
The first step was to sort out your fabrics with the second step featuring cutting instructions. These steps take manageable bites of time—no more than 2-hours as a solo project, or less time if you’re sewing with friends.
Step Three—Stitch the Outside Columns
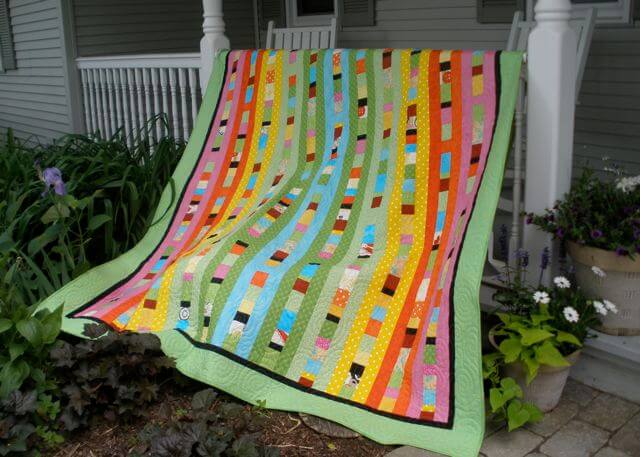
Each column is comprised of three parts: two outside columns and a patchy center column.
- Join two crosswise strips, stitching short ends together. To save time, chain stitch pairs of fabric strips. Each column unit requires two outside strips.

- The length of each strip will be approximately 82″.
- Press the seams open or in one direction. Hang the strips over a hanger to keep neat and tidy until tomorrow’s step!

Step four is next. Here are the links to all the steps:
Step 1—Sort out fabrics from several stashes
Step 2—Cut column strips and center patchy strips
Step 4—Stitch the patchy center columns
Step 9—Layer and quilt your creation
Quilt for Others with “Quilt to Give” Learn how to set-up and organize a Quilt to Give Event.
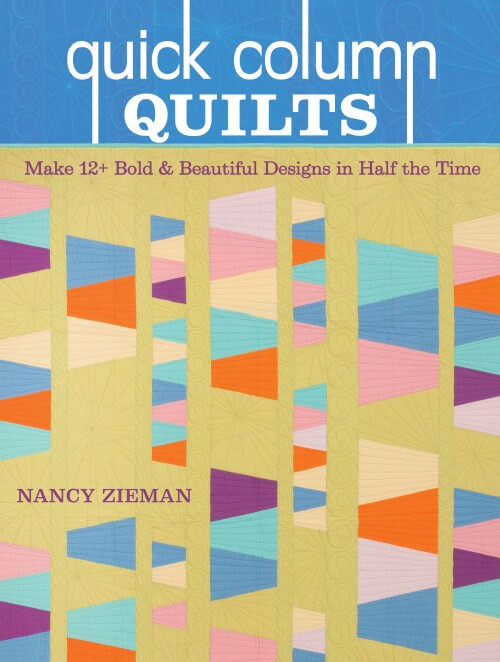
This quilt is a modification of a quilt from the book Column Quilts.
The gift is in the giving!
Team Nancy Zieman
Nancy Zieman Productions. LLC.
![]()
Stitch it! Sisters is a production of NZ Productions LLC. Content in this feed is © copyright 2021 by Nancy Zieman Productions, LLC and may not be republished without written permission. You’re welcome to forward the email to a friend or colleague but it’s not okay to add the RSS feed automatically as content on a blog or other website. The FTC requires us to tell you that Nancy Zieman Productions, LLC has provided products by other companies in the course of doing business. The FTC requires us to advise you to take this information into consideration when reading this posting.