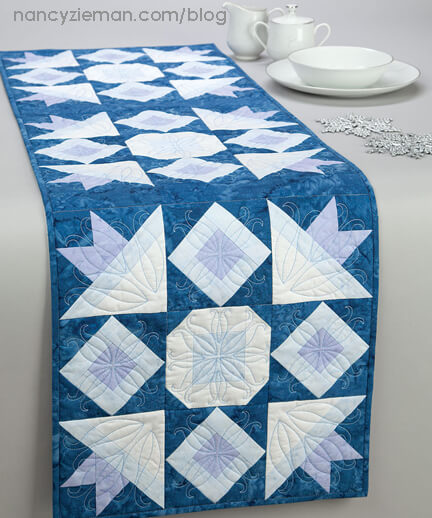
Quilt and Embroider with a Flurry of Snowflakes!
Novice or expert, quilting is always an exciting adventure. With so many techniques and styles to choose from, it can be tricky to master precision piecing, until now. Let your embroidery machine do the work for you! By using the software in the new Flurry of Snowflakes embroidery bundle, you can easily create quilt blocks and finish the design with outline quilting motifs. I’ll show you the process step-by-step on Stress Free Quilting with Machine Embroidery on Sewing With Nancy.

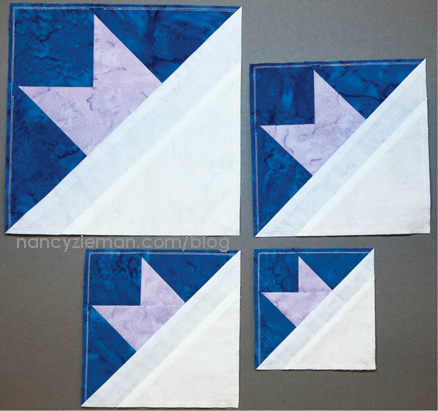
Introducing Flurry of Snowflakes! Don’t run for your winter coat and mittens; run for your embroidery machine! This new snowflake-themed package includes three blocks in four sizes and coordinating outline/quilting embroidery. I’m showcasing the outline designs as the machine quilting; however, you can add the beautiful soft scrolling outlines to any project.
Supplies:
- Batik Fabrics in white, blue and pale purple
- Batting
- Fusible Mesh Cut-Away Stabilizer
- Coordinating all-purpose thread, such as Madeira Aerofil
- 50 Weight Quilting Thread
- Mini iron
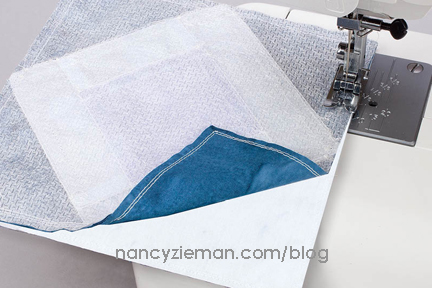
- Sewer’s Fix-It Tape
Note from Nancy: The specific supplies list for this table runner is included in the software package. Sizes and amounts will vary depending on which size blocks you stitch.
Precision Piece Blocks
Prepare:
- Determine the block size. Choose the block size according to the finished size of the project you’d like to create, and hoop size available for your embroidery machine. This collection works with 8″, 6″, 5″, or 4″ hoops.
- Print a template of each Flurry of Snowflakes blocks using an embroidery software program such as Amazing Designs® Edit Express™.

- Select and prepare fabrics by applying Best Press to stabilize the fabrics.
- Cut the fabrics as described for the sizes you’ve chosen.
- Section 1: light blue fabric—cut three 4″ squares
- Section 2: white fabric—cut three 2-1/4″ x 4″ rectangles
- Section 3 and 5: white fabric—cut six 2-1/4″ x 5-1/2″ rectangles
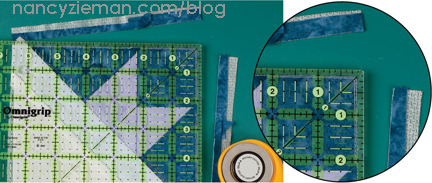
- Section 4, 6, 8 , and 9: dark blue fabric—cut six 3″ squares, subcut diagonally
- Section 7: white fabric—cut three 2-1/4″ x 7″ rectangles
- Section 1: lavender fabric—cut twelve 3″ squares
- Section 2: light blue fabric—cut twelve 2″ x 3″ rectangles
- Section 3 and 4: light blue fabric—cut twenty four 2″ x 4″ rectangles
- Section 5: light blue fabric—cut twelve 2″ x 5″ rectangles
- Section 6–9: dark blue fabric—cut two 4″ squares, subcut diagonally
- Section 1: dark blue fabric—cut twelve 3″ squares
- Section 2 and 3: lavender fabric—cut twelve 4″ squares, subcut diagonally
- Section 4 and 5: dark blue fabric—cut twelve 4″ squares, subcut diagonally
- Section 6: light blue fabric—cut twelve 2″ x 9″ rectangles
- Section 7: white fabric—cut six 5-1/2″ squares, subcut diagonally
- Dark blue fabric—cut two 2-1/2″ x 23″ rectangles
Build the Block
- Hoop a Fusible Mesh Cut-Away Stabilizer, fusible side up.
- Set up the sewing machine with the embroidery unit and appropriate foot.
- Import and select the embroidery design for the block.
- Select all-purpose poly or poly/cotton thread; wind the bobbin with the same thread as used in the needle. A slightly contrasting thread color works best. (Now this is different! Rayon thread is usually used for embroidery but we’re piecing quilt blocks!)
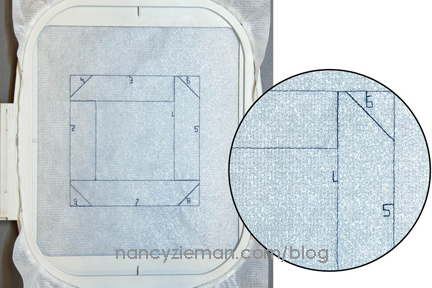
- Stitch the first thread color directly on the stabilizer. Use a thread dark enough that the lines are visible.
- Notice the different sections of blocks and numbers within. These numbers indicate the piecing sequence of each block.
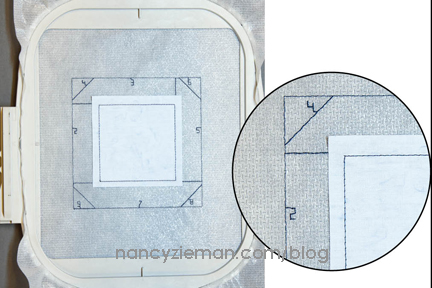
- Place Section 1 fabric square over section one stitched on the stabilizer base, right side up. The fabric must cover the stitching lines and extend almost equally along all sides.
- Fuse the fabric to the stabilizer with a mini iron.
.
- Thread Color 3 will create the seam.
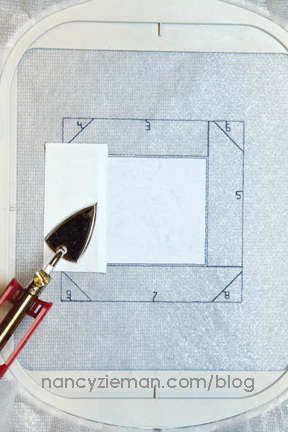
- Fold fabric Section 2 over stabilizer.
- Press from the folded edge, working to the outer edge to eliminate wrinkles.
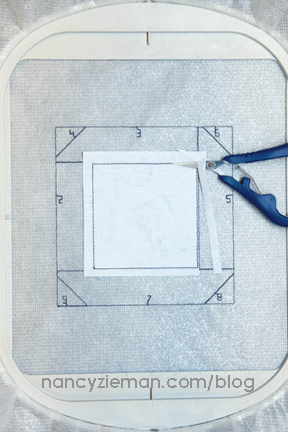
- Thread Color 4 will baste pressed section to stabilizer.
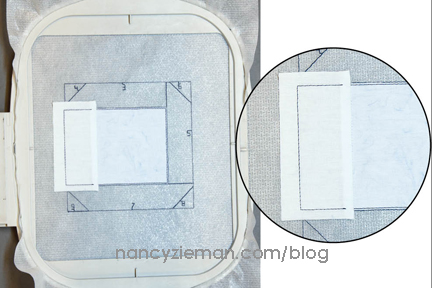
- Trim away excess fabric past basting line.
- All seam allowances are 1/4″ unless otherwise noted.
- Set up sewing/embroidery machine with a 1/4″ piecing foot or standard food.
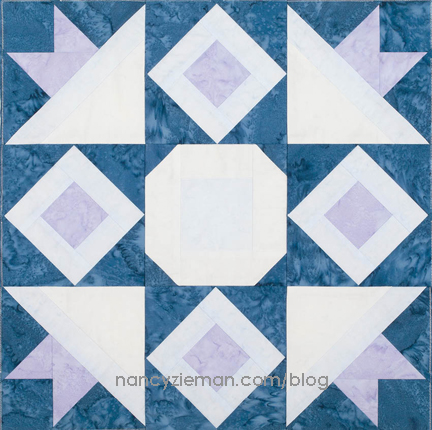
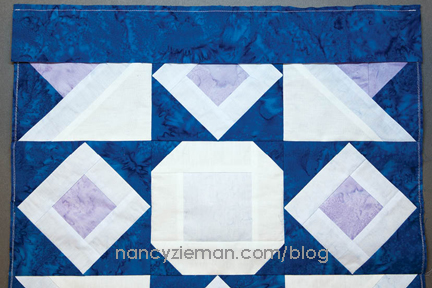
- Arrange the blocks in three rows of nine blocks as shown below.
Quilt the Table Runner
- Layer the table runner by creating a quilt sandwich. This is a delicious term to describe the layers:
- Table runner backing—wrong side up
- Quilt batting
- Pieced table runner—right side up
- Use curved pins to baste the three layers together.

- Place a Walking Foot on your sewing/embroidery machine.
- Switch to quilting thread in a coordinating color.
- Start with the middle block, stitching in the ditch to secure the three layers.
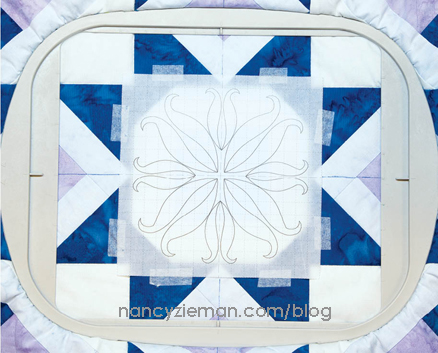
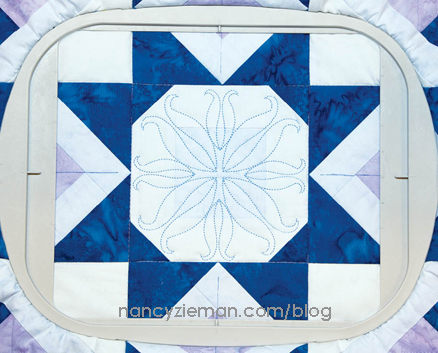
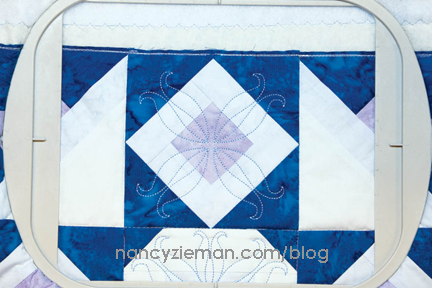
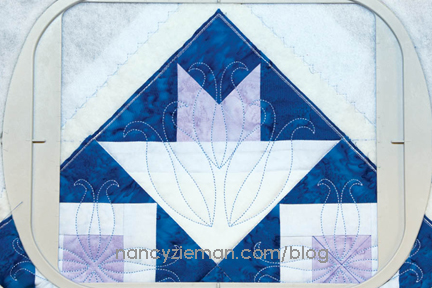
- Choose one of the snowflake outline designs to quilt. Print using the Amazing Designs® Edit Express software.
- Position a printed outline design template; tape it to the table runner at the desired location, aligning centers with center marks on the hoop.
Finish the Table Runner
- Finish the quilt with your favorite binding method. You can find my absolute easiest binding tutorial here.
For more information on creating wonderful quilted projects pieced precisely with an embroidery machine, watch Stress Free Quilting with Machine Embroidery Part Two on Sewing With Nancy online.
To watch Sewing With Nancy on your iPad, iPod Touch, or iPhone, download the app.
Bye for now,















Kim H
Nancy, I just want to clarify something in my mind. After switching to the walking foot and stitching in the ditch, you are going back to the embroidery foot for the design correct? I found myself wondering (though I’d never heard of this) if you were using the walking foot in the embroidery design.
Lorij
Can this be made without an embroidery machine ?