

Nancy Zieman’s 50 Tips to Sew Smart & Sew Kind
There are reruns on TV—well, of course. So what about blogs? How about Encore Postings! My staff and I decided that an encore posting was extremely appropriate for this week since we’re in the thick of preparing for Nancy’s Notions Sewing Weekend Event. For those of you attending our big gala event, I look forward to seeing you Thursday, Friday, and/or Saturday. For others, we’ll post a Sewing Weekend in review on Saturday, May 5th. In the meantime, please enjoy a popular posting from last summer.
Encore Post from July 19, 2011
Last weekend while cleaning a closet, I found a copy of Life’s Little Instruction Book by H. Jackson Brown, Jr. (Published ’91). Needing a break from the cleaning task, I read the little book cover to cover. The helpful hints caused me to pause at one of my favorite tips, #368—Remember no one makes it alone. Have a grateful heart and be quick to acknowledge those who help you out.
Reading the book gave me the idea to create a list of tips for sewing and quilting enthusiasts.
50 Tips to Sew Smart & Sew Kind
- When you receive a compliment on something you’ve sewn, quilted, or embroidered, graciously say, “Thank you.” Please don’t point out the flaw that only you can find.
- Support your local sewing and quilting stores.
- Teach your kids or grandkids to sew on a button and fix a hem. Give them a small sewing kit when they leave for college. (If they can master texting, they can certainly sew on a button.)
- Tie a tag on your best sewing scissors that’s labeled “For fabric cutting only.” Or, keep it in a box in the freezer with the label, “Chicken Livers.” (This hint is attributed to Nancy Harp, Aurora, MN.)
- Store unfinished projects in clear, plastic bins that have snap-on covers. All pieces will stay together and you’ll not lose sight of what’s inside.
- Give a small sewing kit to a member of a bridal party: thread (white, black, and the color of the attendant’s dresses), needles, and scissors (or nail clippers) to cut threads.
- Keep a small sewing repair kit in the glove box of your car.
- Join a guild or sewing group. You’ll find inspiration and friendship.
- Make and give away something every year to someone you’ll never meet. The gift is in the giving. Use the best fabric that your budget affords. The project that you made may be the only made-with-love gift that person receives in his/her life. See www.creativekindness.com for a listing of volunteer projects and/or organizations.
- Use a calendar to quickly keep track of what you’ve sewn or quilted in a year. Pin a swatch of fabric at the date completed along with a few notes. You might amaze yourself with what you accomplished in a year.
- Start a new sewing or quilting project by cleaning/oiling your machine and changing the needle. An ounce of prevention…
- Donate aged fabric to a charitable sewing group. If you haven’t used it in five or more years, it’s likely you never will. You’ll feel good about cleaning out your fabric stash and the recipients will appreciate the donation.
- Listen to books on tape (or CD) while sewing or quilting.
- Keep water-soluble stabilizer in a zip-type plastic bag to prevent it from drying out.
- Plug your sewing machine(s), iron and light into an electrical strip. When leaving your sewing area, you’ll just have one switch to turn off and you’ll never wonder if you left the iron turned on!
- A seam sealant like Fray Check is a must to seal all serger thread tails or edges. If squeezed directly to the fabric, you may get more than you bargained for. Apply the sealant to a Q-tip and then dab your fabric for greater control.
- To save time later, wind several bobbins of thread before starting a project.
- Don’t waste your money on buying cheap thread—you get what you pay for.
- Make it a habit to clip the corner of fabric that you’ve prewashed. This little demarcation will save you time and your sanity.
- Schedule a sewing escape each year, such as an evening class, a 3-day event, or a quilt show. It will get your creative juices flowing!
- Thank the person who taught you to sew or quilt.
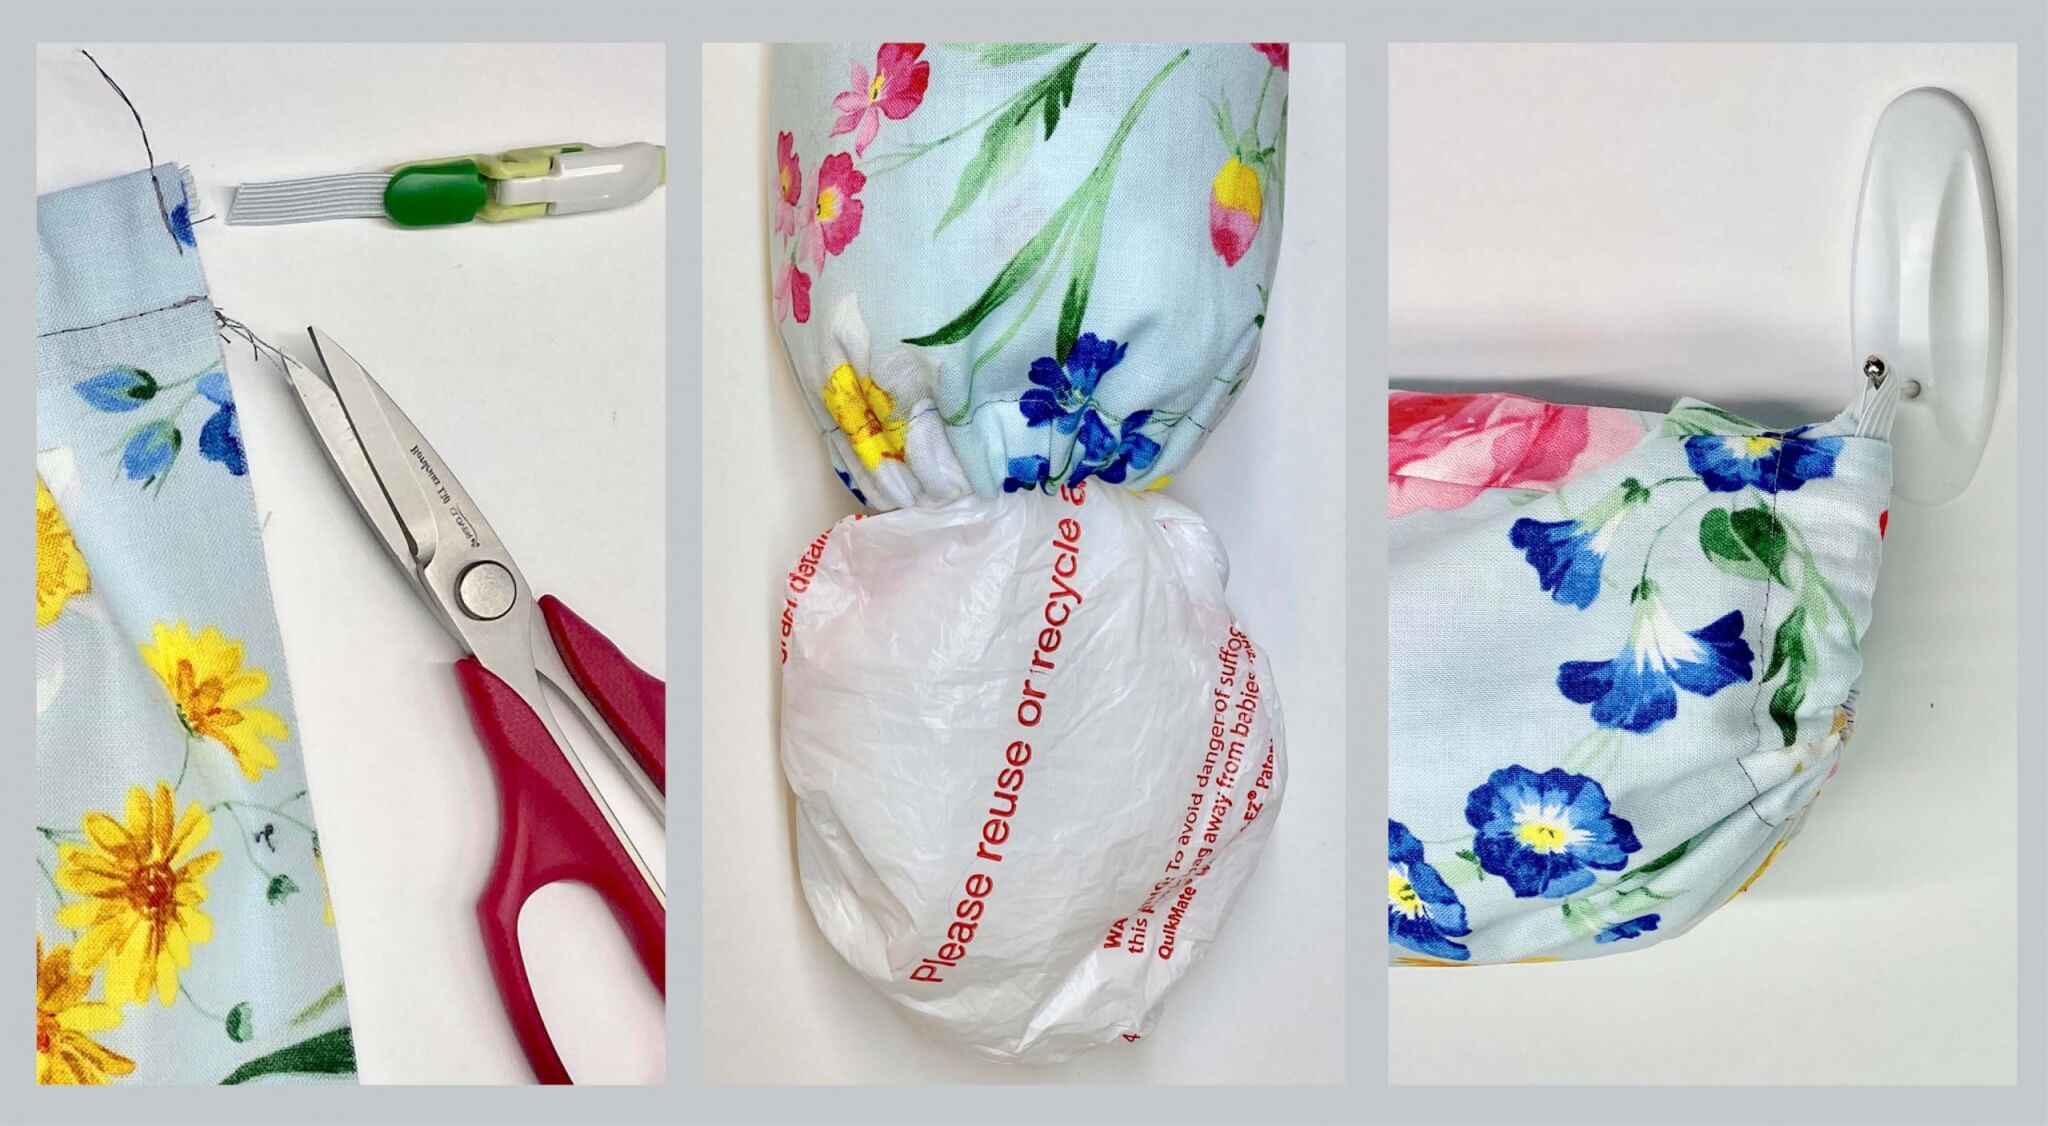
- Cut elastic to the needed length after inserting it into a casing. It will be easier to handle and less elusive!
- Every time you sew or quilt look for some small way to improve the process.
- Write the pattern number or book reference of your project inside the hem or another inconspicuous area, using a permanent fabric-marking pen such as Pigma Pen. That reference might come in handy some day!
- Add a label to every sewn-with-love project given away. Besides writing or stitching your name, add the date, and occasion.
- If you’re not going to use your fabric purchase right away, write the yardage on an Avery label (or another type of sticker) and apply to the fabric. It will save time when you’re mulling through your fabric stash, determining if you have enough yardage for your next project.
- Keep several tubes of paper glue stick at hand. The glue works as a basting or tacking aid when positioning trim or “pinning” hems. Not to worry, the glue dries clear and will not gum-up your machine.
- Use tiny clothespins or paper clips as pin alternatives when working with thick fabrics or multilayers of fabric.
- Cans of tuna or caviar are excellent pattern weights.
- Start sewing for the holidays in September. Some recommend July, I just can’t get interested in Christmas gifts when it’s more enjoyable to be out-of-doors. September works for me.
- If you garden as well as sew or quilt, use leftover crosswise quilt strips to tie tomato vines to a supportive post. The soft fabric doesn’t damage the vine.
- Enjoy the sewing process. It’s therapeutic!
- Keep a small empty container that once housed, for example, vitamins in your sewing area. Use it to dispose of worn-out needles. Your garbage collector will thank you.
- Position your ironing board away from the sewing machine. Getting up, walking, and stretching will keep your back happy.
- Don’t hide your sewing machine in a closet. Assign a corner of a bedroom, great room, or office as your space. After all, we keep our computers at easy access!
- For an almost instant raised cutting table, cut (or have someone help you cut) four, 6–8″ lengths of PVC pipe. Slide the pipes over the legs of a heavy-duty folding table. Presto!
- Read the pattern or project instructions, start to finish, before beginning a project. (Sometimes I just “read” the illustrations and then read the instructions if the step looked confusing.) You’ll be able to head-off confusion if you have an idea of the entire process before you begin.
- To mark a point where you need to stop stitching, insert two pins close together. It works just like a stop sign for me.
- A bar of soap with the paper covering intact is a pleasant-smelling pincushion substitute.
- If the thread on your sewing machine breaks, here are two tips that solve the problem 90% of the time: 1) Totally rethread the machine. 2) If #1 doesn’t work, change to a larger size needle.
- Attention Embroiderers: Use strips of Blue Painter’s Tape to position a project to the hooped stabilizer.
- When combining fabrics, the inclination is to choose all medium shades. Combining light, medium, and dark fabrics will give your project more eye-appeal.
- Use Sticky Notes to mark frequently used cutting lines on your quilting rulers. These visual markings will improve your accuracy.
- Use a flannel-backed vinyl tablecloth as a temporary design wall. Pin under a casing at one end of the tablecloth, thread a curtain rod through the casing, and hang the design wall with two small nails at each end of the rod.
- If you don’t have a lot of cupboard or drawer space, use a cutlery carrier to store frequently used sewing notions.
- For knot-free hand sewing, run a threaded needle through a dryer sheet a few times. The anticling solution will give you smooth hand sewing.
- Cut drinking straws in half and place over the spool pins of your thread rack to increase the capacity.
- Give a start-to-sew kit to a friend. Include scissors, tape measure, pins, pincushion, seam ripper, and a coupon for a personalized sewing lesson with you!
- Keep a roll of paper toweling near the ironing board. When fusing web or interfacing, place sheets of the toweling on the ironing board. If the fusible sticks to the paper towels, simply toss!
- Count your blessings. Thank God for the gift of creating with your hands.
So, what’s your favorite tip? I’m sure you can add to my list.
Bye for now,
![]()

ga447
I love all the tips, I like the 46 and 48, I am very grateful that sewing, quilting, embroidery has come into my life.
Judith
Thank you for the tips-here is one more: keep an empty tissue box (the prettier the better) next to your sewing machine to use for trash such as pieces of thread, empty thread spools and snips of fabric. When full, just throw in the trash and replace with another empty box.
Iowa Man Quilter
Thanks for the tips Nancy. With some fabrics it’s hard to
know the “right” side. When sewing garments I always
mark the right side of each piece with
tape.
Kathy Langford
Whenever I sew for a period of time and begin to feel tense, I leave my sewing for a time. This eleminates the frustration of dealing with the mistake I am about to make had I continued with my project.
patei morse
when I make a garment I sew a small white square into to the
back center seam, I can write the size or initial of which grand kid will wear it. it shows which is front and back,even for me it helps when dressing,
patei morse
when using a multiable size pattern, I use one of the pattern copying materials [they are like interfacing] I can add alterations onto the copy material for the intended recipient,
the patten number,date,their name and approximate size or starting size,plus any information that I feel is needed, if I make facings due to major changes to original pattern, I keep it all together, the copied patterns go into a quart zip seal bag, a white label on outside with information so I can use it again.
Marie
Oh my god, i love all these tips…very true…thanks for the great info.
Linda
Loved the “rerun” of the 50 hints. I do #37 with each new pattern or project while I am hooked up to my dialysis machine-If I can’t be sewing, I can be planning my next project, making a list of all the notions, fabric and equipment I am going to need and getting ready to start the construction as soon as my session is over. Sometimes planning is almost as fun as actually sewing.
Betsy C
My mother taught me to sew, and how I wish she were still here so I could say “thank you.”. Nancy, I’ve learned so much from you over the past 25 years — THANK YOU for all you do to encourage sewing and quilting!
Michelle Costen
Well Miss Jesse Wagner, you can unsubscribe from this website but you can’t unsubcribe from your Creator. And don’t assume everyone is a Christian, You probably didn’t know that God is the anglo saxon term for Good and the word God means more to some people, as the Principle of goodness more then it does to a man up in the clouds..
Good luck to you wherever you go…
Beverly Baker
My mother taught me how to “sew”. My mother, both grandmothers and one greatgrandmother all quilted but it was Sewing With Nancy that gave me the nerve to finally try it. I’ve watched your show for 25 years and have loved every episode I’ve seen (which isn’t all of them, unfortnately). God Bless you Nancy!
Tillie
Thanks Nancy… Love you.
I store my cone thread in a box (no lid) upside down with a full bobbin in the cone to keep them together.
Loved all the tips… Especially #50… I’m Thankful for all the gifts from God and his mercy to Love us all, regardless of the path we chose.
Colleen
Thanks for the encore blogs, Nancy. Good idea for those of us who missed it first time around. 🙂
Clem
I love your tips. I try to remember to take pictures of my finished projects (sometimes I finish as i am running out the door to the event) put it in an album along with fabric scraps of all the fabrics used. Sometimes in pictures you cannot make out what the fabric was, and I try to add a picture of the recipient. Sometimes I will add a note of problems or tips to help remember how much “fun” I had.
It becomes my own personal memory book.
Clem
Thank you for being the person you are and not letting others change you. God Bless
Renee Black
Thank you, Nancy, for the tips. For the lady who was offended by your #50 tip, I feel sorry for her. If someone is so offended by it, then they should stay off of the site. It must be sad to be so miserable that they only have time for negativety.
Barbara Palmatier
Thanks for all the ideas. But you asked for one of ours. You pretty much covered them Nancy, but will offer one of mine. So simple really. One night we where at sewing group and I started laying out my quilt pieces. I swtiched this one and that and got it just right. Then to my dismay noticed everyone was packing up. Had the time gone by so fast? Good grief what was I to do with my quilt pieces all spread out? I grabbed some scrap pieces of paper from the office and ran back to the kitchen and grabbed a paper sissors. Not my good material ones! And a pen. Hemmm what to do next? What came natural. At the top of each row I wrote Top followed by Row 1 and then an arrow poining down, Top , row 2 and an arrow pointing down, etc. Until all tops of the rows where covered with the right number pinned on. Then I stacked them from the bottom up and each pile had the right row number on them on top. It reminded me that was the top piece and what row and that I had not stacked them to go sidewise. I really did not think anything about it. Seemed logical to me. Then carefully stacked them in a box to take out and home for next week. The following week I had no problem laying them out the way I liked them. I never gave it another thought and then several women starting asking if they could borrow my scraps of papers. The group was over and they needed them. They said it was a great idea… I was pleased and happy to lend them out.
Laura Crawford
Dear Nancy, thank you for continuing to teach me the enjoyment of sewing. I cannot call Mom to thank her for signing me up to take sewing classes at Singer in the early 70’s. I enjoy the colour of fabric. Planning new quilts with graph paper and colouring on tracing paper to get ideas of block placement has brought me joy. Love your tips, especially # 46. Thank you Nancy, staff and fellow fabric lovers!
June
Thanks for sharing all of the 50 shares.I have tried to think of how to make a “flannel board” so glad to read the idea of using a flannel/vinyl tablecloth!!!
Jill
Thank you for sharing this.