

Quick Quilting in the Hoop for Your Autumn Table
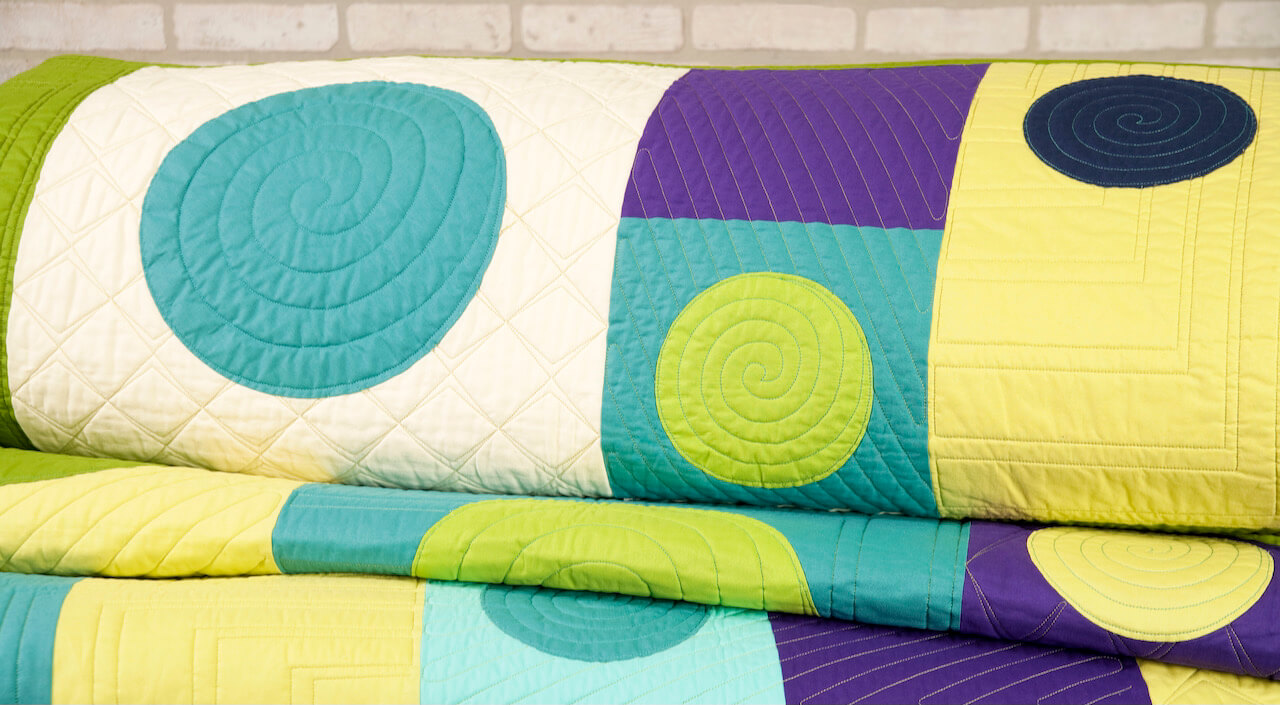
Autumn is in the air as the colorful leaves continue falling to the ground and the cooler weather moves in. On Saturday night, we’ll turn the clocks back and daylight savings ends — here in Wisconsin. Team NZP is celebrating the changing seasons with our Fall Leaves Mini Wall Hanging/Mini Table Runner.
Make a Fall Leaves Mini Wall Hanging or Table Runner – all within the hoop of an embroidery machine! Below find our step-by-step instructions for preparing and cutting fabrics, piecing quilt blocks in the hoop, and how we added “automated” fall leaves appliques – with our Exclusive Quick Quilting in the Hoop: Fall Leaves Embroidery Collection with Embroidery Designs.

Find additional projects – to piece with your embroidery machine – in NZP’s Exclusive Quick Quilting in the Hoop: Fall Leaves Embroidery Collection Book available exclusively at ShopNZP.com!

Fall Leaves Wall Quilt or Table Topper

Machine Quilted Beverage Coasters
 Mini Wall Hanging or Table Runner

NEW! Stitch it! Sisters Quick Quilting in the Hoop: Fall Leaves Mini Wall Hanging/Table Runner Tutorial
Tools & Supplies:
- Exclusive Quick Quilting in the Hoop: Fall Leaves Mini Wall Quilt Bundle Box
- Quilter’s Starch Savvy
- Fusible No-Show Cut Away Stabilizer
- Mini Iron II “The Adapter”
- Chrome Embroidery Needles, Size 90/14
- Chrome Quilting Needles, Size 90/14
- Hoop Mat
- Point 2 Point Turner
- 1/2″ Sewer’s Fix it Tape
- 1″ Sewer’s Fix it Tape
- 6-1/2″ x 6-1/2″ Square Omnigrid Ruler
- Tailor’s & Quilter’s Clapper
- 1/4″ Quilting Foot Low Shank
- Edge Joining Foot Low Shank
Easily turn your embroidery sewing machine into a quilting machine with our techniques borrowed from paper piecing. Creating accurate and consistent quilt blocks, in multiple sizes, is easier than ever with an embroidery machine. First-time quilters and seasoned quilters alike will enjoy precise piecing — with every quilt block — when combining embroidery and block piecing with our Quick Quilting in the Hoop — Fall Leaves Embroidery Collection Book and Embroidery Design Files.
The piecing of our Square-in-a-Square Quilt Block is stitched on a Fusible No-Show Cut Away Stabilizer, assuring precise piecing. Piece a quilt without being a quilter! Embellishing quilt blocks couldn’t be easier with the included appliqué accent designs. Appliqués are pre-merged within quilt block embroidery designs and are ready to embroider! Or choose one of the included automated machine quilting motifs, and quilt all layers in the hoop for the look of free-motion quilting.
Our Quick Quilting in the Hoop — Fall Leaves Embroidery Collection Book includes 19 embroideries, some of the embroidery designs are for piecing, while others are for quilting! The embroideries are found in a downloadable link included with the purchase of The Quick Quilting in the Hoop — Fall Leaves Embroidery Collection Book at ShopNZP.com.
- Ten piece in-the-hoop square-in-a-square quilt block designs featuring optional appliqués, embroidery, and quilting motifs: maple leaf, oak leaf, ash leaf, sumac leaf, green leaf, acorn, berry branch, overlapping leaves quilting, leaves on branch, and plain.
- Two free-motion inspired quilting designs: overlapping leaves, and leaves on branch.
- Appliqué motifs: maple leaf, oak leaf, ash leaf, sumac leaf, green leaf, and acorn.
- Embroidery accent: berry branch.
- Plus, each of the 19 designs are included in three sizes – for a total of 57 designs:
- 57 designs: 19 (5″ x 5″), 19 (6″ x 6″), 19 (8″ x 8″).
- Includes:
- Embroidery design files.
- Thread color sequence charts for each design.
- Printable templates, 100% actual size.
- 10 embroidery formats: DST, EXP, HUS, JEF, PES, SHV, VIP, VP3
How to Piece our Quilt Block in an Embroidery Hoop
Here’s an overview of our techniques. Find step-by-step directions with full-color illustrations in our NEW! Exclusive Quick Quilting in the Hoop: Fall Leaves Embroidery Collection Book. Each quilt block design is included in three different sizes: The larger the block, the large the embroidery hoop size needed:
- 5″ block requires an 5″ x 5″ hoop or larger
- 6″ block requires a 6″ x 6″ hoop or larger
- 8″ block requires a 8″ x 8″ hoop or larger

- Print an optional template from collection files for the chosen design (Quilt Block with Maple Leaf Appliqué). On printed template, notice the different sections of the block and numbers within. These numbers indicate the piecing sequence. (The images feature the 5″ Maple Leaf Quilt Block.)

- Select and Prepare Fabrics for Square on Square Blocks with Appliqué Accents: The most dramatic results are achieved by selecting assorted fabric of light, medium, and dark shades.
- – Mountain Green Shades — center block squares.
– Fire Engine Shades — inner block triangles.
– Tangerine Shades — outer block triangles and Maple Leaf appliqué.
– Wagon Red Shades — outer block triangles and Sumac Leaf appliqué.
– Sundrop Shades — center block square.
– Amber Shades — inner block triangles and Oak Leaf appliqué.
– Cheddar Shades — outer block triangles.

- Prepare all fabrics using spray starch or a starch alternative. This step preshrinks, removes wrinkles, and makes fabric crisp to allow for nice sharp folds.

Preshrink fabrics by steaming and pressing and steaming and pressing a second time. Stabilize fabrics for sewing by pressing and starching fabrics with June Tailor’s Quilter’s Starch Savvy — press and starch, press and starch.

- Cut Fabrics for Square on Square Blocks: Note: 5″ fabric squares work perfectly with all three sizes of the Quick Quilting in the Hoop Block’s inner and outer block triangles. Size of block determines if 5″ fabric squares are cut in half (1/2-square triangles) or in quarters (1/4-square triangles).
- Using a rotary cutter, ruler, and mat, cut Block fabrics by cutting one 5″ wide crosswise strips for each of the five fabric colors.

- Sub-cut 5″ wide crosswise strips into 5″ fabric squares.

- For 5″ blocks, cut 5″ fabric squares point to point diagonally in both directions creating 1/4-square triangles for both inner and outer block triangles:


- Cut fabric squares for block center squares (Section 1) according to block size: For 5″ blocks, cut 3-1/4″ fabric squares:
- – 2 fabric squares of Mountain Green Shades.
- – 1 fabric square of Sundrop Shades.

- Set up sewing machine with machine embroidery unit and embroidery foot.
- Insert a new Schmetz Chrome Embroidery Needle, Size 90/14.

- Import and select the Quick Quilting in the Hoop Maple Leaf Quilt Block.
- Use a neutral thread color that works well with fabrics for the piecing sequence. For embroidering numbered “Map stitching”, choose a slightly darker thread color – for ease in viewing stitching on the stabilizer — the numbered “Map stitching” will be hidden within the seams of the block. (We’re using black thread for easy viewing.)
 Place 1/2″ Sewer’s Fix it Tape on outer edges of inner hoop. The texture of the tape creates just the right amount of grip to help prevent shifting of the single layer of hooped stabilizer during stitching.

- Hoop a section of Fusible No-Show Cut Away Stabilizer; fusible side up.
Use the New! dime Hoop Mat to help hold hoop while hooping. Silicone mat with printed grid provides a non-skid hooping surface for successful hooping – on any table surface!

- Embroider first stitching sequence, the numbered “Map stitching”, directly on hooped stabilizer … the outline and sections of quilt block plus numbers 1-9.

- Section #1 — Place block center square, Fabric Color #1 (Mountain Green), over section marked #1, right side up, with fabric square extending equally beyond stitched lines.
- Fuse fabric to stabilizer with Clover’s Mini Iron.

Add an ironing surface under hooped stabilizer by slipping a potholder under the hoop. Slip potholder under hoop and press. Stitch a long length of fabric to the potholder … as a reminder to remove potholder before resuming stitching!

- Embroider next stitching sequence, which stitches down Fabric Color #1.

- Section #2 — Align one inner triangle, Fabric Color #2 (Fire Engine), right sides together, along stitched line facing section #2; center fabric triangle.

- Embroider next stitching sequence, stitching fabric triangle to block.

- Use pointed end of Clover’s Point 2 Point Turner to lightly hold fabric triangle in place while stitching.

- Fold fabric triangle right side up and finger press.
Finger press, or use Clover’s Roll ‘n Press to quickly and easily press fabric fold.

- Press with Mini Iron from triangle’s folded edge and continue to press towards triangle’s point to eliminate wrinkles.

- Embroider next stitching sequence, stitching down fabric triangle.

- Section #3 — Align one inner triangle, Fabric Color #2 (Fire Engine), right sides together, along stitched line facing section #3; center fabric triangle.

- Embroider next stitching sequence, stitching fabric triangle to block.

- Fold fabric triangle right side up and finger press.
- Press with Mini Iron from triangle’s folded edge and continue to press towards triangle’s point.

- Embroider next stitching sequence, stitching down fabric triangle.

- Section’s #4 and #5 — Repeat above process, following numbered “Map Stitching” piecing sequence on stabilizer until all inner triangle fabric pieces (Fabric Color #2 (Fire Engine) have been stitched in place.

- Section’s #6 through #9 — Repeat above process, following numbered “Map Stitching” piecing sequence on stabilizer until all inner triangle fabric pieces have been stitched in place; Section #6 Fabric Color #3 (Wagon Red) Section #7 — Fabric Color #4 (Tangerine), Section #8 (Fabric Color #4 (Tangerine ), and Section #9 (Fabric Color #2 (Fire Engine) .

- Using 1/2″ Sewer’s Fix-It Tape, tape overlapping seam edges before stitching final thread color; taping approximately 1/8″ away from stitching lines.

- Thread needle with a thread color that contrasts from quilt block fabric.
- Embroider final stitching sequence — a perimeter square. This stitched square provides a cutting guideline.
 Stitch Maple Leaf Appliqué Accent:
- Stitch appliqué design following thread color sequence on color chart (from collection files); and stem if applicable.
- Embroider first stitching sequence of appliqué accent — the positioning outline.

- Place appliqué fabric (Tangerine) over positioning outline, right side up, extending fabric at least 1/2″ beyond outline.

- Embroider next stitching sequence, which bastes down appliqué fabric.

- Follow color chart sequence to embroider appliqué highlights, stems, and veins.

- Remove hoop from machine; do NOT remove stabilizer from hoop.
- Trim along outside edge of appliqué motif.

- Re-insert hoop into machine.
- Follow color chart sequence to embroider satin stitch outline.

- Embroider Upper Square on Square Quilt Block with Oak Leaf Appliqué:
Economize on stabilizer — rehoop stabilizer with previously pieced block still attached to stabilizer – just outside hoop.

- Repeat instructions to create Oak Leaf Quilt Block and Sumac Leaf Quilt Block.

Trim Quilt Blocks:
- Remove stabilizer/pieced block from hoop. Remove Sewer’s Fix it Tape.
- Position block on cutting mat and align 1/8″ lines on 6-1/2″ square ruler to two corner edges of outer perimeter stitched square. Trim blocks square with rotary cutter.

- Rotate block, align 1/8″ lines on 6-1/2″ square ruler to opposite two corner edges, and trim blocks square with rotary cutter.
- Note: Trimming blocks now will later assure the piecing stitching lines will be hidden within 1/4″ seam allowances.

Seam Blocks:
- Set machine for conventional sewing.
- Attach a 1/4″ Quilting Foot, a Patchwork Foot, or set needle for 1/4″ seam allowance.

- Align block pairs, right sides together, stitch with a 1/4″ seam.

- With iron at a steam setting, press seams closed, and then press seams open.

- Use a Tailor’s & Quilter’s Clapper along seams — the moisture in the fabric will wick into the wooden pressing tool, creating a sharp seam. It is not necessary to pound the seam, just hold the wooden block firmly. against the area after pressing.

- Bind the table runner using Nancy Zieman’s Easy quilt binding instructions.
There are more design options – to piece with your sewing machine embroidery unit – in our Exclusive Quick Quilting in the Hoop: Fall Leaves Embroidery Collection Book.


SHOP our NEW! Books & Patterns and Exclusive Bundle Boxes at shopnzp.com

SHOP Machine Embroidery Notions and Tools at shopnzp.com


Shop Elastic, Cotton Webbing, Zippers & More at shopnzp.com

Shop Clover Tools & Sewing Supplies at shopnzp.com!

Shop Pellon Interfacing & Supplies at shopnzp.com!

Shop Schmetz Sewing Machine Needles at shopnzp.com!

Shop Cotton Webbing, Zippers & More at ShopNZP.com

Shop Limited Edition Holiday Fabrics & Fabric Panels at ShopNZP.com


Happy Embroidering!
Team Nancy Zieman
Nancy Zieman Productions. LLC.

Stitch it! Sisters is a production of NZ Productions LLC. Content in this feed is © copyright 2020 by Nancy Zieman Productions, LLC and may not be republished without written permission. You’re welcome to forward the email to a friend or colleague but it’s not okay to add the RSS feed automatically as content on a blog or other website. The FTC requires us to tell you that Nancy Zieman Productions, LLC has provided products by other companies in the course of doing business. The FTC requires us to advise you to take this information into consideration when reading this posting.


Carolyn T
The leaves in my yard are as brilliant as those in today’s projects. What a great way to bring the fall colors into our homes.
Susan
The projects of Fall Leaves Mini Wall Hanging/Mini Table Runner can add a burst of color in home decor. Appreciate the detailed instructions to complete these adorable items.
CLOVIS
The table runner looks just like the changing color of the leaves.