

NEW! Stitch it! Sisters OESD Origami Gift Box Tutorial
NEW! Origami Gift Boxes on Stitch it! Sisters with Deanna Springer and Karie Coffee from OESD! Follow along as we share step-by-step directions for making OESD’s Origami Gift Boxes!
NEW! Watch Stitch it! Sisters Origami Gift Boxes Program 307

 Then, head over toShopNZP.com and SAVE 39% OFF our NEW! Exclusive OESD Origami Gift Box Bundle Boxes that include OESD AquaMesh Wash Away Stabilizer, OESD BadgeMaster Wash Away Stabilizer, OESD StabilStick Cut Away Stabilizer; OESD Luxe Sparkle Vinyl, OESD Origami Gift Boxes Design Collection on USB, Zippered Polyweave Storage Pouch, 12″ x 16″, and a Stitch it! Sisters Sticker!

Download the FREE! OESD QFREE! OESD Stabilizer Quick Reference Guide Printable!

NEW! Watch Stitch it! Sisters Origami Gift Boxes Program 307
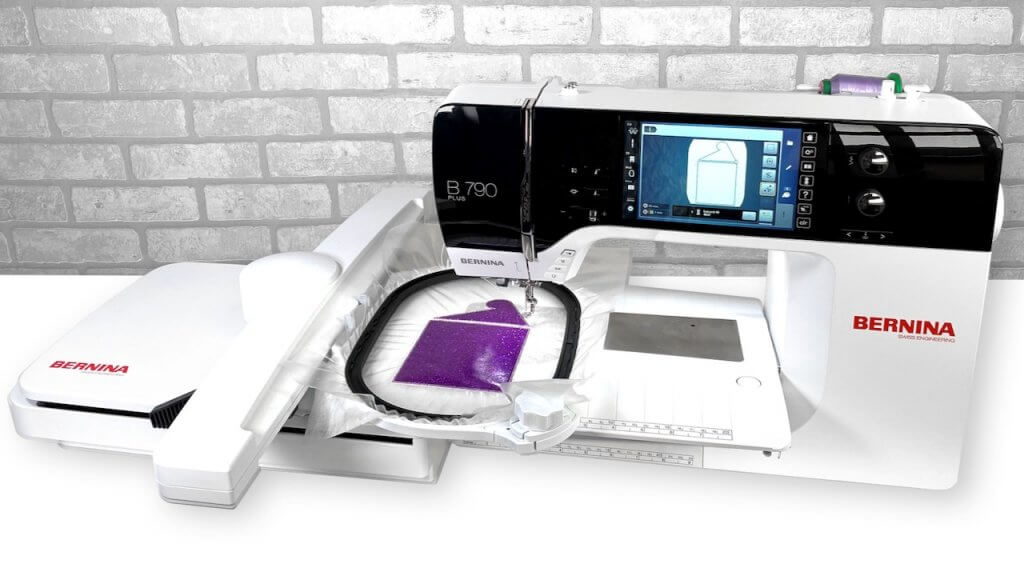
Learn tips for selecting and hooping the right stabilizers for successfully stitching OESD’s in-the-hoop free-standing Origami Gift Box. Learn about AquaMesh Water Soluble, BadgeMaster WashAway, and StabilStick Cutaway Stabilizers. Plus Tips for embroidering with OESD’s NEW! Luxe Sparkle Vinyl, and how to easily assemble free-standing machine embroidered creations.
Sisters Origami Gift Boxes Tutorial
Hoop one layer of AquaMesh and one layer of BadgeMaster for all designs.

- Hoop one layer of AquaMesh and one layer of BadgeMaster for all designs.

- Adhere two layers of StabilStick CutAway to the wrong side of all applique fabrics to provide stiffness to the finished structure.

- Load selected design into the machine.
- Example design is 12888-03.
- Thread the machine per the thread chart.
- Place hoop on the machine.
- Stitch Machine Step 1, Front Fabric Placement Stitch.

- Remove the hoop from the machine, but NOT the project from the hoop.
- Place the hoop on a flat surface.
- Cut the prepared applique fabrics 1/4”-1/2” larger than theapplique templates.
- Cover the placement line completely with the preparedfabric.
- Tape in place to secure.
- NOTE: A separate Machine Step has been added to allowdesign work to be placed on the outside of the box if desired. Stitch the design between Steps 6 and 7 in the instructions. If no design is added to the box, add the back fabric now (see Step 7) and skip Machine Step 3, Back Fabric Cut Line and Tackdown.

- Return the hoop to the machine.
- Stitch Machine Step 2, Front Fabric Cut Line and Tackdown.

- Remove the hoop from the machine, but NOT the project from the hoop.
- Trim the excess fabric as close to the cut line stitching as possible. If the outermost stitches (cut line) are cut, the inner stitches (tackdown) will still hold the applique in place.
- Tip: If the AquaMesh is cut or a hole is created while trimming the fabric, use Expert Embroidery Tape WashAway.
- Note: Design work for the box may be added here, before proceeding to Step 7.

- Turn the hoop over and place the back applique fabric right side up covering the placement stitch.
- Carefully tape to secure. Avoid pushing too hard on the stabilizer to prevent it from dislodging from the hoop.

- Return the hoop to the machine.
- Stitch Machine Step 3, Back Fabric Cut Line and Tackdown.

- Remove the hoop from the machine, but NOT the project from the hoop.
- Trim the excess fabric as close to the cut line stitching as possible.

- Return the hoop to the machine and stitch the remaining colors according to the thread chart.
- Remember to thread the sewing machine with matching thread in the top and bobbin.

- When design is complete, remove the project from the hoop and trim the stabilizer 1/4”- 1/2” outside the design.

- Rinse each piece in warm running water until the design is only slightly tacky.
- Place right side down on a non-stick surface to dry. Parchment paper or a cooling rack will prevent curling. Dry completely.

- Once dry, press right side down on a Perfect Embroidery Press Cloth.

- Line up the pieces to connect as shown. Thread the sewing machine with matching thread in the top and bobbin.
- Stitch together using a multi-step zigzag stitch (also known as a serpentine stitch). Back stitch at the beginning and end to secure. Trim thread tails.
- Tip: An open toe or edge stitch foot is helpful.

- Match the eyelets and buttonettes as shown. Pull each buttonette through the corresponding eyelet, using button clips to temporarily hold them in place, as needed.

- Fold the three lid pieces interlocking at the grooves.
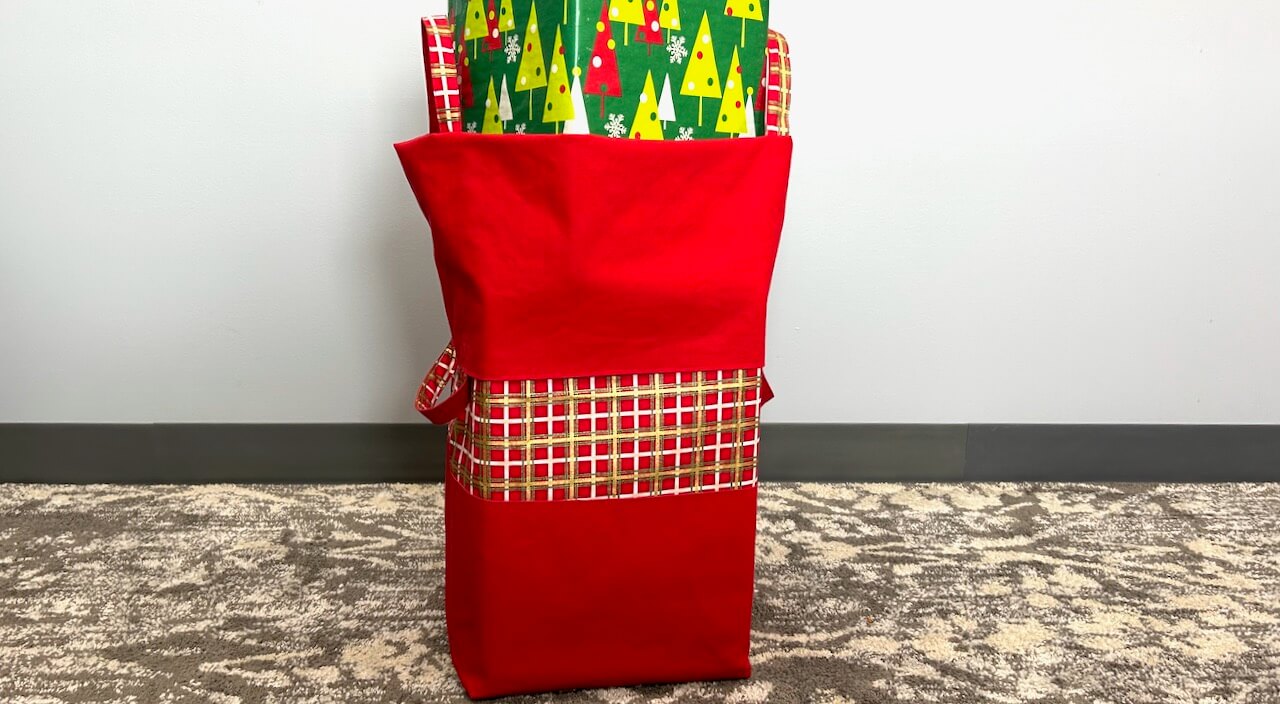
- Tadah! Your OESD Origami Gift Box is complete!

Shop Limited Edition Machine Embroidery Bundle Boxes & OESD Tools at ShopNZP.com


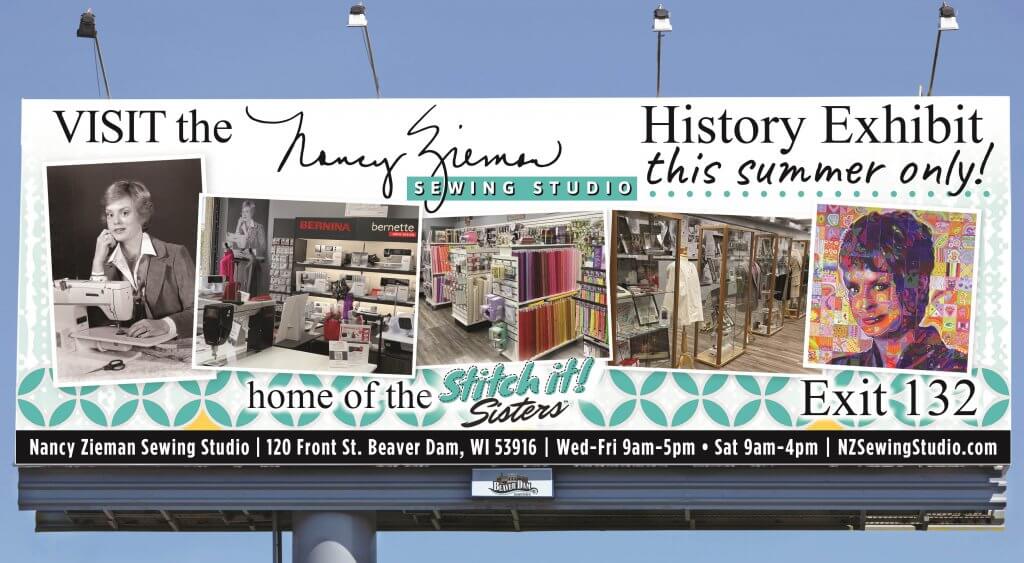
If you’re traveling through the Wisconsin countryside this summer, make plans to visit the The Nancy Had a Notion History Exhibit! The exhibit will be on display on the 2nd floor of The Nancy Zieman Sewing Studio–Now easily accessible by our new elevator!
Beat the heat and join us in the air conditioned Nancy Zieman Sewing Studio Classroom for our NEW! Quilting Group beginning July 14, NEW! Kids’ Sewing Camp July 27-29! Register Today at ShopNZP.com!
Join our NEW! Quilting Group–meeting monthly *beginning this Thursday, July 14* at The Nancy Zieman Sewing Studio! Sign Up, Today!

NEW! Kids’ Sewing Camp at The Nancy Zieman Sewing Studio, July 27-28-29! Register in-store or online at ShopNZP.com.


For a chance to be the random winner of a spool of Isacord Machine Embroidery Thread, please leave a comment below sharing your favorite in-the-hoop Machine Embroidery Project!
Nancy Zieman Productions will give away one spool Isacord Machine Embroidery Thread to one US resident in the 48 contiguous states. Winner must reply within 30 days to the official giveaway announcement email message – sent from Nancy Zieman Productions.
Happy Stitching!
Team Nancy Zieman
Nancy Zieman Productions. LLC.
![]()
Stitch it! Sisters is a production of NZ Productions LLC. Content in this feed is © copyright 2022 by Nancy Zieman Productions, LLC and may not be republished without written permission. You’re welcome to forward the email to a friend or colleague but it’s not okay to add the RSS feed automatically as content on a blog or other website. The FTC requires us to tell you that Nancy Zieman Productions, LLC has provided products by other companies in the course of doing business. The FTC requires us to advise you to take this information into consideration when reading this posting.


Cyndi D
I LOVE in the hoop zipper bags!! They make wonderful gifts. The bags can be made out of any fabric, which makes it easy to personalize them for any occasion.
Thank you for the giveaway I I love Isacord thread.
Susan
My favorite in the hoop projects are holiday decorations. Love small projects that can be for gifts. Would love to try using Isacord thread.