

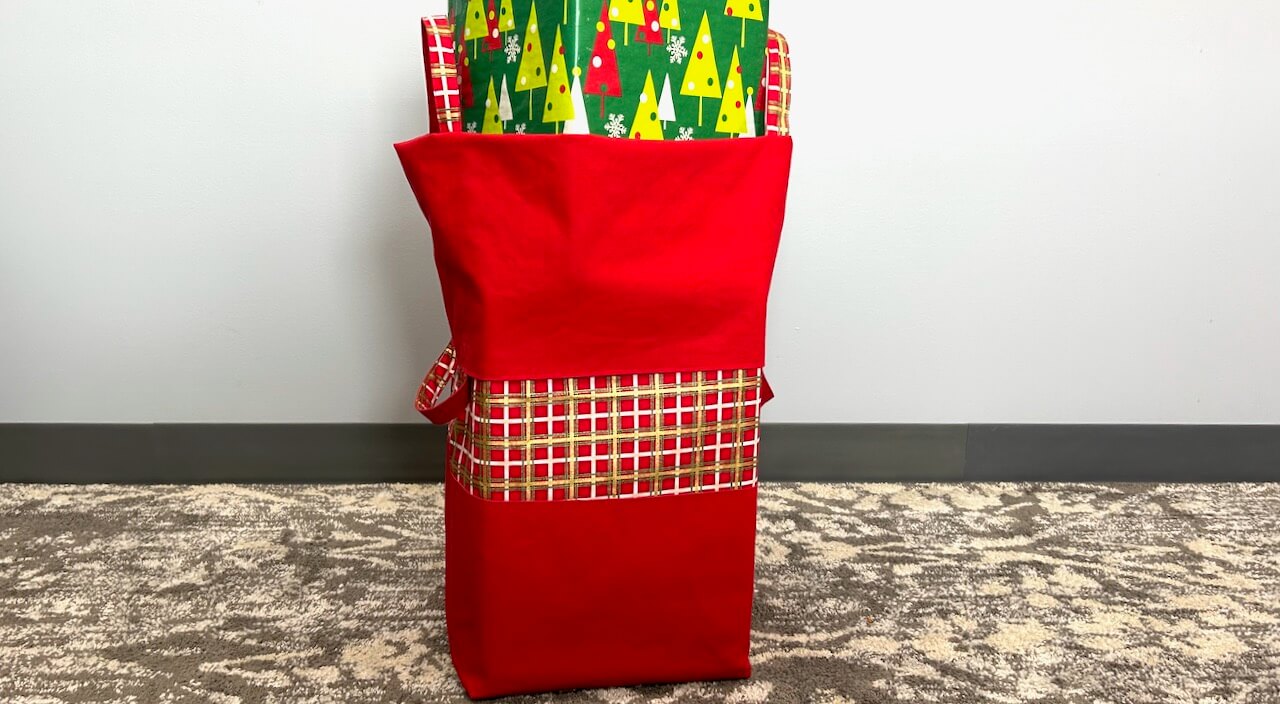
NEW! Fun Fabric Caddy Sewing Tutorial
NEW! Watch Stitch it! Sisters Program 110: Fun Fabric Caddy
NEW! Watch the NEW! Stitch it! Sisters Program 110: Fun Fabric Caddy Video with hosts Deanna Springer and Dana Casey. In this video, the Stitch it! Sisters share step-by-step fabric cutting and sewing techniques for making NZP’s NEW! Fun Fabric Caddy from our NEW! Fun Fabric Caddy Pattern.

 Then, head over to the shopnzp.com and purchase our exclusive NEW! Fun Fabric Caddy & Fabric Bin Bundle Box designed by the Stitch it! Sisters! This NEW! Fabric Caddy Bundle Box features NZP’s Afternoon Picnic Fabrics by Riley Blake Designs, and includes ALL SUPPLIES needed to make one Fun Fabric Caddy and one Fabric Bin, including: Afternoon Picnic Black Floral, Afternoon Picnic Blue Gingham Fabric, Pellon ShirTailor Interfacing, Pellon Peltex, and our NEW! Fun Fabric Caddy Pattern – with Classic Timesaving Tips by Nancy Zieman — you’ll supply the thread. Quantities are limited.

Fun Fabric Caddy FREE! Sewing Tutorial
Sew our NEW! Fun Fabric Caddy with our easiest ever sewing techniques, and Classic Timesaving Tips by Nancy Zieman, and see how using the right tools makes the sewing process enjoyable, even for beginners!
To make our NEW! Fun Fabric Caddy, follow our easy instructions – within our NEW! Fun Fabric Caddy Pattern included with the NEW! Fun Fabric Caddy Bundle Box! Note: All seam allowances are 1/4″ unless noted.
Prepare Fabrics:
 Pre-shrink project fabrics by steaming and pressing, and steaming and pressing a second time, and then spray starch and press one more time – using June Tailor’s® Starch Savvy.

Make Fun Fabric Caddy Patterns:
- Using our Pattern Making Paper, trace and create, and cut out the Fun Fabric Caddy Side/Handle Pattern pattern piece from our NEW! Fun Fabric Caddy Pattern. Label pattern piece accordingly and transfer markings and dots to paper pattern.


 Streamline the pattern making process and opt to cut simple rectangles from fabric and interfacing, and skip making the rectangle Caddy Front/Back and Caddy Divider paper pattern pieces below!
- Using Pattern Making Paper, create and cut out one 7-1/2″ x 20″ rectangle for Fun Fabric Caddy Front/Back Pattern, and one 8-1/2″ x 9-1/2″ rectangle for Caddy Dividers Pattern. Or opt to cut simple rectangles from fabric and interfacing, and skip making these two rectangle paper pattern pieces.

- Cut one 8-1/2″ x 28″ rectangle from outer Caddy fabric for Fun Fabric Caddy Side/Handle.

- Cut one 7-1/2″ x 20″ rectangle from outer Caddy fabric for Fun Fabric Caddy Front/Back.

- Cut one 8-1/2″ x 28″ rectangle from inner Caddy contrast fabric for Fun Fabric Caddy Side/Handle.

- Cut one 7-1/2″ x 20″ rectangle from inner Caddy contrast fabric for Fun Fabric Caddy Front/Back.

- Cut two 8-1/2″ x 9-1/2″ rectangles from inner Caddy contrast fabric for Caddy Dividers.

- Cut two 8-1/2″ x 28″ rectangles from Pellon ShirTailor for Fun Fabric Caddy Side/Handle.

- Cut two 7-1/2″ x 20″ rectangles from Pellon ShirTailor for Fun Fabric Caddy Front/Back.

- Cut two 8-1/2″ x 9-1/2″ rectangles from Pellon ShirTailor for Caddy Dividers Pattern.


- Cut one 6-1/2″ x 6-1/2″ square from Pellon Peltex One-Sided Fusible Ultra Firm Stabilizer for inner Caddy.


Press Interfacing to Fabric Pieces:
- Following manufactures instructions, press Pellon ShirTailor interfacing rectangles to back of companion fabric rectangles.

- Using Fun Fabric Caddy Side/Handle Pattern and Clover’s Chaco Liner, trace and cut out fabric Caddy Side/Handle from two 8-1/2″ x 28″ interfaced fabrics, and transfer lower dots to right side of fabric pieces.
Be sure to position the paper pattern on fabric top folds, for Caddy Side/Handle pieces.


- Using a Schmetz Universal Size 80 Needle, stitch curved handle seams. Press seams flat.


- Grade/notch inner curved seams using a scissors or a 45mm rotary cutter with pinking blade.

Use a rotary cutter with pinking blade to grade and notch inner curved seams quickly and easily.
- Using Clover’s Point 2 Point Turner, turn Fun Fabric Caddy Side/Handle right side out. Press. Baste around sides and lower edges with scant 1/4″ seams. Set aside. Optional: Edgestitch Fun Fabric Caddy Side/Handle curved edges.


A scant 1/4″ seam is slightly smaller than a 1/4″ seam. Use scant 1/4″ seams for basting the layers together. When the Fun Fabric Caddy is later seamed together, use actual 1/4″ seams — and basting stitches will be hidden within seam allowances.
- With Clover’s Supersize 5-in-1 Sliding Gauge, position and center 6-1/2″ x 6-1/2″ Pellon Peltex square to center wrong side of inner Fun Fabric Caddy Front/Back. Using June Tailor’s® Eze-View Pressing Cloth, press and fuse Peltex into place following manufacturer’s instructions.


- Place outer and inner Fun Fabric Caddy Front/Back right sides together. Wonder Clip/pin.


- Stitch seams, joining 7-1/2″ short ends of Fun Fabric Caddy Front/Back, leaving long edges open. Press seams open.

- Turn Fun Fabric Caddy Front/Back right side out. Press. Baste long edges with scant 1/4″ seams.

- Using Clover’s Chaco Liner and Clover’s Supersize 5-in-1 Sliding Gauge, place a mark within each seam allowance, 5-1/2″ down from Fun Fabric Caddy Front/Back narrow edge. With scissors, clip at mark to basting line, as shown. Repeat making a total of four clips within seam allowances. Set aside.


- Using Clover’s Hot Ruler, press under 1/2″ at both 8-1/2″ short ends of one Fun Fabric Caddy Center Divider.


- Fold Fun Fabric Caddy Center Divider, right sides together, meeting 9-1/2″ long edges.
- Stitch seam, joining 9-1/2″ long edges, leaving short ends open. Press seam open over a Seam Stick. Turn right side out. Press. Baste short ends closed with scant 1/4″ seams.
 Easily press Caddy Center Divider seams open using a Seam Stick placed on top a sleeve board.
- Using Clover’s Chaco Liner and Clover’s Supersize 5-in-1 Sliding Gauge, mark center vertical line on both front and back of Fun Fabric Caddy Center Divider.

- Repeat steps above for remaining Fun Fabric Caddy Center Divider. Set aside.
You’re the designer! There is no right or wrong side to the Caddy Front/Back. Choose to have the contrast fabric facing outward or choose to have the outer fabric showing on the outside for a unified look.- Using Clover’s Chaco Liner and Clover’s Supersize 5-in-1 Sliding Gauge, place a 4″ long marked line at center Inner Fun Fabric Caddy Side/Handle, at 1″ below upper side edge, as shown.
- Repeat marking a 4″ long center line on opposite end of Inner Fun Fabric Caddy Side/Handle.

- Using Clover’s Chaco Liner and Clover’s Supersize 5-in-1 Sliding Gauge, starting at 1″ below upper side edge, mark a 4″ long center line on Inner (dark fabric side) Fun Fabric Caddy Side/Handle, as shown below.
- Repeat marking a 4″ long center line on opposite end of Inner (dark fabric side) Fun Fabric Caddy Side/Handle. Set aside.

- Position and pin the folded narrow end of one Fun Fabric Caddy Center Divider to one of the marked lines on Inner Fun Fabric Caddy Side/Handle, as shown.

- Topstitch inner Fun Fabric Caddy Center Divider to Inner Fun Fabric Caddy Side/Handle along basting stitches.
- Repeat steps above and attach remaining Fun Fabric Caddy Center Divider to opposite end of Inner Fun Fabric Caddy Side/Handle, as shown.

Because we’re using both dark and light fabrics, opt to use clear monofilament thread in the top and bobbin — when stitching Caddy Center Dividers in place.
- Position and pin one folded narrow end of one Fun Fabric Caddy Center Divider to marked line on Inner Fun Fabric Caddy Front/Back, as shown.

- Topstitch Inner Fun Fabric Caddy Center Divider to Inner Fun Fabric Caddy Front/Back along basting stitches.

- Fold opposite end of Inner fun Fabric Caddy Side/Handle over Fun Fabric Caddy Front/Back, aligning unsewn seams, as shown.

- Repeat steps above and attach opposite Fun Fabric Caddy Center Divider to opposite end of Inner fun Fabric Caddy Center Divider, as shown.

- Fold one Fun Fabric Caddy Center Divider in half, meeting Fun Fabric Caddy Side/Handle to Fun Fabric Caddy Center Divider, right sides together, as shown. Wonder Clip.

 Move Center Dividers up out of the way before stitching Caddy seams, as shown.
- With Fun Fabric Caddy Side/Handle facing up/toward you, stitch Fun Fabric Caddy Side/Handle to Fun Fabric Caddy Front/Back, stopping with needle down and pivoting at dots on lower Fun Fabric Caddy Side/Handle.
- Repeat steps placing and stitching remaining Fun Fabric Caddy Side/Handle to remaining Caddy Front/Back.

- Using a 45mm rotary cutter with pinking blade, trim seam allowances to prevent fabric edges from raveling.

- Using Clover’s Point 2 Point Turner, turn Fun Fabric Caddy right sides out. Press.

- Align Fun Fabric Caddy Center Dividers at center markings, forming four equal sections. Pin.
- With Hand Sewing Needle and thread, stitch Fun Fabric Caddy Center Dividers together at center markings.


NEW! Patterns and Bundle Boxes at shopnzp.com


Visit shopnzp.com, or click the “shop” tab
at the top of the NZP blog, anytime!
 FREE! Insulated Lunch Tote Sewing Tutorial

FREE! Insulated Lunch Tote Sewing Tutorial
 FREE! Insulated Lunch Tote Sewing Tutorial
 FREE! Insulated Lunch Tote Sewing Tutorial

 FREE! No-Hassle Kitchen Towel Topper Sewing Tutorial


For a chance to be the random winner of a Stitch it! Sisters 5″ Fabric Short Stack with exclusive S!S button & sticker, please leave a comment below sharing where/how you’d use the NEW! Fun Fabric Caddy.
Nancy Zieman Productions will give away one Stitch it! Sisters 5″ Fabric Short Stack to one US resident in the 48 contiguous states. Winner must reply within 30 days to the official giveaway announcement email message – sent from Nancy Zieman Productions. Email Team NZP at [email protected].

The randomly selected winner of a Stitch it! Sisters 5″ Fabric Short Stack with exclusive S!S button & sticker, from the February 11 Blog Post, Watch Stitch it! Sisters on our NEW! YouTube Channel is A. Rock.
Their comment is: Will definitely start watching regularly! Will start with a pot holder!
![]()
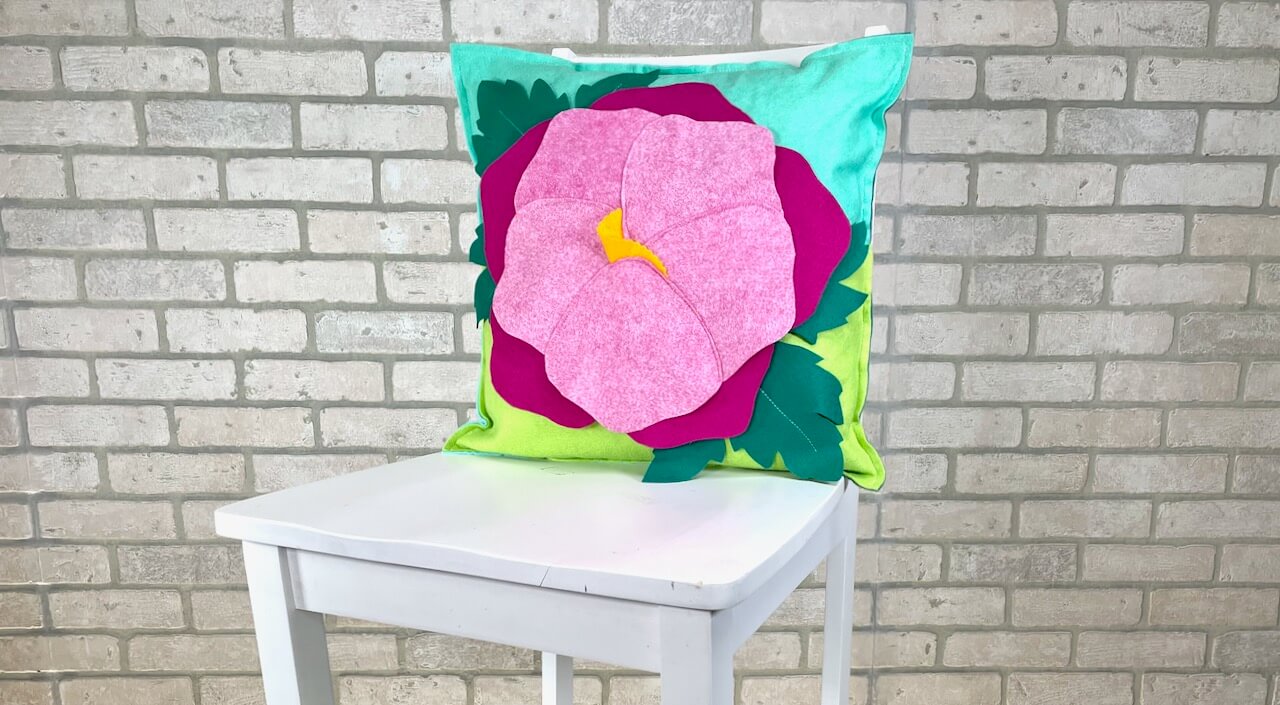
Be sure to join in and follow the 2020 Nancy Zieman Productions Pillow Sewing Challenge at the NZP Blog. Find Pillow Sewing Challenge details on our Official Nancy Zieman Productions 2020 Pillow Sewing Challenge Launch Posting. Deadline to enter is Sunday, March 22, 2020.
Happy Sewing!
Team Nancy Zieman
Nancy Zieman Productions. LLC.

Stitch it! Sisters is a production of NZ Productions LLC. Content in this feed is © copyright 2020 by Nancy Zieman Productions, LLC and may not be republished without written permission. You’re welcome to forward the email to a friend or colleague but it’s not okay to add the RSS feed automatically as content on a blog or other website. The FTC requires us to tell you that Nancy Zieman Productions, LLC has provided products by other companies in the course of doing business. The FTC requires us to advise you to take this information into consideration when reading this posting.


Linda S Smith
This is a beautiful fabric collection and I would use it for the challengeds student class for them to bring things to the other students in the room . This would help boost their ego that they could help their friends, and be a helping participant.
DeAnna S
Awesome project and looks fun and easy to make. I’d use it to carry drinks, fabric, books or small sewing projects to the various sewing retreats I attend.
Bonnye
This caddy would be great to use for camping. Bringing drinks to the picnic table.
Nancy
Would be great for a knitting bag.
Twyla
This Fabric caddy looks fun to make. I would use it to take different retreat smacks in. You could have a variety in the 4 pockets!
Beverly
This would be a cute and fun way to display some of my favorite decorative jars of buttons and a couple of little vases of cut flowers.
Nancy
I will be making all my fellow quilters at our church guild one of theses caddies so that they may keep all their tools in one place. They will love it and be inspired!!
Susan
Fun Fabric Caddy can be used in so many ways, but I think I would use it to carry my water container, salad in a canning jar, utensils and a napkin in coordinating fabric for a stylish lunch.
beth d.
I would use it to carry my water bottle that I usually take into sewing room when I sew up quilts.
Clovis
The caddy would be used in my sewing room to hold notions and ribbons.
Lynne H
What a great stash buster! One of the fabrics could be made up of smaller pieces like a crazy quilt.
Bev Bolduc Aldridge
Make many to go in Shoebox filled each compartment with all kinds of supplies. Operation shoebox ministry’s christmas is shoeboxes filled with items for children. I do art/writing, grooming, sewing/games in boxes I pack and items like the bags can be used as purses or other moveable containers.
Janet
I used one to hold jars and then separated my small pom poms that somehow over the years became a hodge podge. They are now separated by size and color. I will make another to hold jars of buttons. Baby steps to organization of my craft room.
Marie
What a great way to transports drinks to go with a picnic in the park this summer for grandpa, grandma (me) and our two grandsons!
Dixie
I would use it to hold my sewing notions to take to class.
Karen
I would in my fitting room for holding things.
Sandra Chapman
I would proudly carry it in my car for drinks and love the portability of it being made of pretty fabric. Just love these great ideas that keep coming to us. Thank you so much!
Sandra C.
Bonnie
What a lovely project! I would use the fabric caddy to store notions in my sewing room and to take to my quilting classes.
Carolyn T
This fun and fanciful caddy will sit near my sewing machine but hold sewing and beading tools. That is, until I make a second one!
Gail Beam
I would of course use it in my sewing room! I would put a toothbrush holder in each section. I love toothbrush holders to hold scissors, chopsticks, pens, rulers, tweezers, etc.